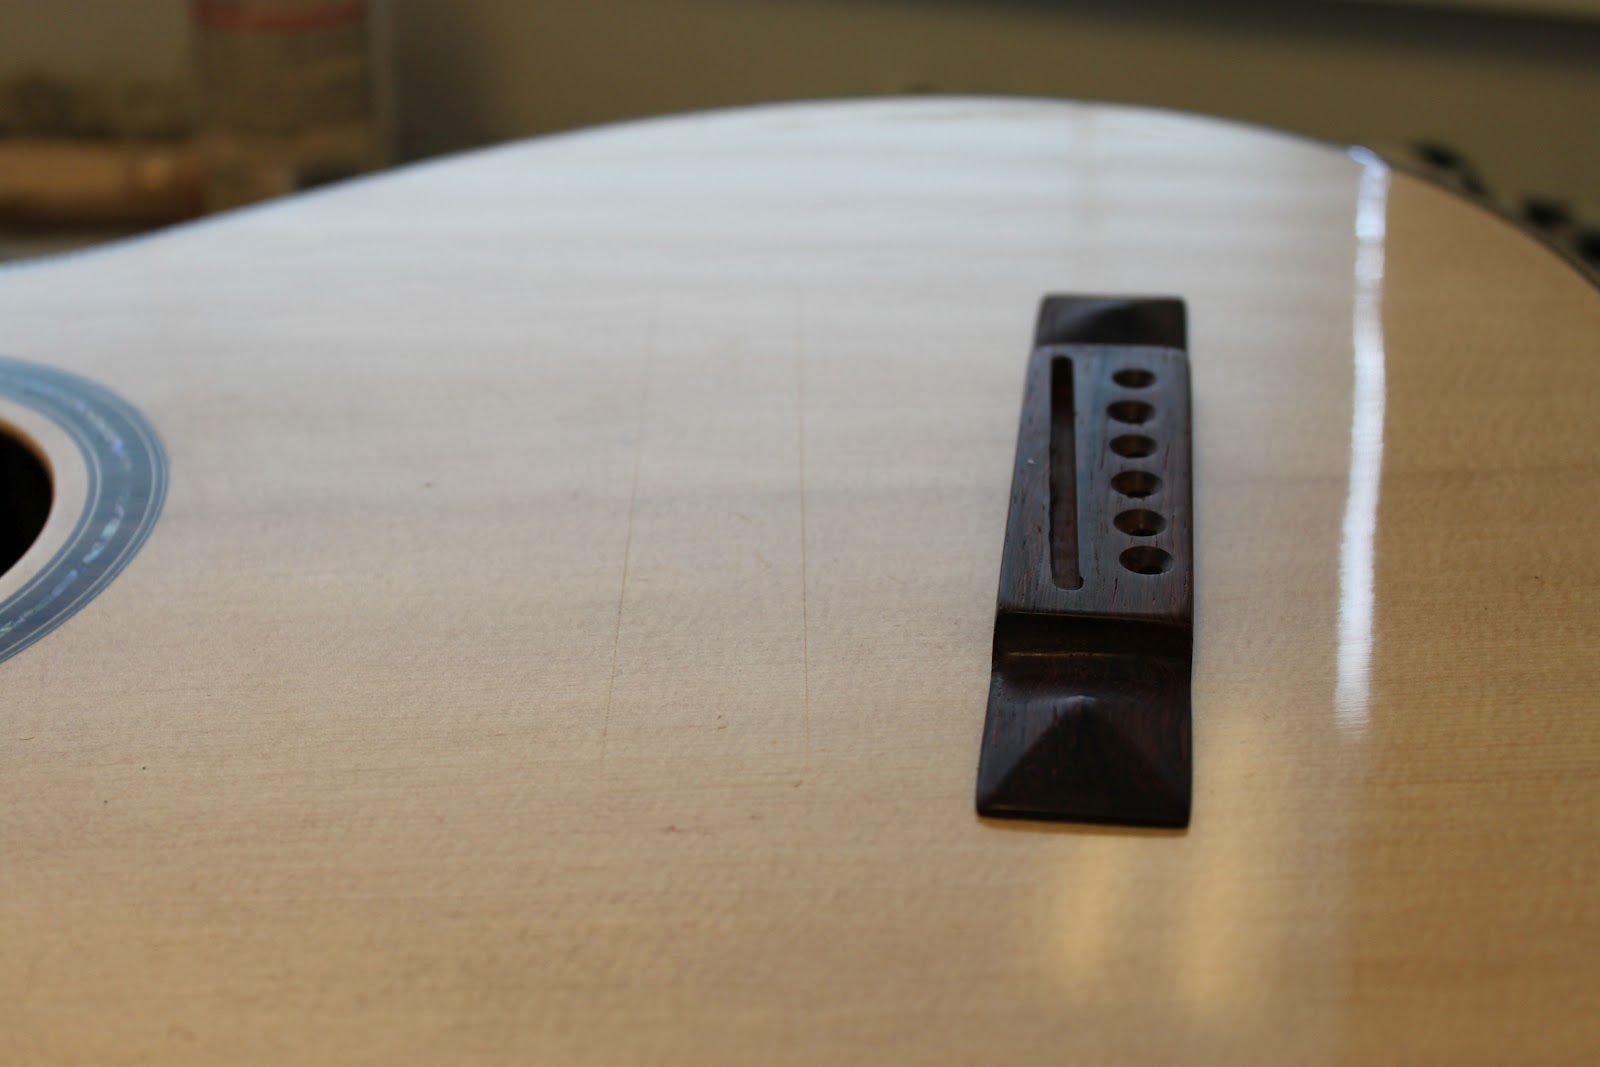
The strings go through it and sit on top of it, on the saddle made of bone. The bridge area spreads the vibrations of the strings around the top. It's the place where the physical vibration turns into acoustic waves, music. Light (0.012) strings at standard pitch have 72 kilos of tension. This causes many kinds of torsions and strains to the guitar, mostly the bridge area. This tension is also the thing that "drives" the acoustic guitar top, makes it an acousto-physical amplifier. Make the top too stiff, and the strings won't be able to move it, and you end up with a lifeless, dull guitar. Make it too flexible, and it warps, distorts and collapses in due time. But will probably make some loud, cardboardy music before that. Make it just right, and it stands the rigors of the road and is able to sing like a bird or growl like a lion when needed. And developes a "belly", a slight bulge behind the bridge, not unlike the ones seen above the belts of soon-to-be middle aged men... A flatpick guitarist Ricky Skaggs has been reported to say that one should "never trust a guitar without a belly." If it doesn't have a belly, It's probably overbuilt.
Anyhow, the bridge with all the tension it has to take in its lifetime, is attached to the top with just glue. No screws here! Titebond seam is said to be stronger than the wood around it, but in this case, there are some difficulties. We have two totally different wood species, thicknesses and sizes. Spruce top is large, thin and soft. Ebony (or rosewood) bridge is stiff, small and hard. The grain direction of the bridge runs perpendicular to that of the top's. All this means that these two objects are going to be having lives of their own when it comes to climate changes. This means the joint of these two has to be as perfect as possible in this fallen world (I believe the glue joints started to separate only after the fall. There will be no bridge re-gluing issues in the New Creation).
The bracing of the top is shaped to give the top a slight arch. No "flat top guitar" is actually flat topped. The arch will increase with the pull of the strings. This means, the bottom of the bridge has usually to be shaped to match the arch, to make the seam perfect and to prevent the bridge from popping out under tension. I do this by sanding the bridge bottom against a paper taped to the top. I sand until all the pencil markings in the bottom are gone. I use a little something inside to give the top a slight lift, to imitate the string pull.
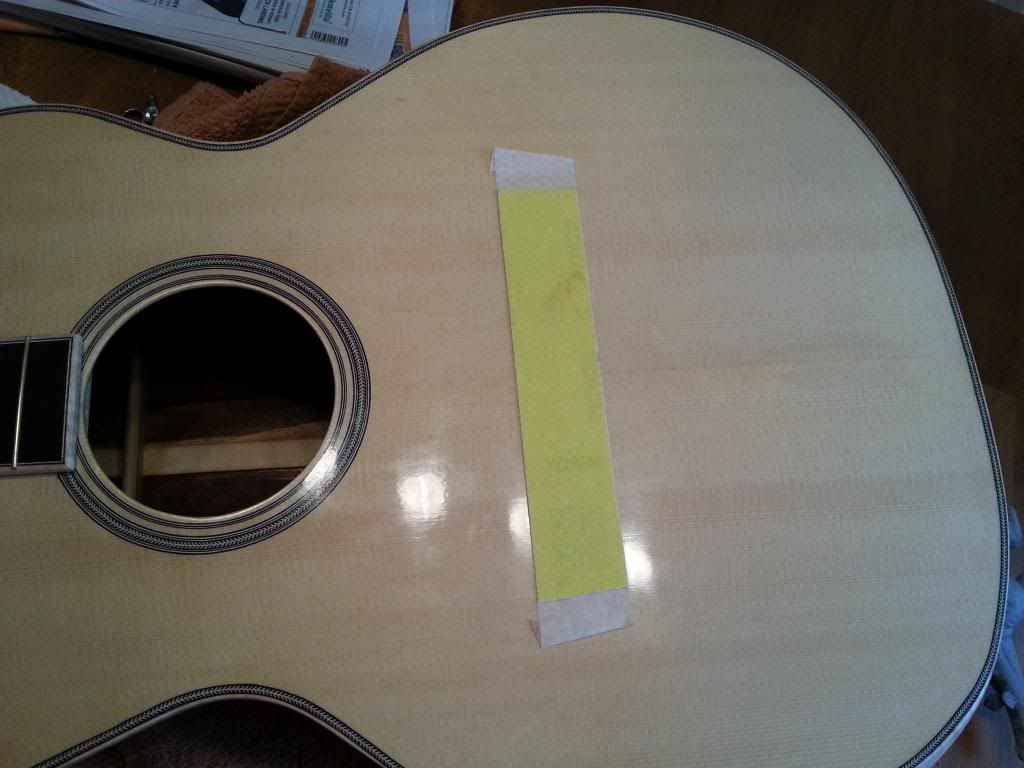 |
| I weaken the tack of the tape before attaching it to the top. Just tape it a few times on your blouse before use. |
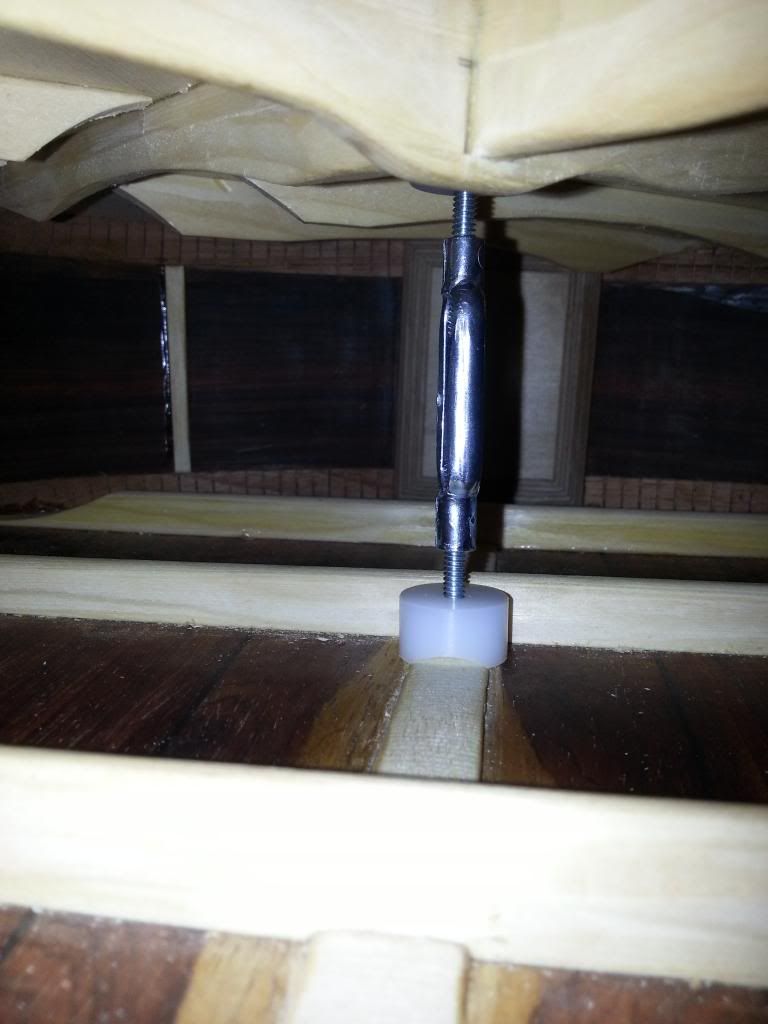 |
| This little jack gives the top a little push, so it won't give in under sanding strokes. |
 |
| The underside of the bridge is carefully marked by a tattooed apprentice using clearly visible colours. |
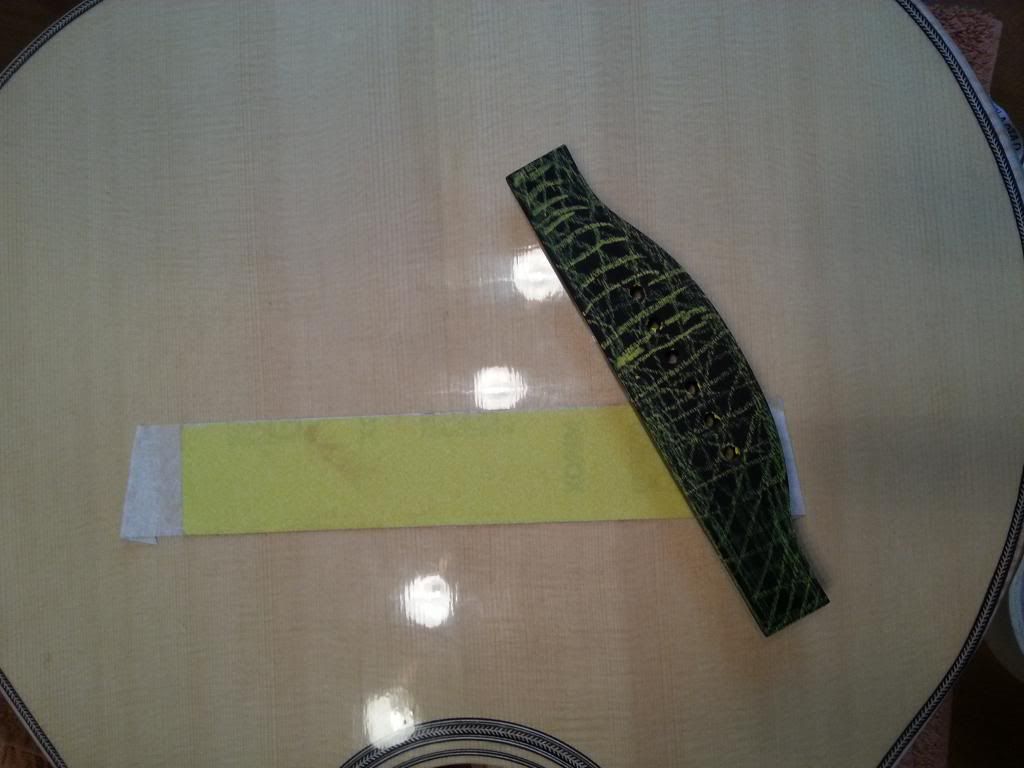 |
| ready to start |
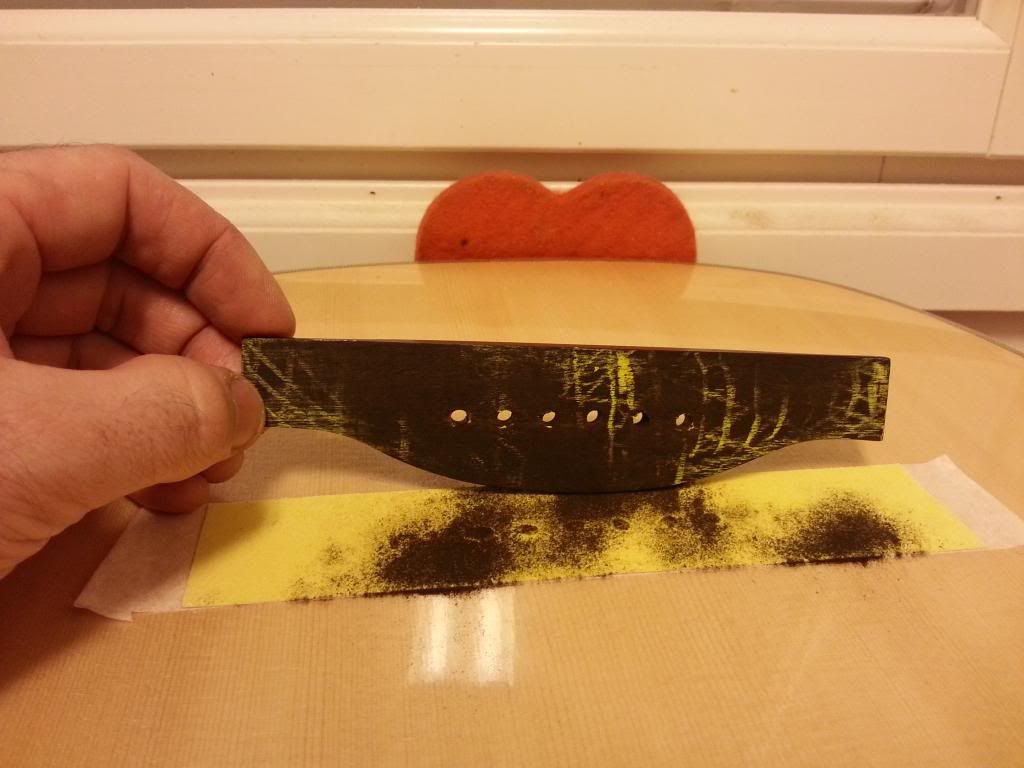 |
| Using very subtle, short and controlled strokes, the bridge is sanded until all the color is gone. Feeler gauge's thinnest strip (20th of one millimeter) is used to check the fit before putting any glue in between. |
 |
| Finally there! |
 |
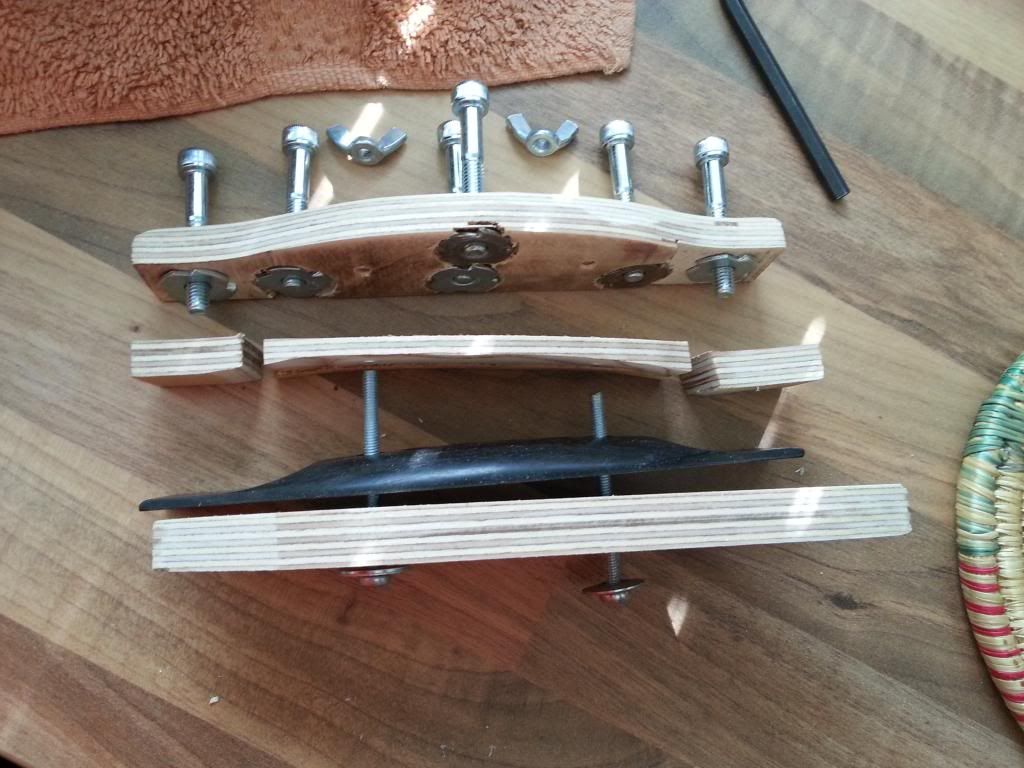 |
| The 4mm bolts that keep the whole sandwich together, go through the bridge plate caul, bridge plate and top, then through the bridge. The outside caul has two parts to it, so that the compression bolts won't mar the bridge. Not test driven yet, it seems like a nice idea. |
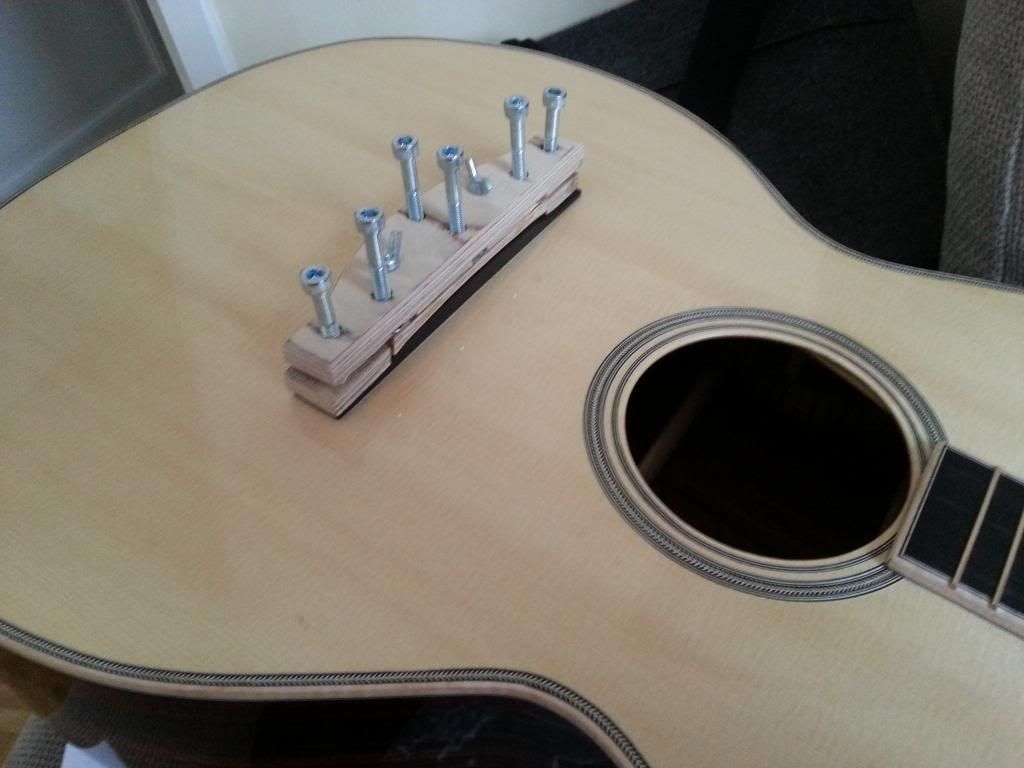 |
| And here is the test drive. Neat, no top bending heavy clamps and easy to clean the glue spill outs. |
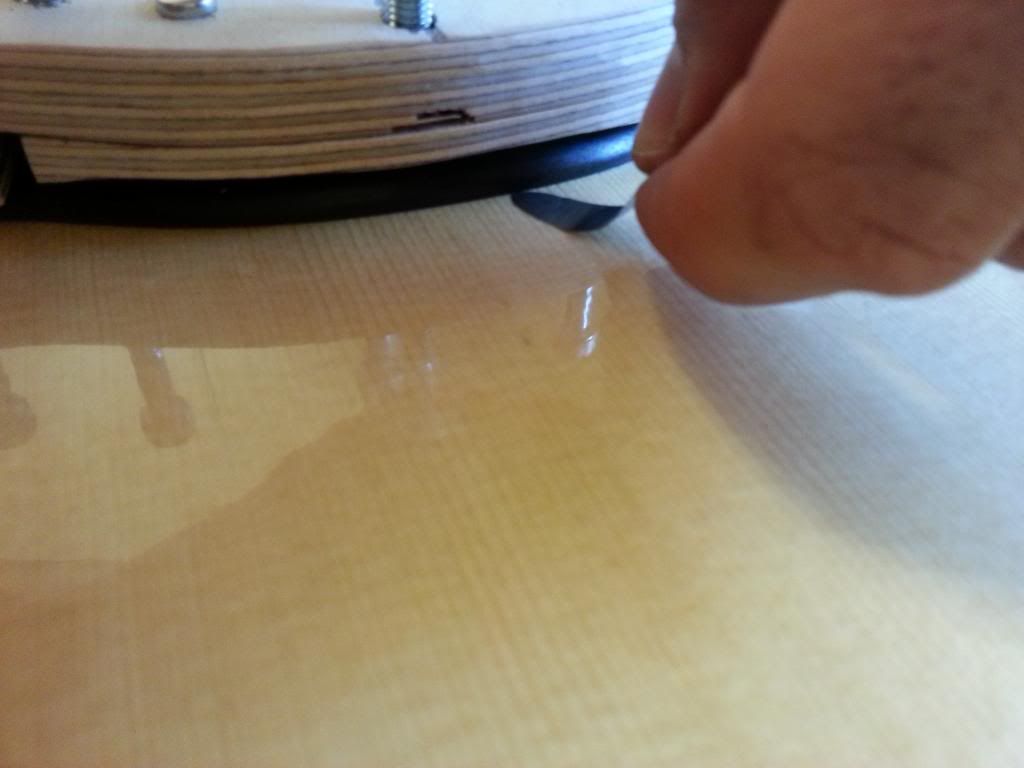 |
| Absolutely airtight! |
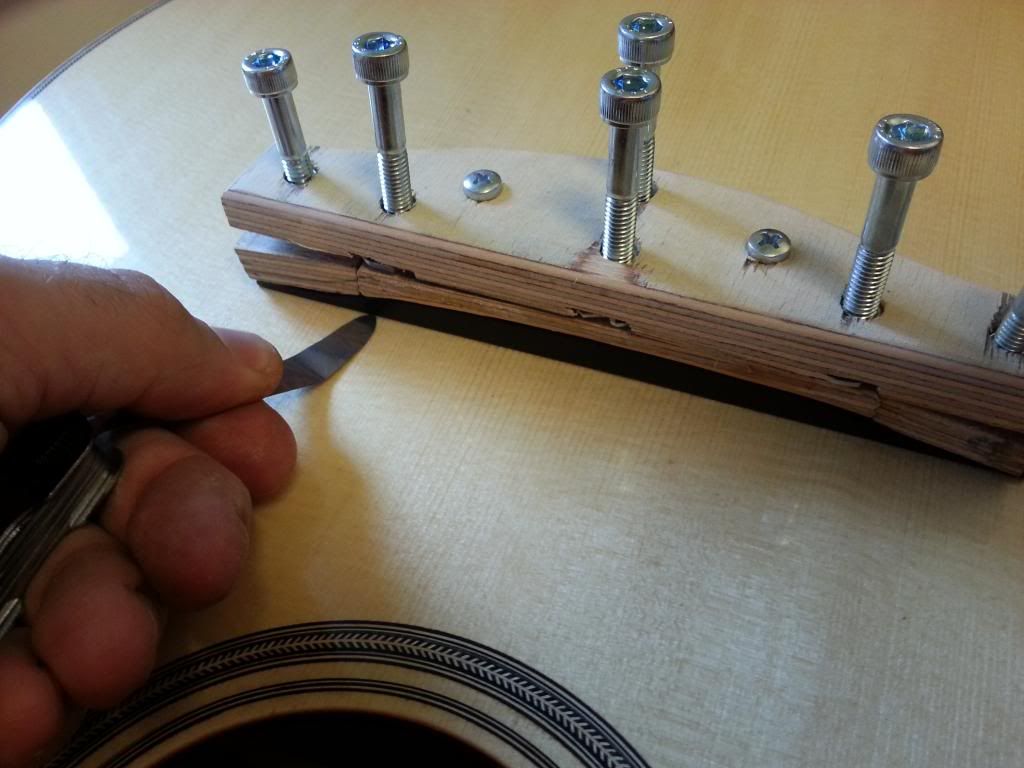 |
| Ready for glue. Just scrape the shellac off the top under the bridge |