Näytetään tekstit, joissa on tunniste ryan bevel. Näytä kaikki tekstit

torstai 23. elokuuta 2012

Binding & bevel


I've had some intensive nights, installing the purfling, binding and most of all, the Ryan style bevel topping.


Here the end wedge is being glued down
This ought to be covered...

...with this
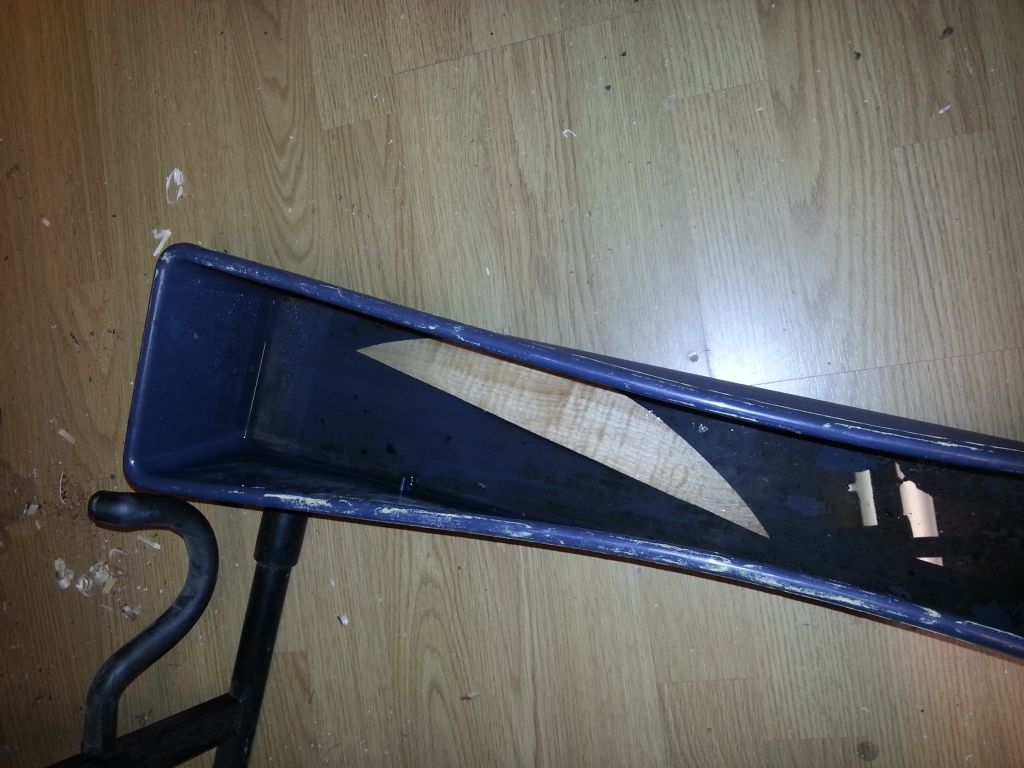
Some moisture and heat applied
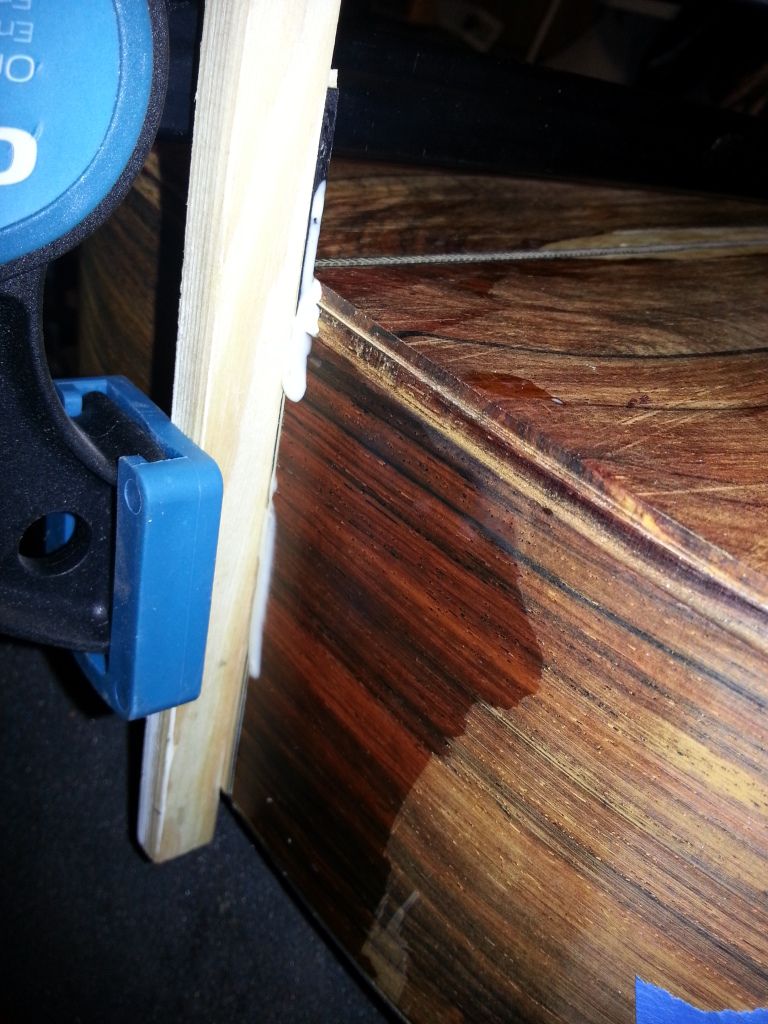
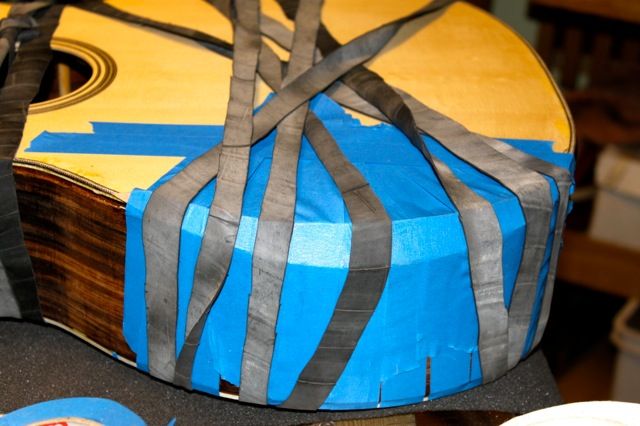
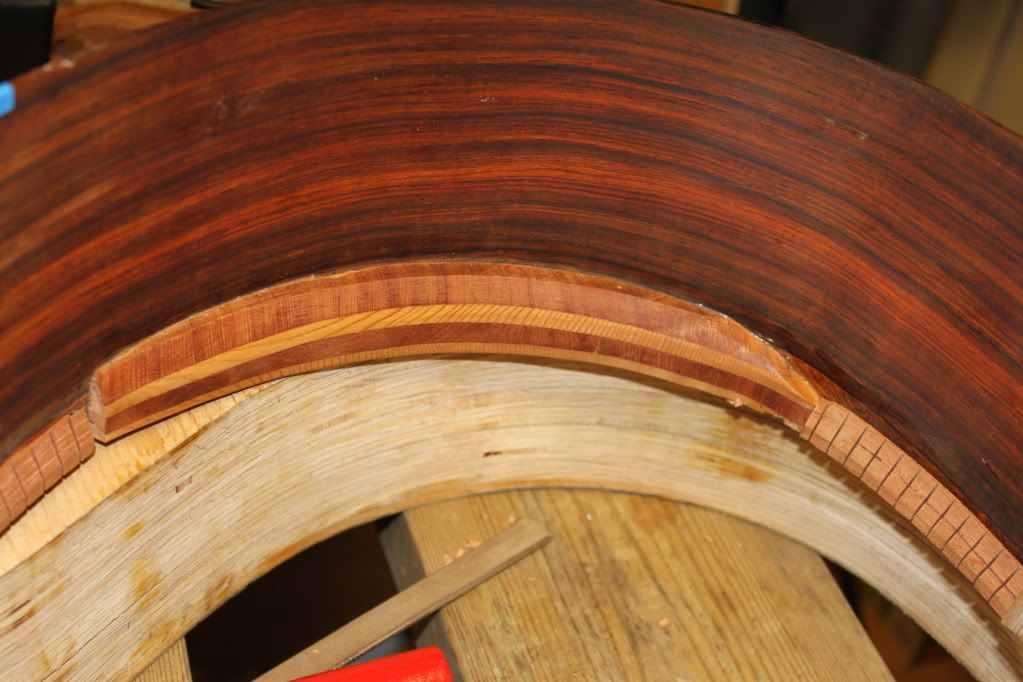
A serious amount of epoxy "under the hood",  held together
with masking tape and bicycle tire rubber band
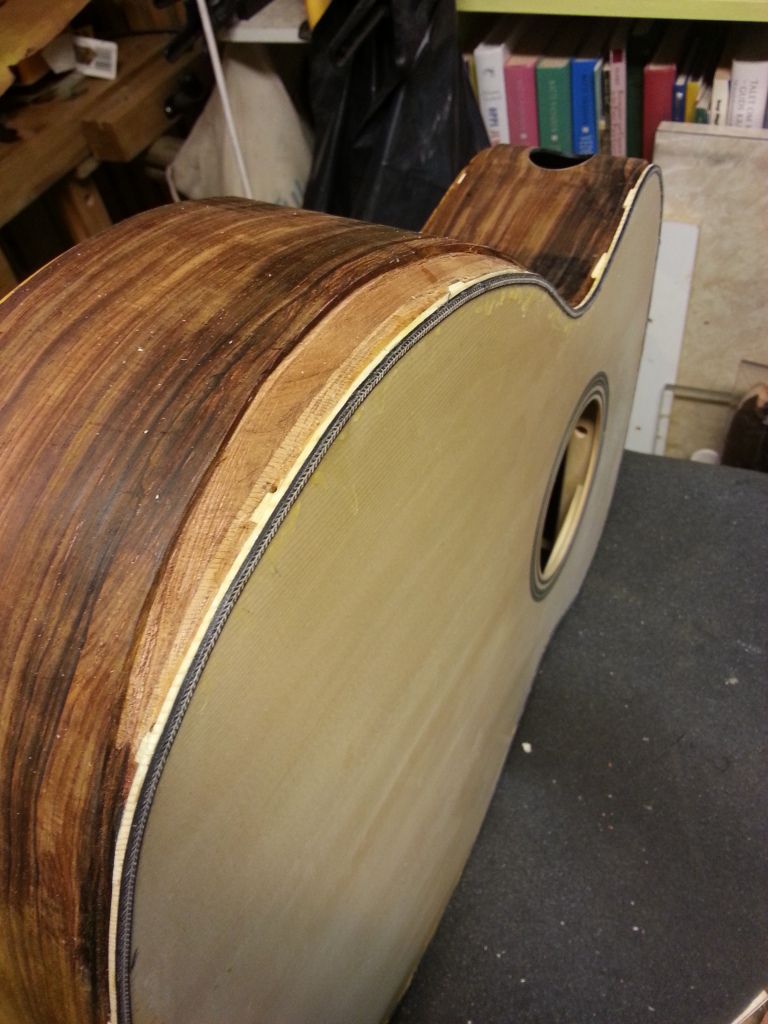
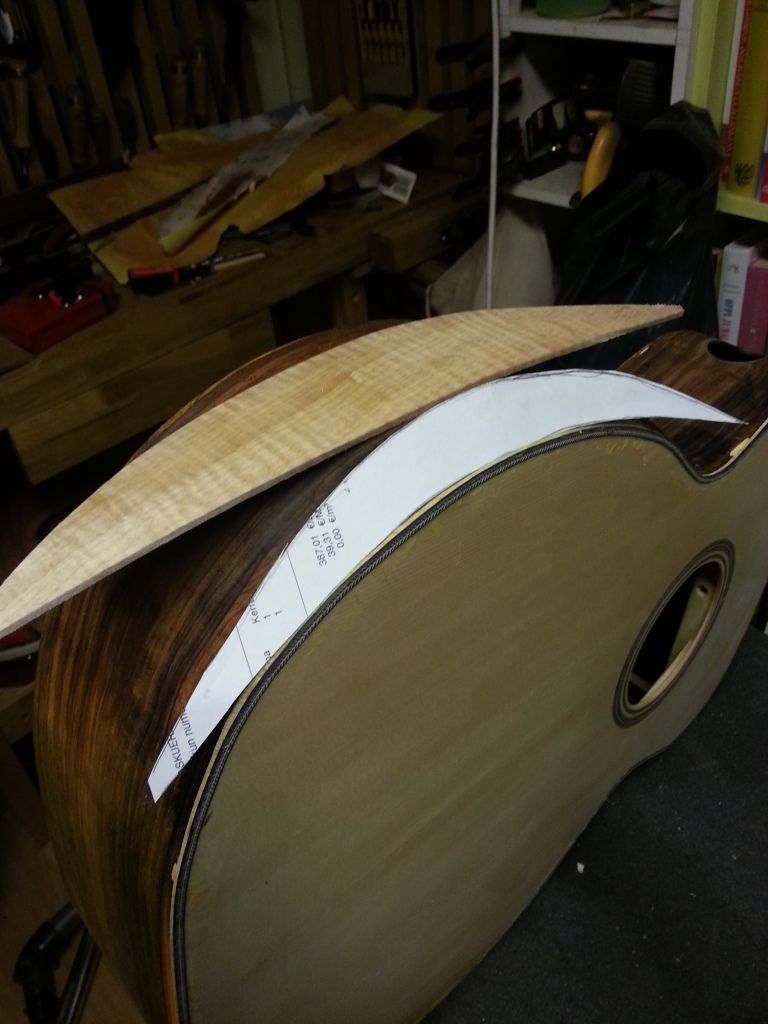
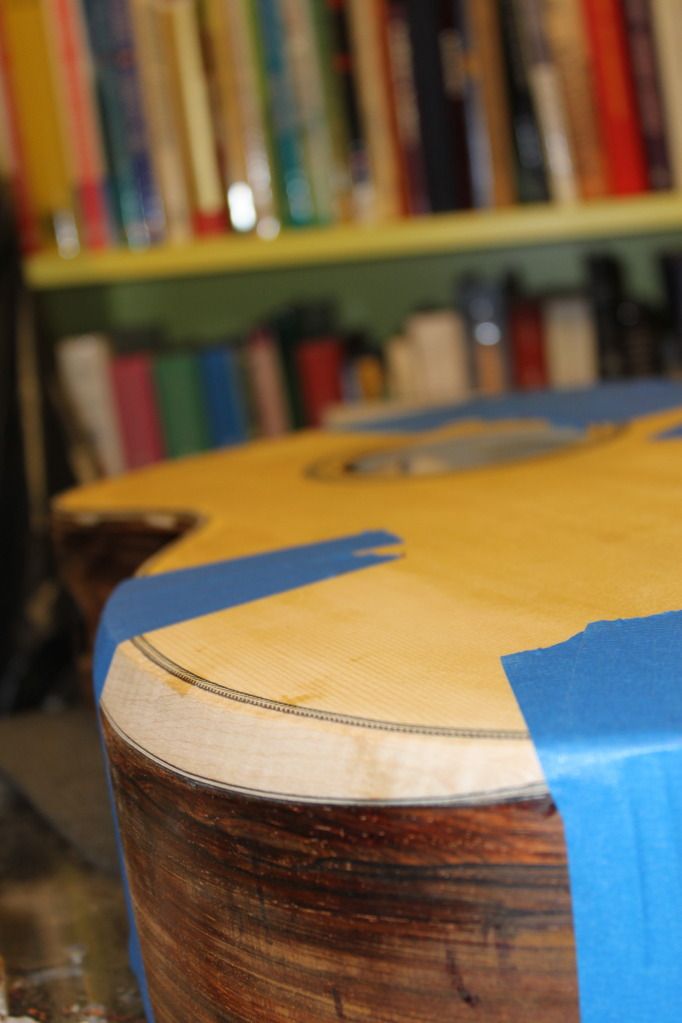
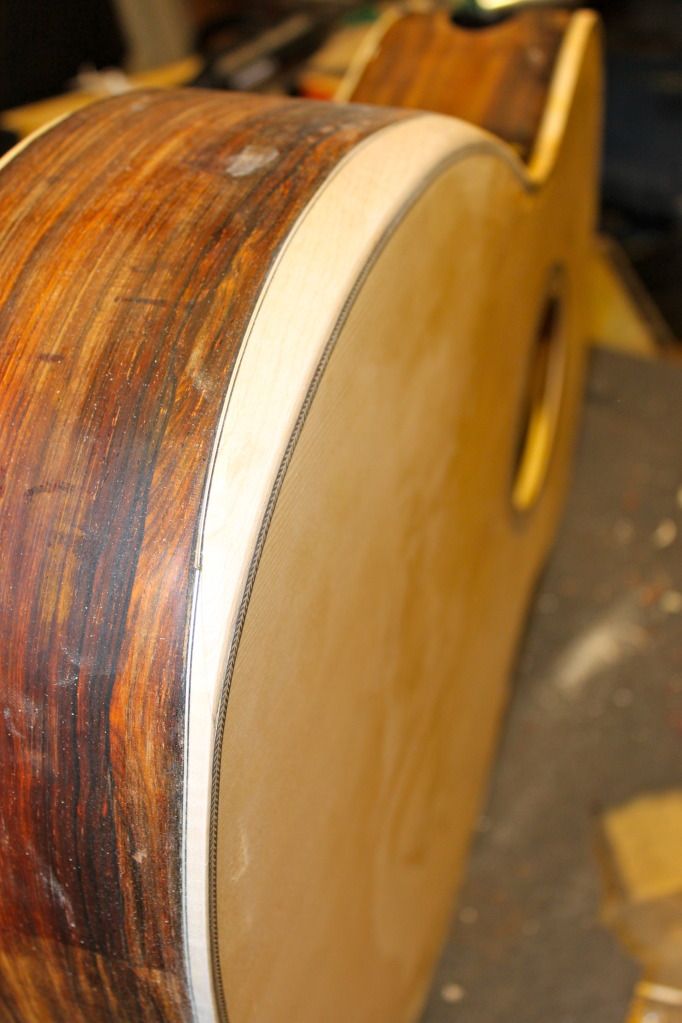
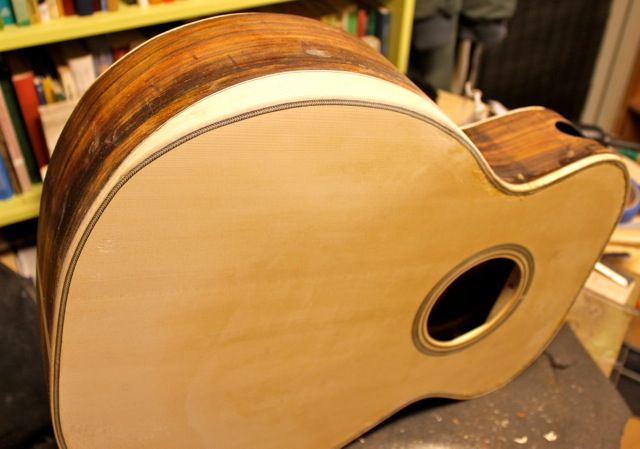
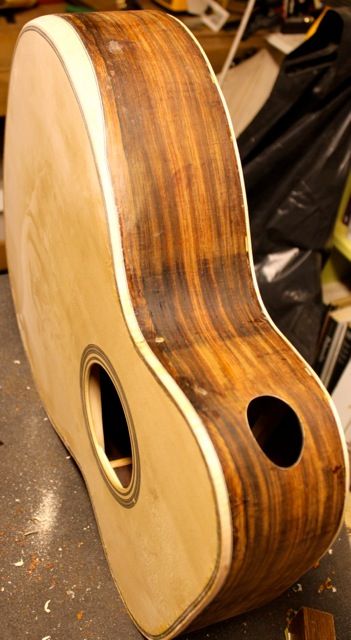
What you can't see here is all the work it took to shape the bevel topping to exactly match the shape of the radiused and odd-shaped bevel area. I bent the topping with the soldering iron rig, put it in place, traced the edges to the underside of the topping and then carved and sanded it to perfectly fit the cocobolo side. The top edge I butt airtightly against the herringbone trim, and when the glue had settled, planed and sanded down the excess. For my first bevel, I'd say it's a good match. But it surely takes quite some extra time and effort to get accomplished!
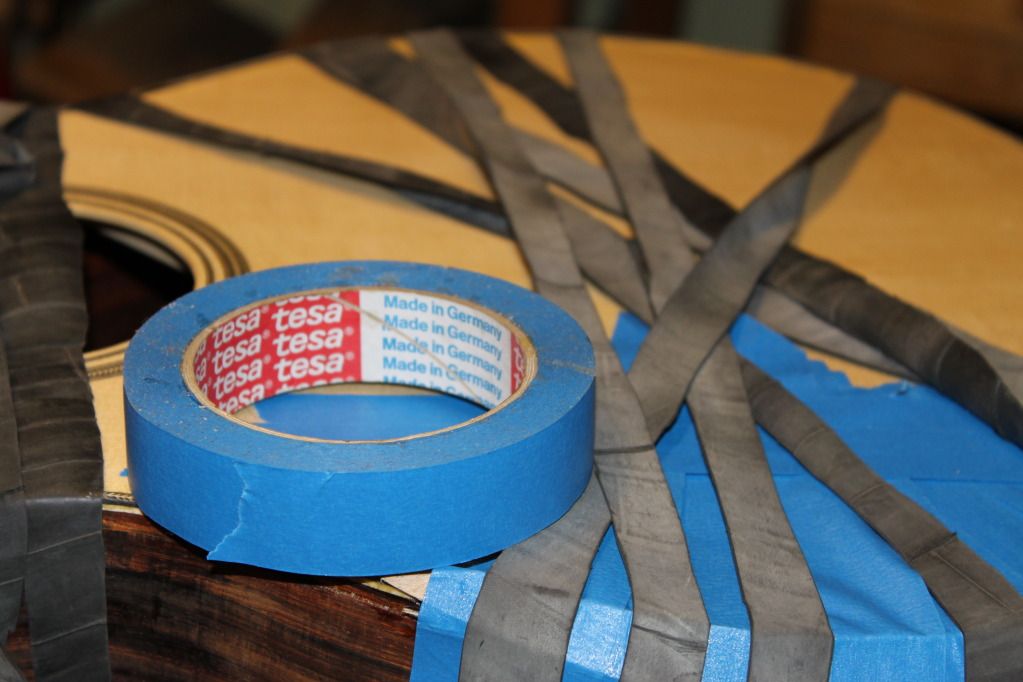
Close picture of THE masking tape
Some more gluing with the ends
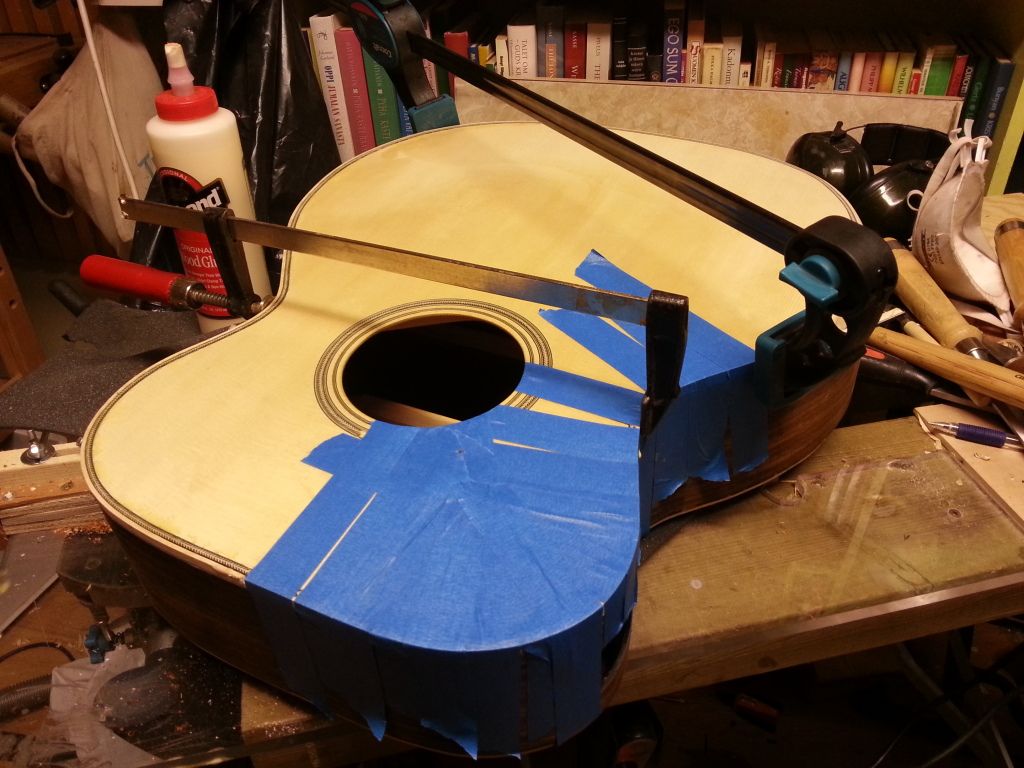
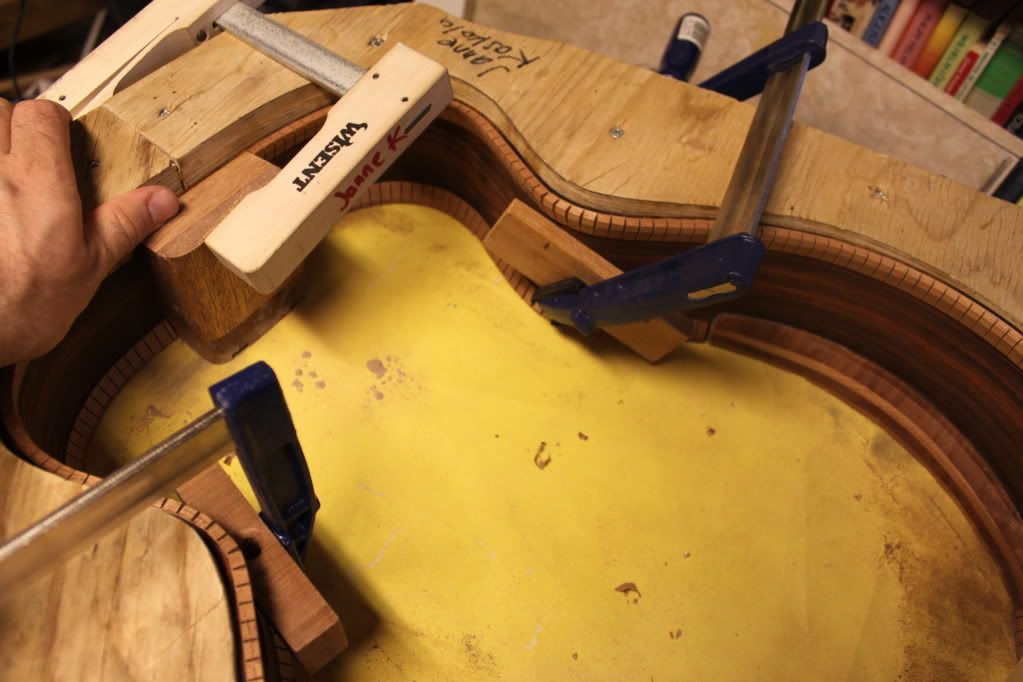
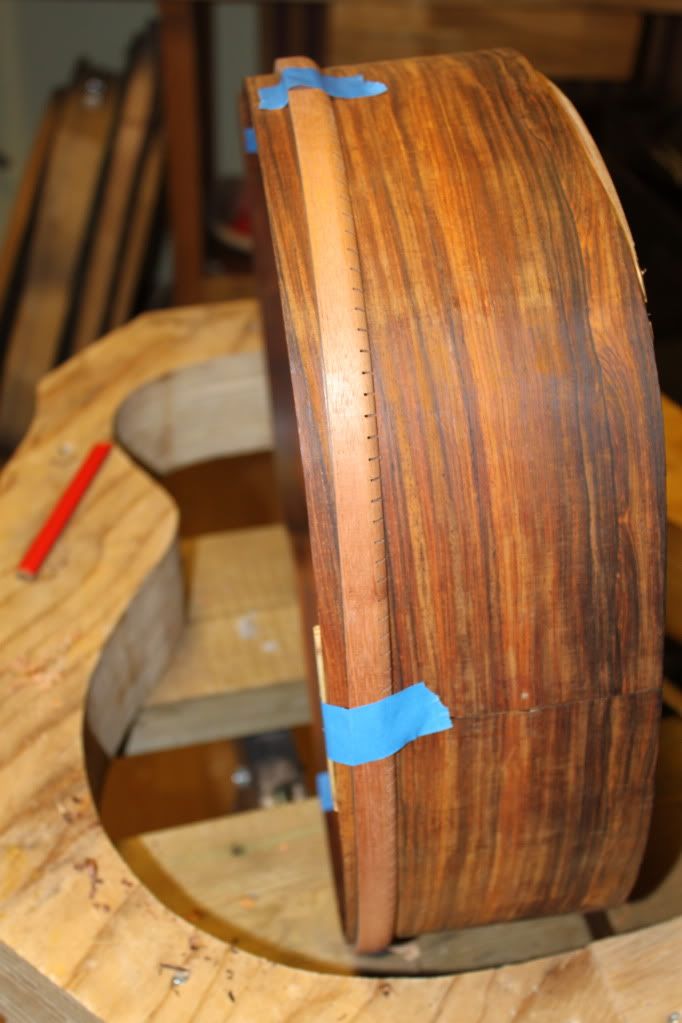
I glued in the bevel side binding in two pieces. The clamps are used to
 hold the binding down in the most critical places.
The ends were joined with a scarf joint.

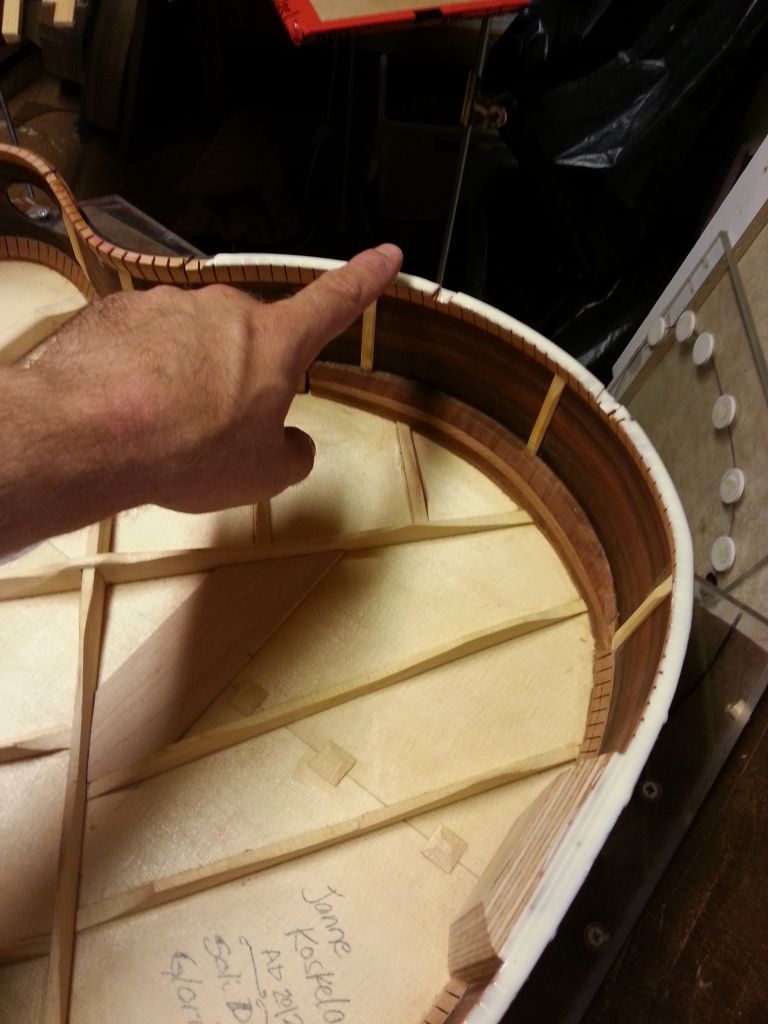
The bevel could be a bit closer to the end, but still
does it's job, with my arm at least


keskiviikko 15. elokuuta 2012

Gluing the back

The back is now attached to the sides and the box closed

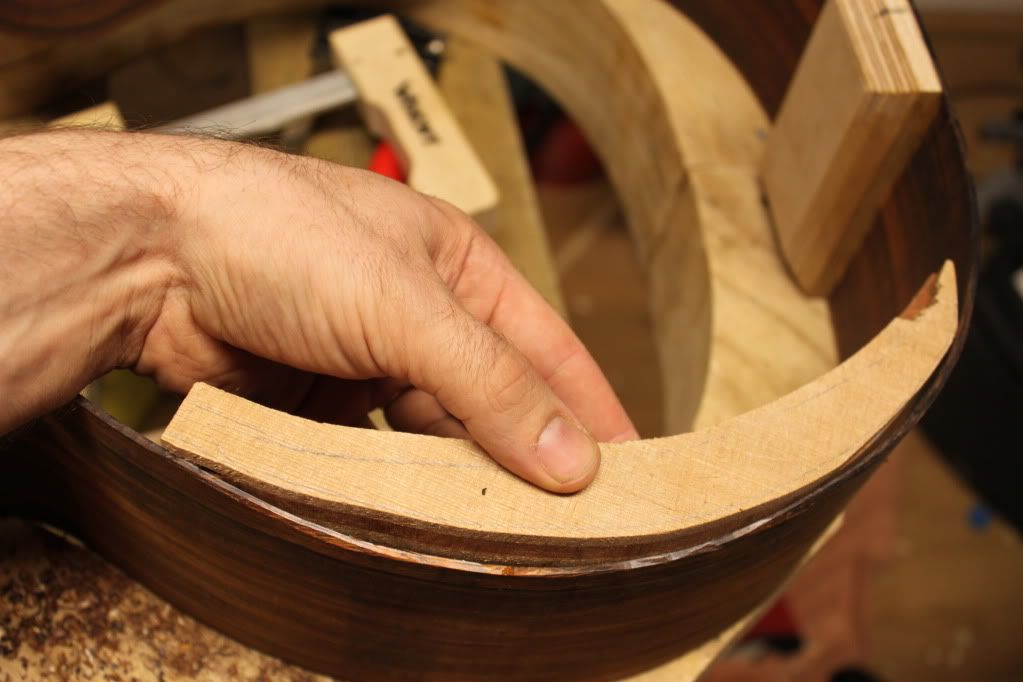
The pencil markings are gone and fit should be perfect! I notch the sides
 to accommodate the back braces. This way, the bracing never comes loose.
On the other hand, If id does come loose, it's a bit trickier to re-glue.
But there are tools for that too, so not to worry...
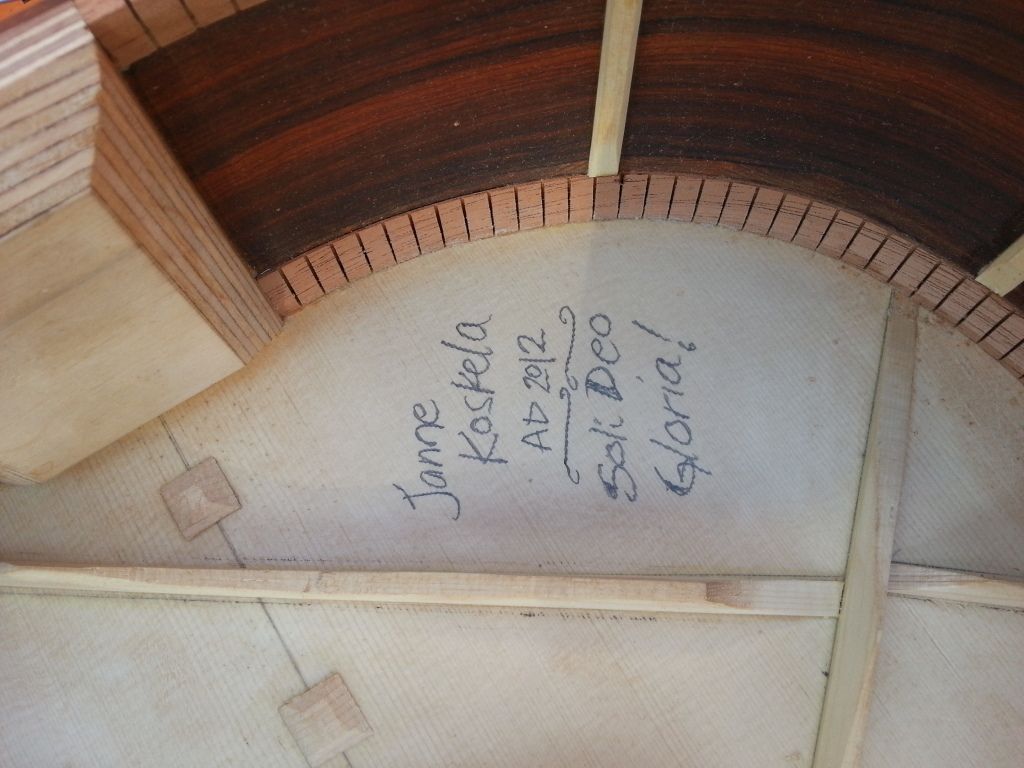
A little message, should somebody ever open the box again.
The little squares are there to reinforce the center seam
agains any splitting.
Applying the glue with a very sophisticated high tech
tool I got from my parents some 35 years ago.
The end block is angled so that the gluing surface is approximately
 the same as that of the kerfing's
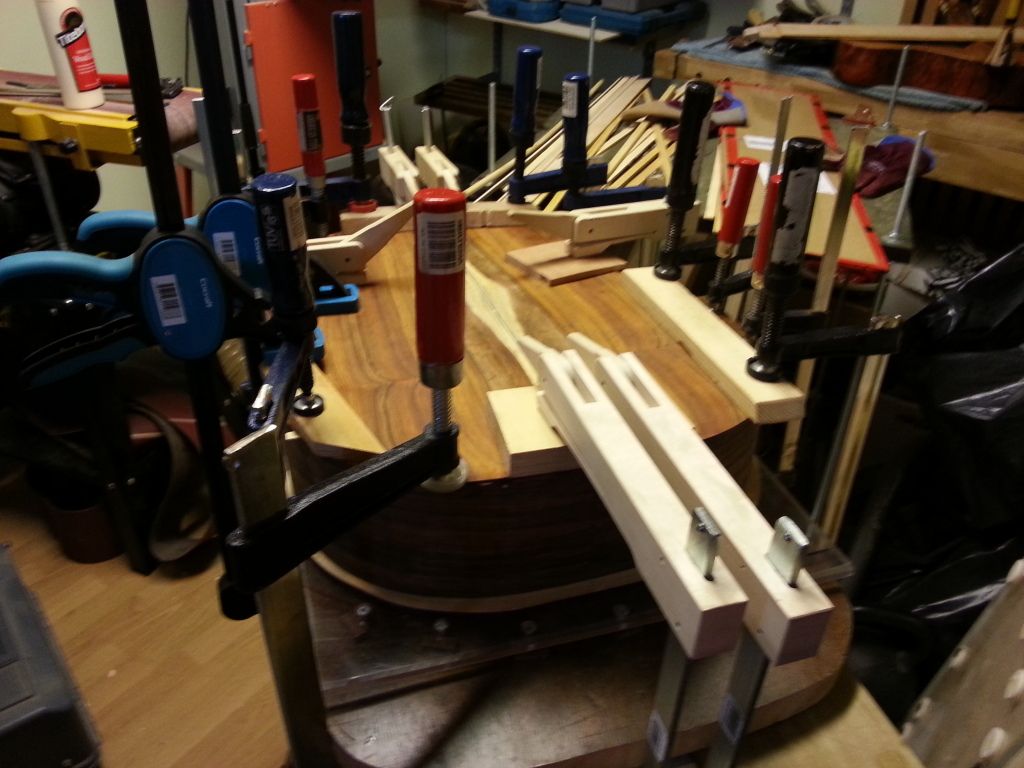
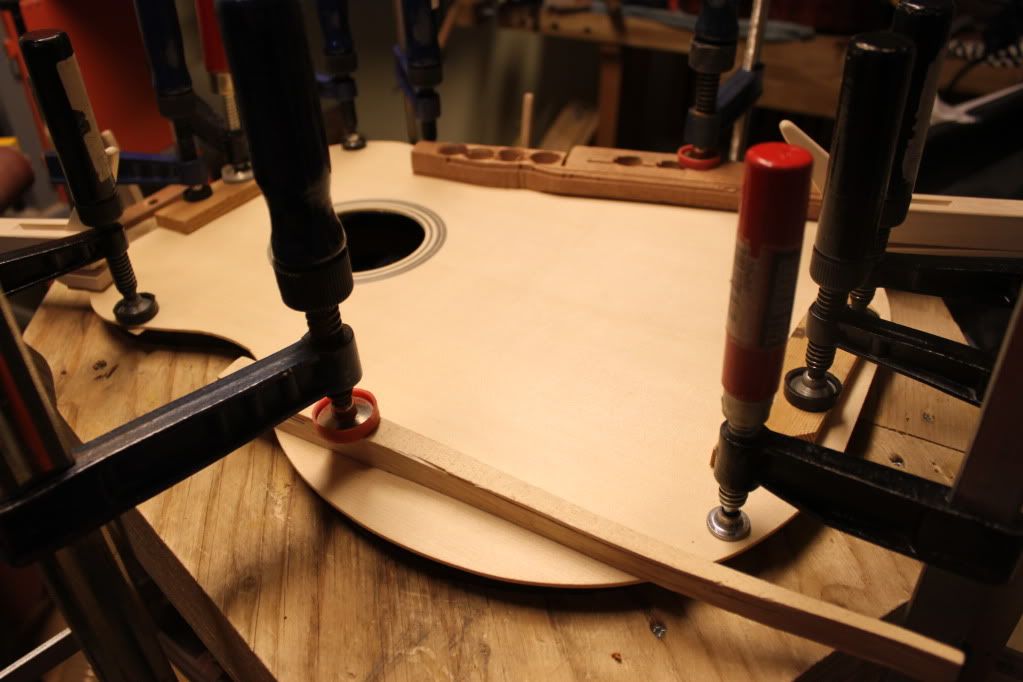
Lots of clamps, but only gentle force, since everything fits
together like a fist in the eye (like we say in Finnish)
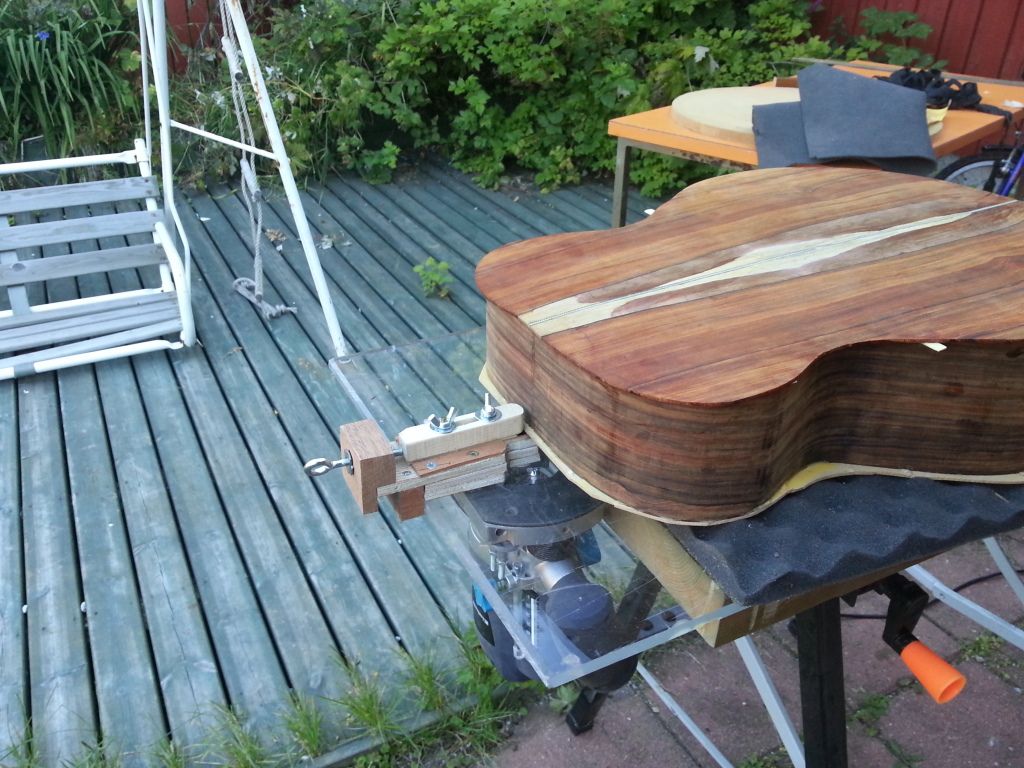
I cut the overhang of the top and back using my handy
 router setup. It's easy, fast and foolproof.
Below is a little video of the setup in practice.
The sound of the router is one of the nastiest in the industry...
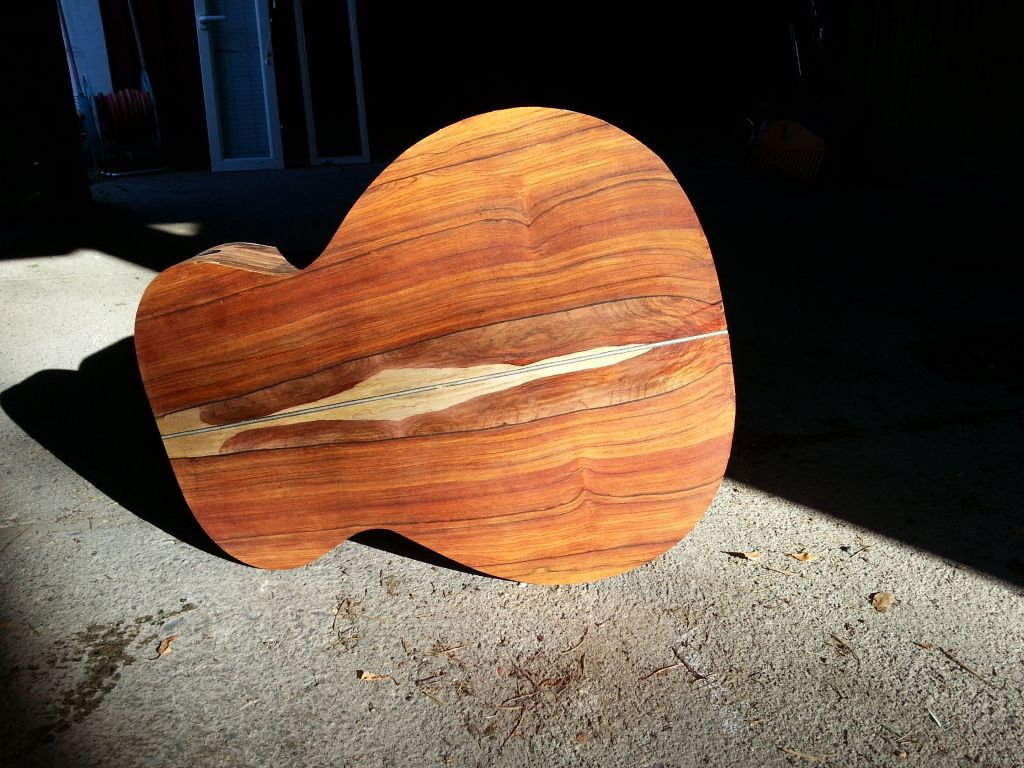
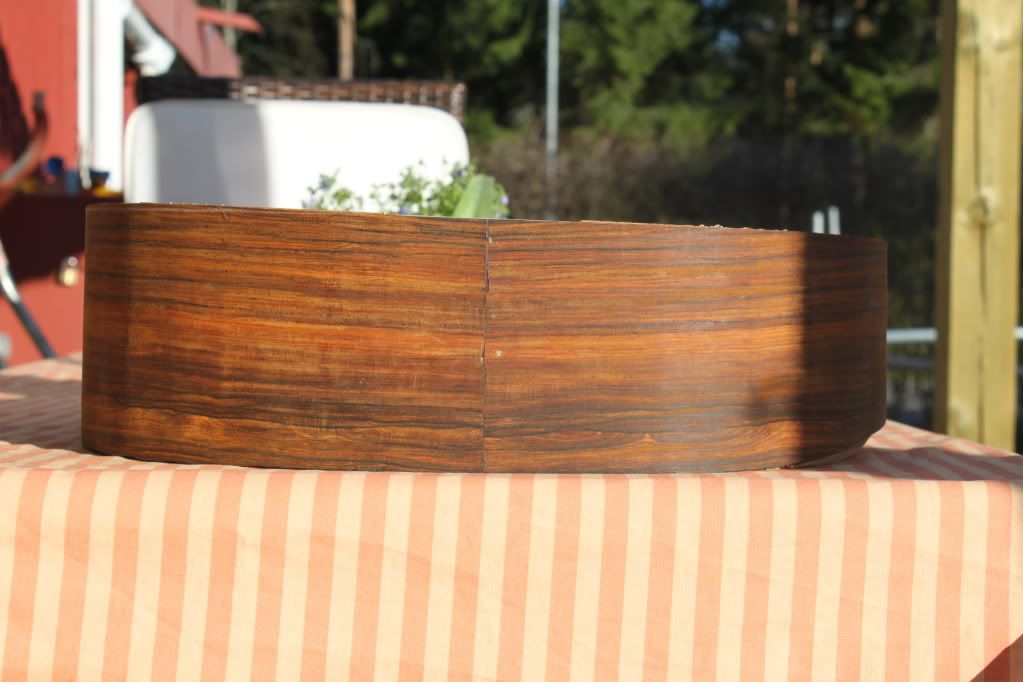
Freshly trimmed back in the morning sun.
I wouldn't mind looking at it every day.
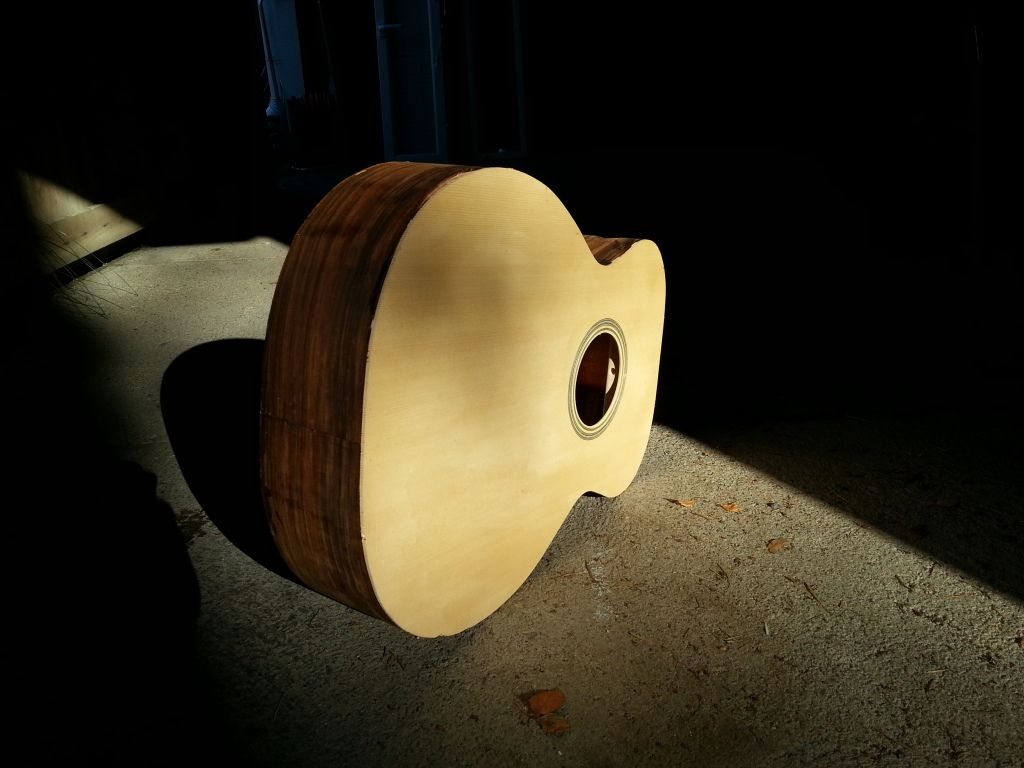
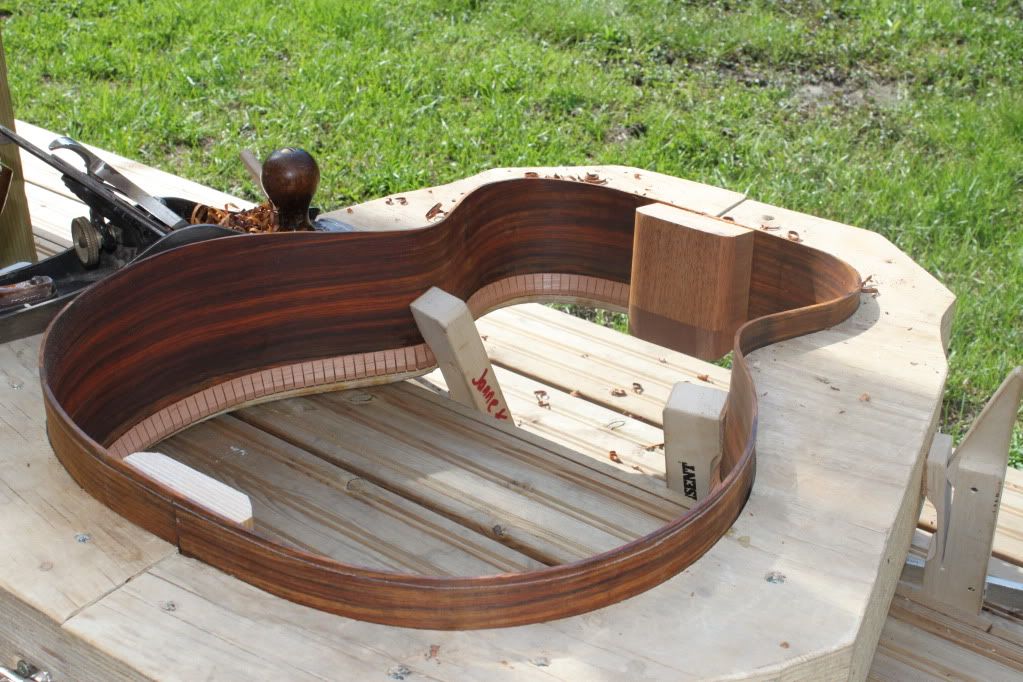
The top before the bevel is trimmed
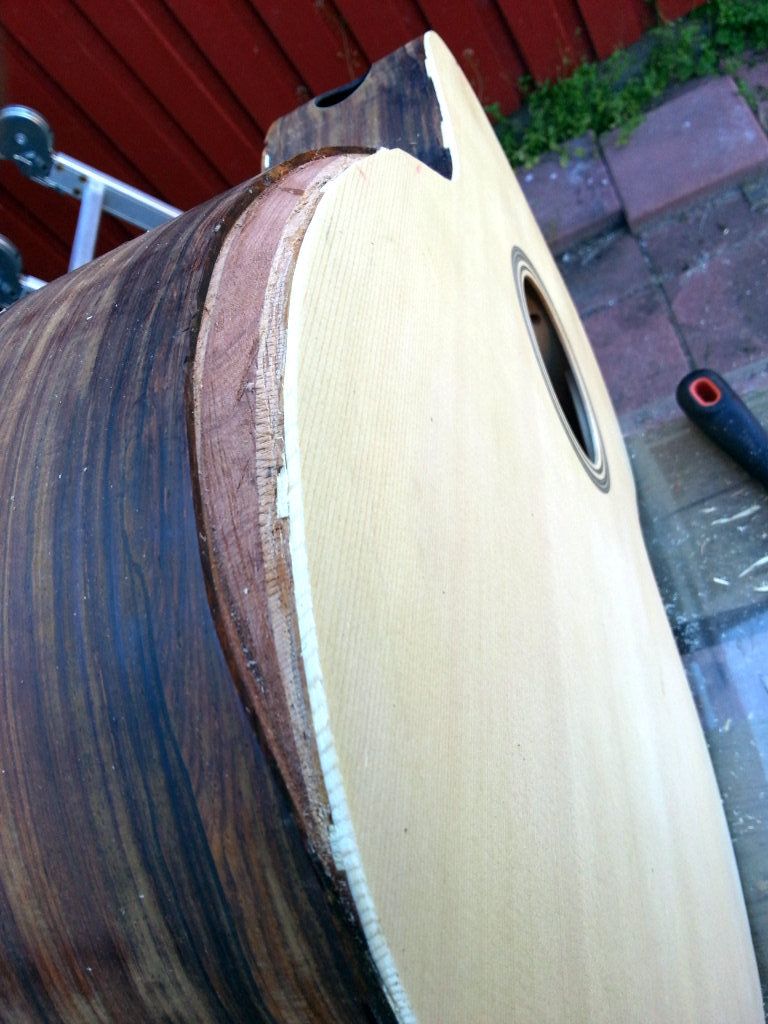
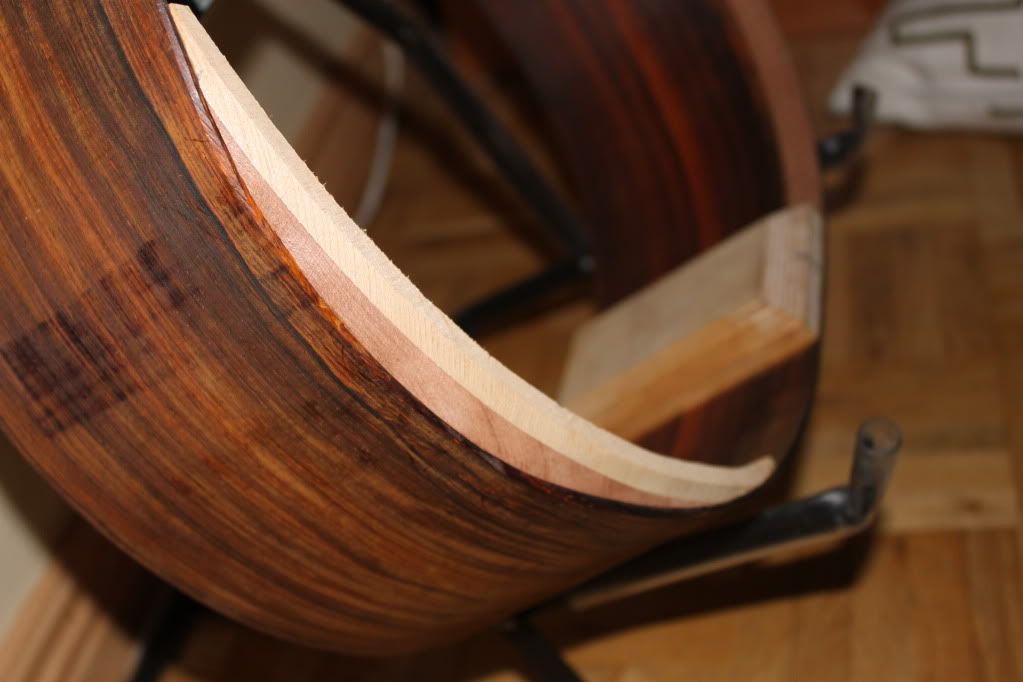
...and the still fuzzy bevel area in detail. There will be flamed maple
binding extension to cover the insides here. The top was trimmed
using traditional and oh, so sharp knife.
By the way, working with cocobolo you may get hurt. Cocobolo sawdust in my eye is the only explanation I could come up with, as I woke up with black and swollen eye. Shouldn't have spoken about the fist in the eye in the first place. This punch got in!


maanantai 11. kesäkuuta 2012

Top business

Gluing the top to the sides is a pretty straightforward business. The kerfing and the sides are notched to accommodate the brace ends. Then it must be ensured everything is lining up. Centerline of the top to the centerline of the heel and end blocks. If the centerline is missed, then the soundhole, for example, will be off. And believe me, human eye is pretty picky when it comes to symmetry... Asymmetry is OK if intended, but it's kind of difficult to explain to your customer (or yourself), why a soundhole of an acoustic should be 10 mm off to the bass side. Trust me. Been there...

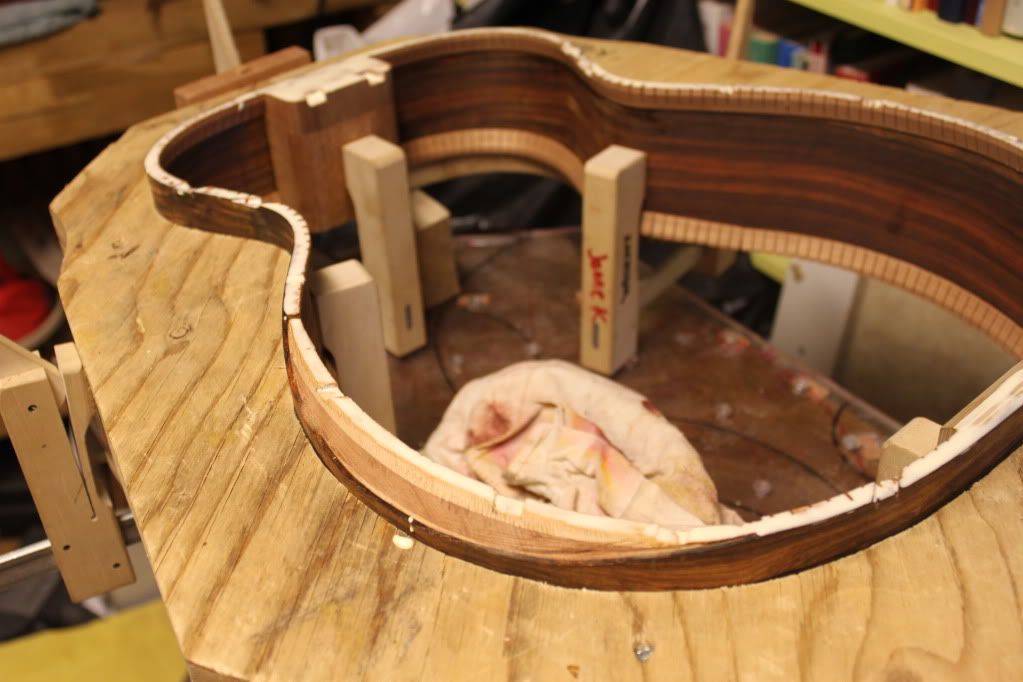
Depending on the radius of the top, the sides and blocks must be shaped a bit to make a perfect fit. I do this using my top radius board and a BIG sheet of sand paper. With the rim in the mold, I sand the sides until they fit. Then it takes just some Titebond & gentle clamping power to finish the job.

The whole area is penciled to see when it's completely sanded
Here you see the end block is slanted - the gluing surface is the same in width as that of the kerfing's.
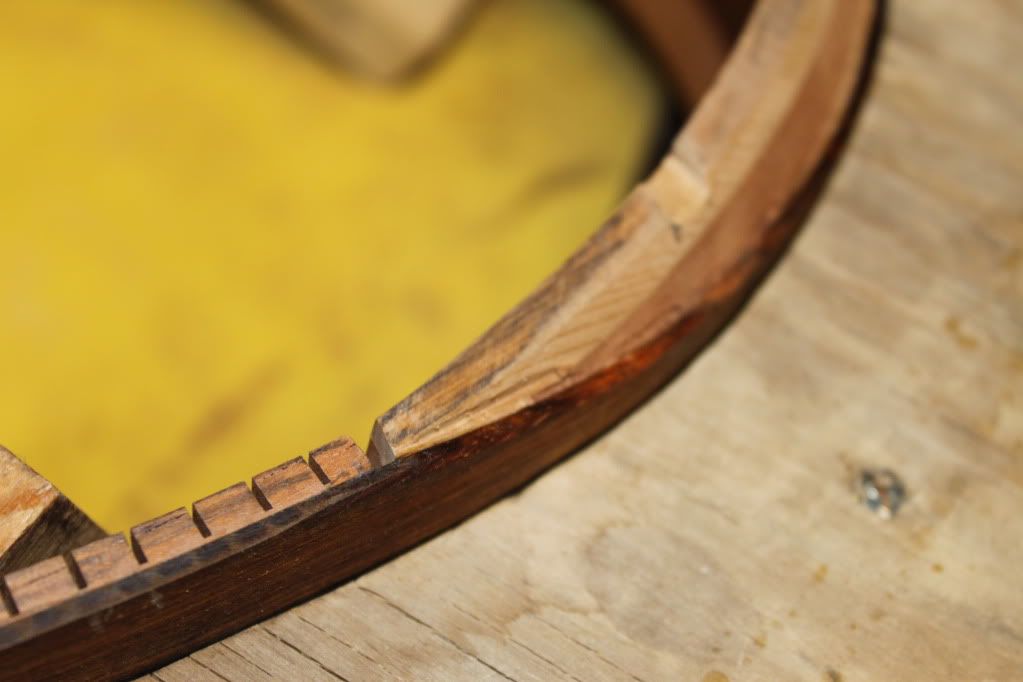
Here you can see one of the notches that take the top braces
The A-frame upper bout bracing fits in to the heel block
This turned out to be not so good method this time. Even thou clamped in the mold, the rim gave in to the clamping pressure and left some parts loose. So some sanding in between and re-gluing took place later.

perjantai 25. toukokuuta 2012

Comfort point of view

Guitars have long been made exactly the same way. The shapes and sizes are time proven standards. Every now and then somebody has tried to re-think the construction of the guitar, sometimes with great success, sometimes with epic failures. I'm a tradition oriented guy, and try to construct my guitars with the classic shapes in mind. But. During this learning process I've stumbled through since 2008, I've encountered some interesting deviations of the tradition, ones that do little to the overall appearance, but enhance the playability and comfort of the guitar from the player's point of view.

The one's I've tried and liked so far are:
1. Soundport that directs part of the sound from the soundbox toward the players ears. Soundports divide people and real luthiers, but based on my short experience, I'm definitely for them.
2. The Manzer wedge shapes the sides of the guitar so that the treble side is deeper than the bass side, making the guitar sit easier on the lap of the player and slanting the top a bit more towards the player. This eases the probable right hand shoulder problems with bigger bodied guitars.
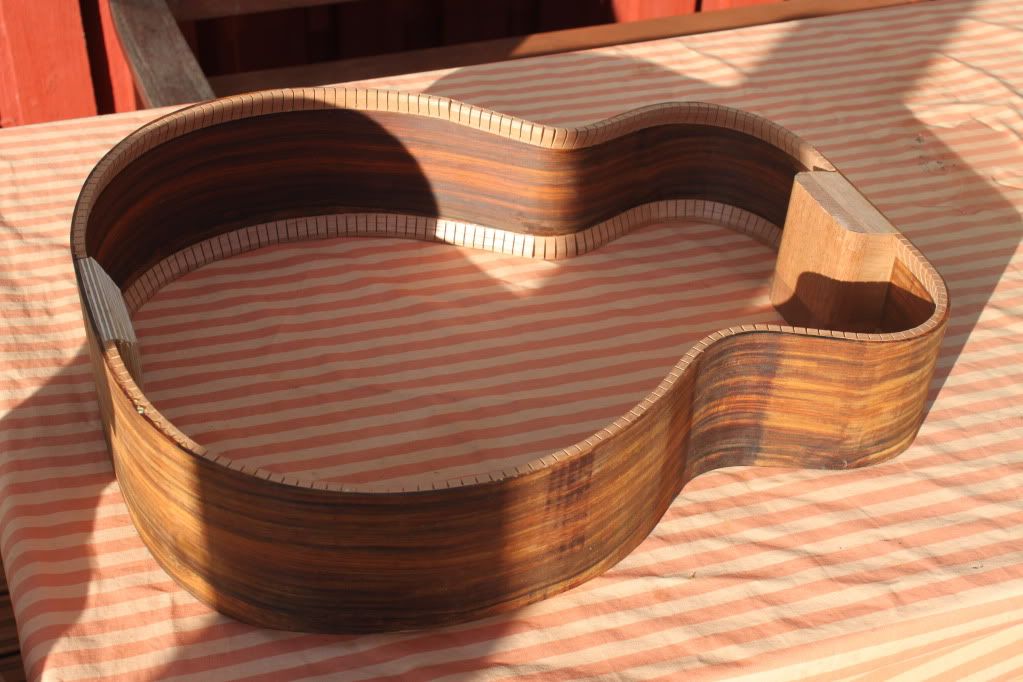
3. armrest/Ryan style bevel takes the sharp corner off from where the right hand curves over the side to the top. I've done two external armrests, and this is the first time I'm trying the integrated Ryan style bevel (go google for Ryan bevel and Ryan acoustic flutes to get the original idea). Below are a few pics of the "guts" that I think go into it.

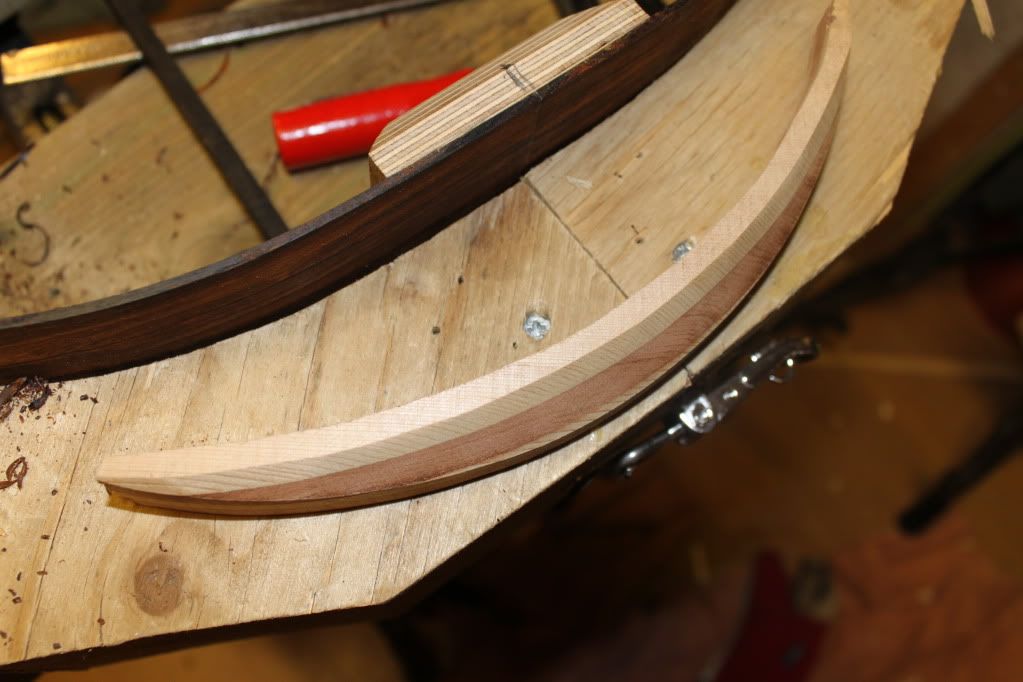
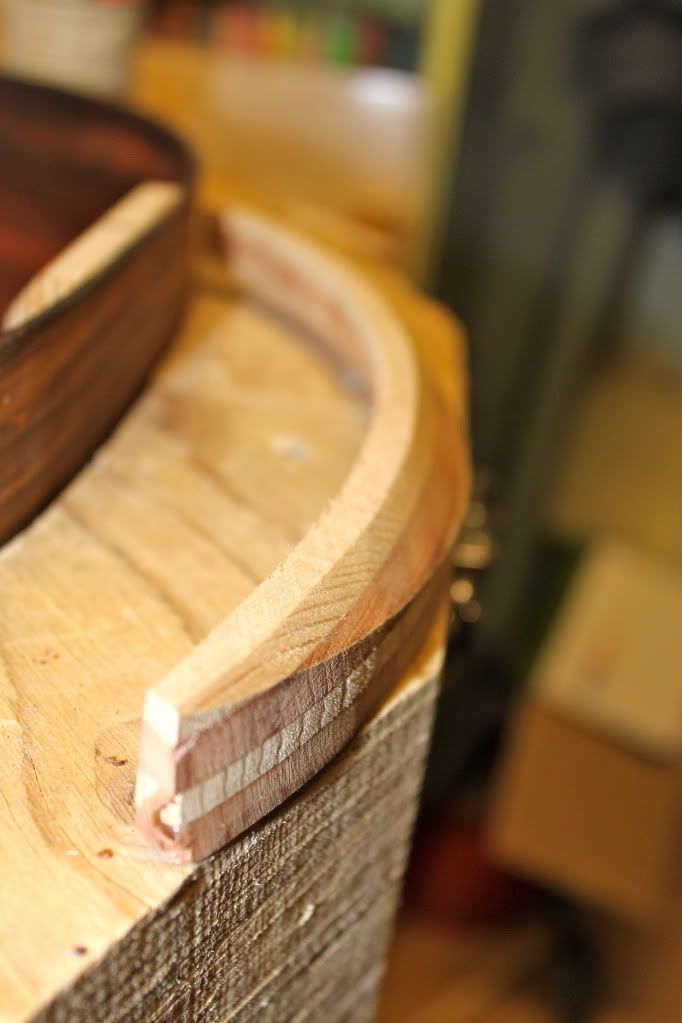
I started be laminating scraps of cedar and redwood into a thick enough chunk. Then traced the inline of the side and band sawed to a rough shape
Further shaping was done with belt/disc sander. In finnish the pros call it "jeputtaminen". Something learned from my guitar building friend Miika
The about 45° is the backing surface for the bevel veneer.
Clamp well!
And here we are. The side is trimmed down a bit, and the top gets a little asymmetric. But playing comfort is increased in hours!
Just a little trick to trace down the Manzer Wedge outline. Kerfing is like a flexible ruler. Just don't glue it here!
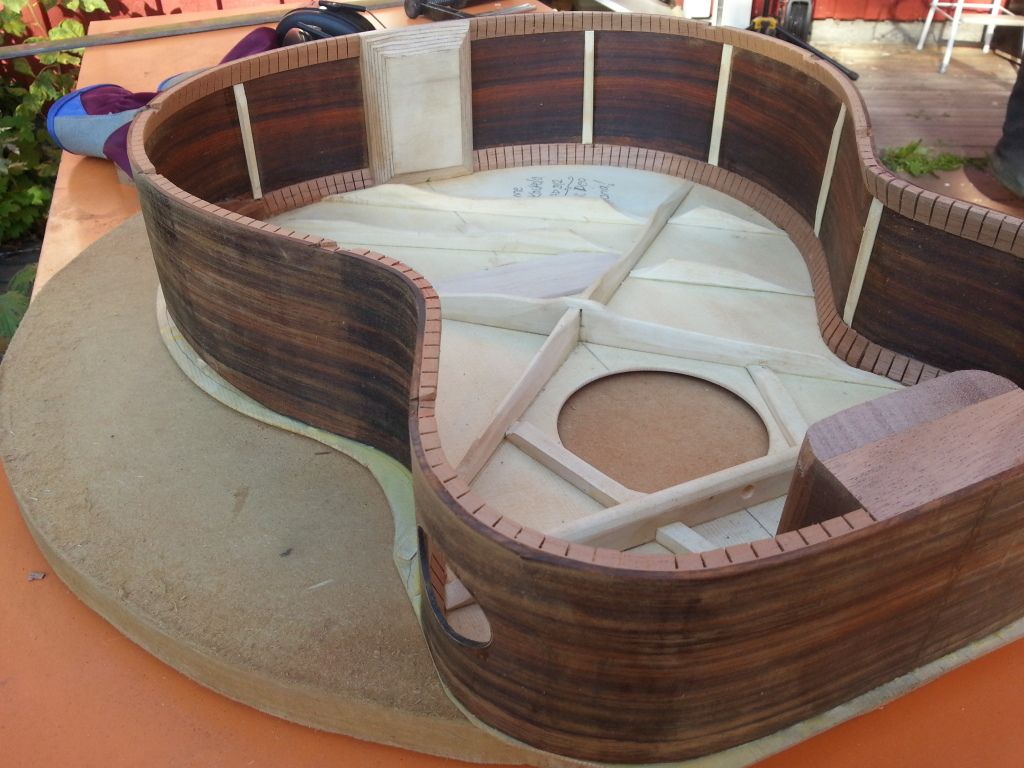
Under the hood the bevel looks like this
Preparing for the back kerfing.
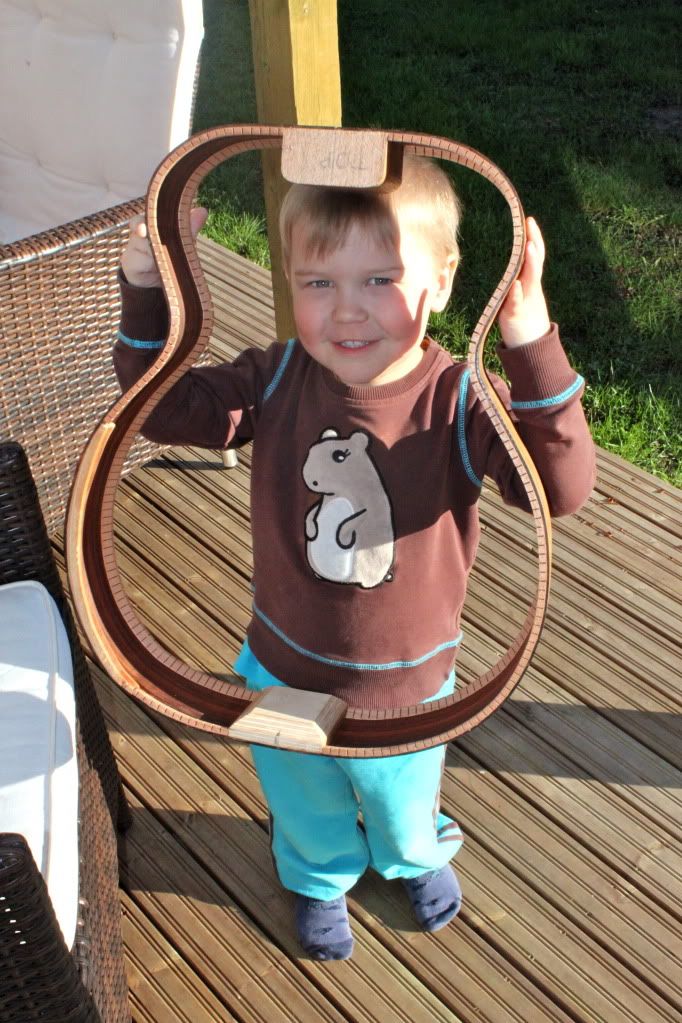
Proud apprentice peeking through
The subtle wedgines is roughly 15mm