Näytetään tekstit, joissa on tunniste cocobolo back. Näytä kaikki tekstit

perjantai 20. huhtikuuta 2018

Solid Wood Amp Cabinet

It's been a while since I last posted here. But here we go again!

I bought some top/body wood for future acoustic builds, and received a nice billet of Padauk as extra. It was just a tad too short to be cut into guitar back & sides, and thus I finally figured a use for it. It was resawn into 13mm panels to make a new, flashy looking cabinet for my Fishman Loudbox Artist acoustic guitar combo amp.

Here are some pictures of the build process with short explanations attached!

The start. Rough cut 50mm thick mystery plank showed
some nice red texture with distinct rosewood-like scent
After initial planing it showed its true beauty!
Then it popped to my mind. Would the plank be enough
to make a new cabinet for my combo amp?
After taking the measures, time to take
the old cabinet apart 
New side panels: Solid wood
in stead of particle board
Loudbox Artist has a tilted cabinet, and most
of the angles were something else than 90°.
I glued the back to the bottom plate on top
of the old cabinet to get support for the seam 
The front plate and top plate under the amp head were made of 12mm plywood

Testing the fit before final glue down
Box together, short of front grille only.
On the floor you can see the old MDF cabinet. A future birdhouse perhaps? 
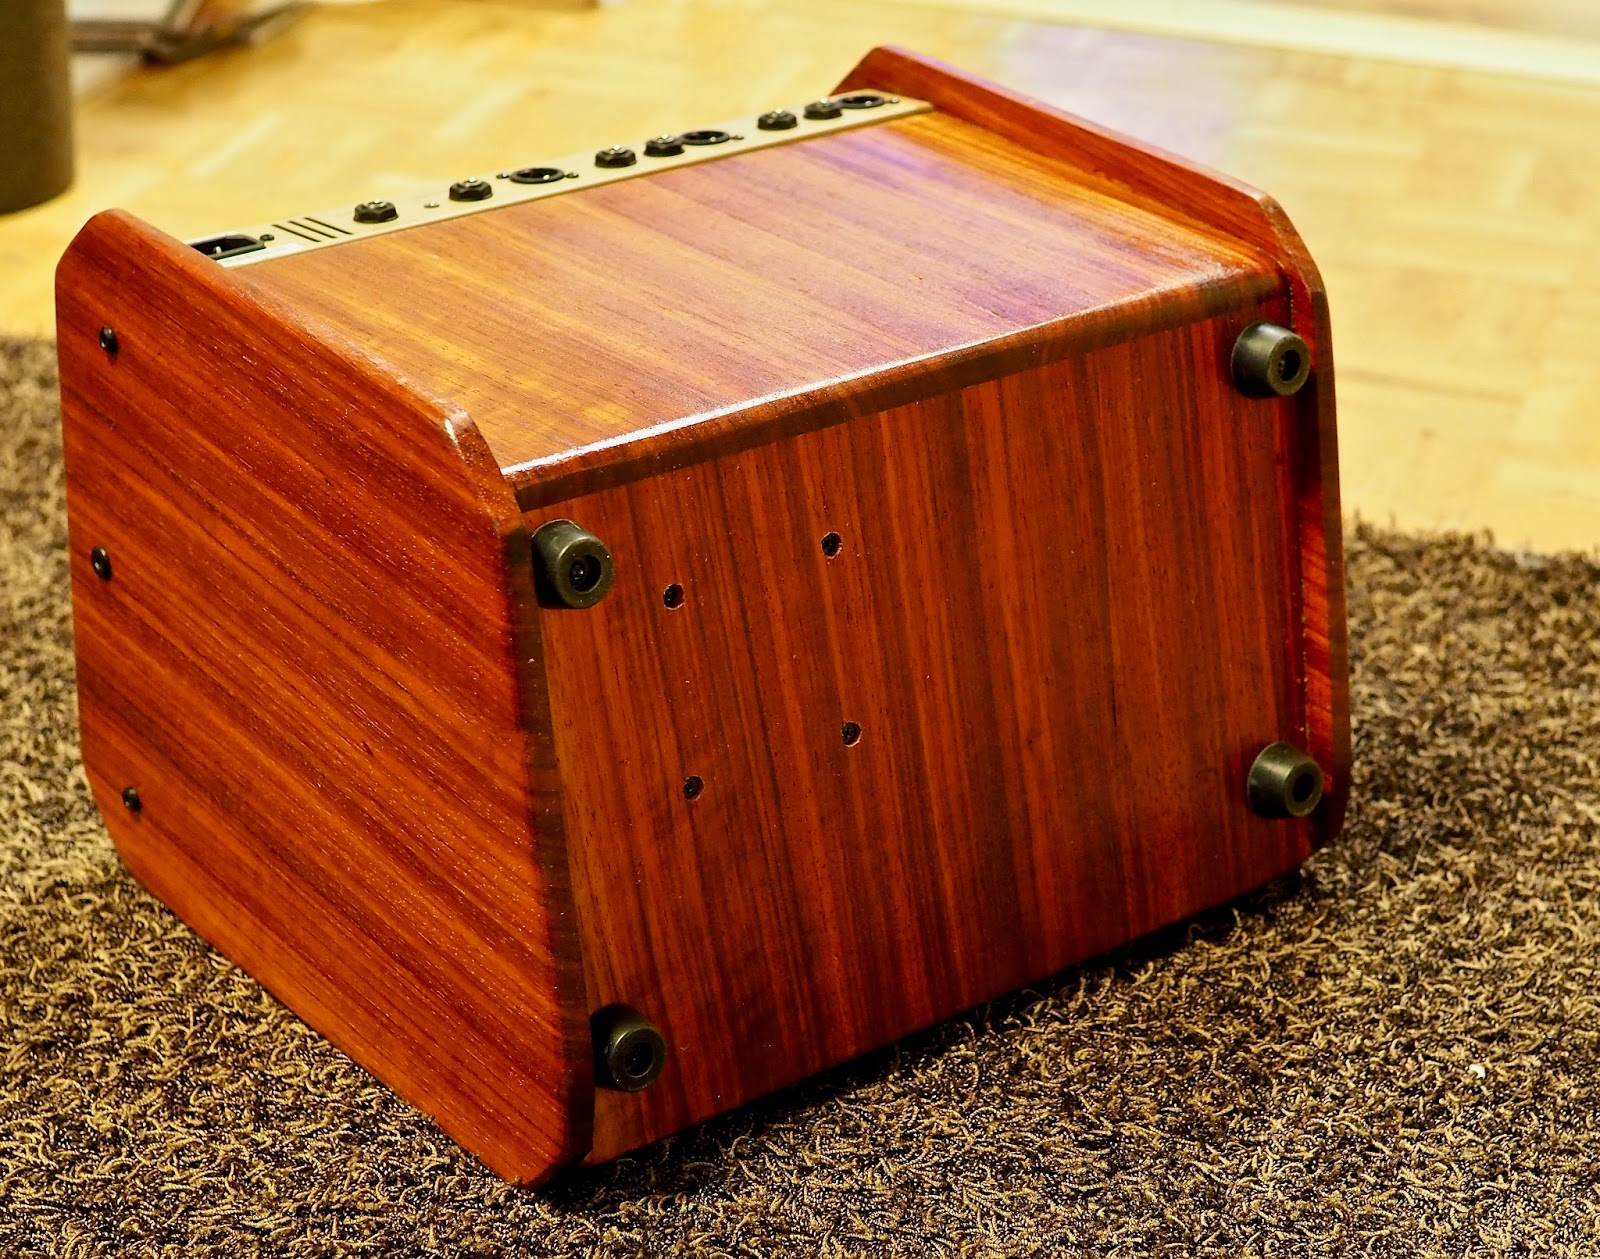
Done! I decided to discard the plastic corner protectors. I promise to be careful!

Looking unique!
The sides the audience will never get to see


How does it sound? As good as always!
ToneDexter and Voicelive Play Acoustic bring nice
spice to the already gig worthy sound.
Padauk cabinet matches nicely my
cedar-cocobolo Terz guitar.

perjantai 17. toukokuuta 2013

A little soundscape and sunny pictures

Here's the last ones, promise!


Recorded with a large diaphragm mic through presonus firebox into Logic. Just a little EQ, no reverb.
http://youtu.be/ePYhv-D-8gg

keskiviikko 15. elokuuta 2012

Gluing the back

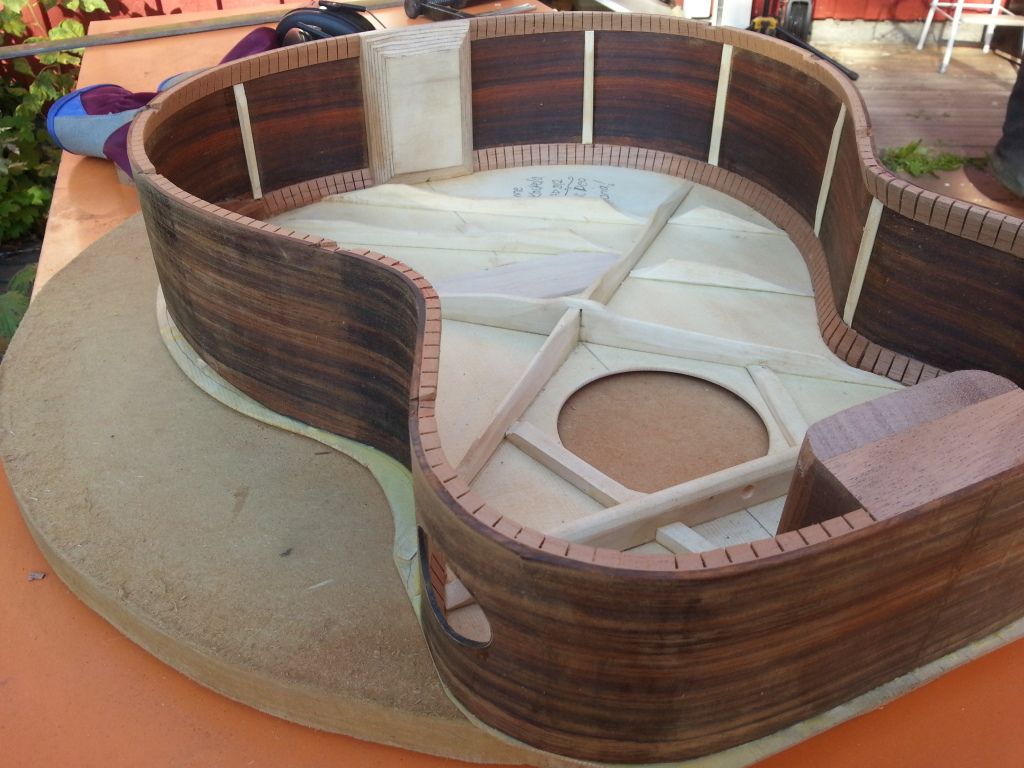
The back is now attached to the sides and the box closed

The pencil markings are gone and fit should be perfect! I notch the sides
 to accommodate the back braces. This way, the bracing never comes loose.
On the other hand, If id does come loose, it's a bit trickier to re-glue.
But there are tools for that too, so not to worry...
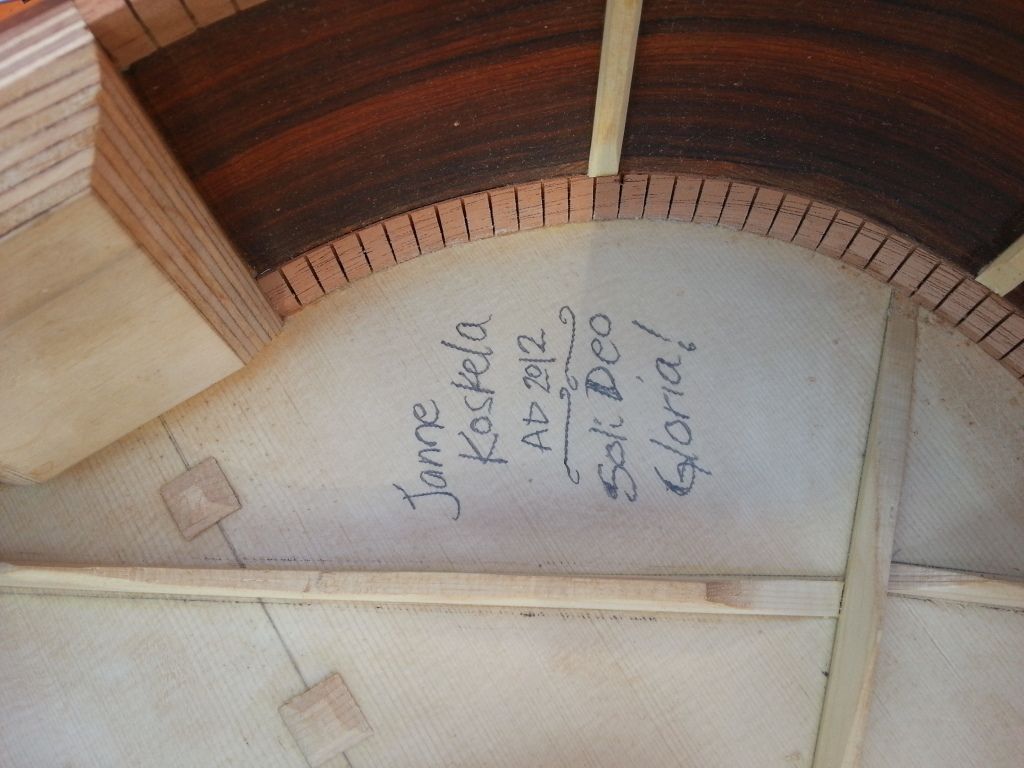
A little message, should somebody ever open the box again.
The little squares are there to reinforce the center seam
agains any splitting.
Applying the glue with a very sophisticated high tech
tool I got from my parents some 35 years ago.
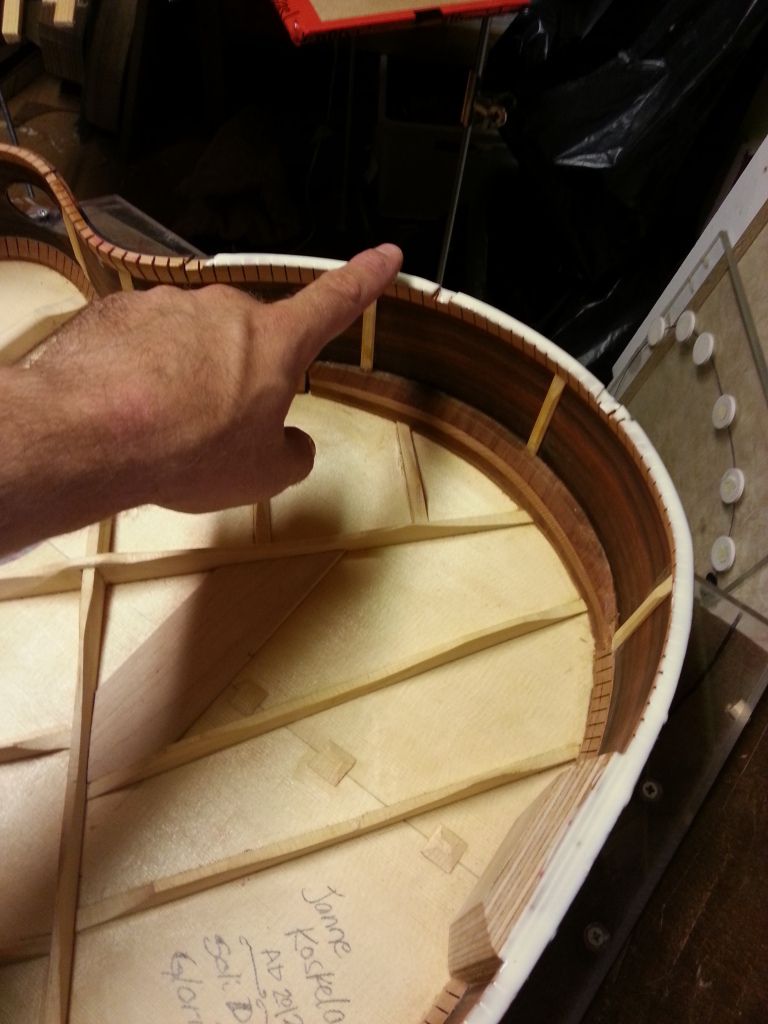
The end block is angled so that the gluing surface is approximately
 the same as that of the kerfing's
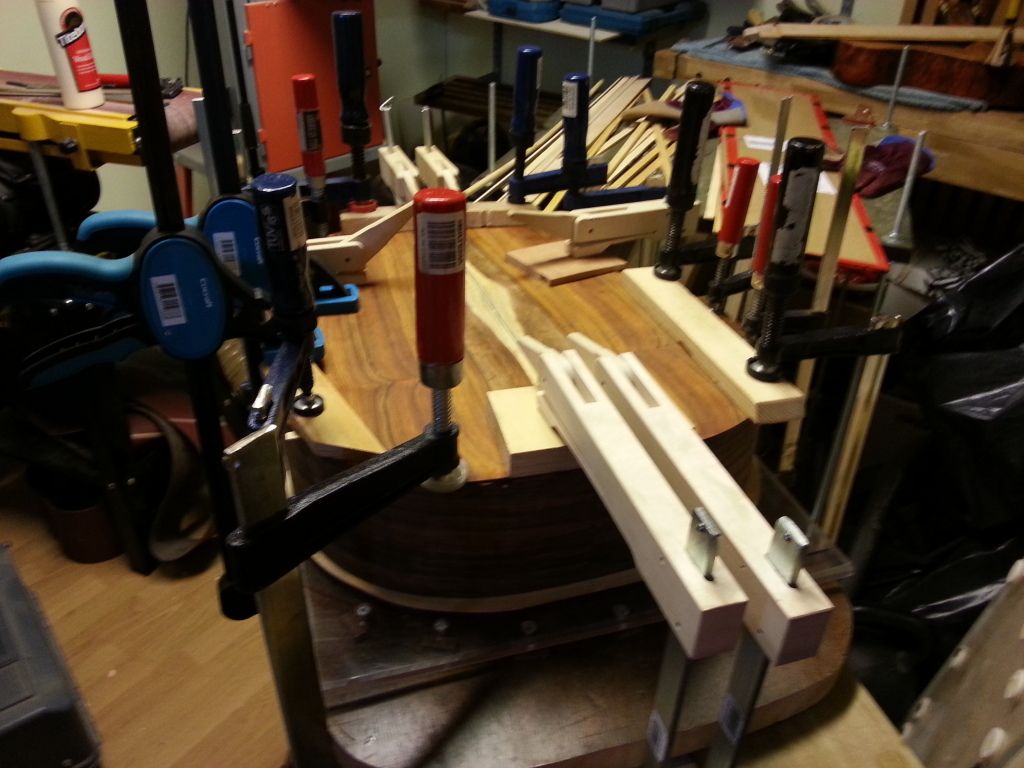
Lots of clamps, but only gentle force, since everything fits
together like a fist in the eye (like we say in Finnish)
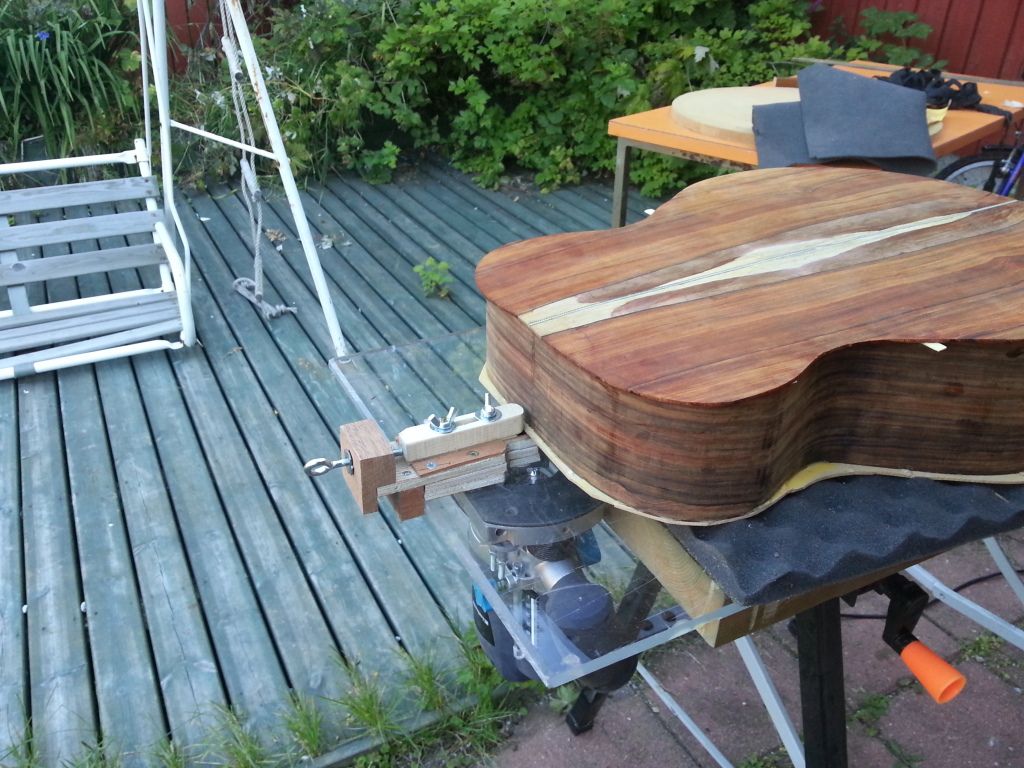
I cut the overhang of the top and back using my handy
 router setup. It's easy, fast and foolproof.
Below is a little video of the setup in practice.
The sound of the router is one of the nastiest in the industry...
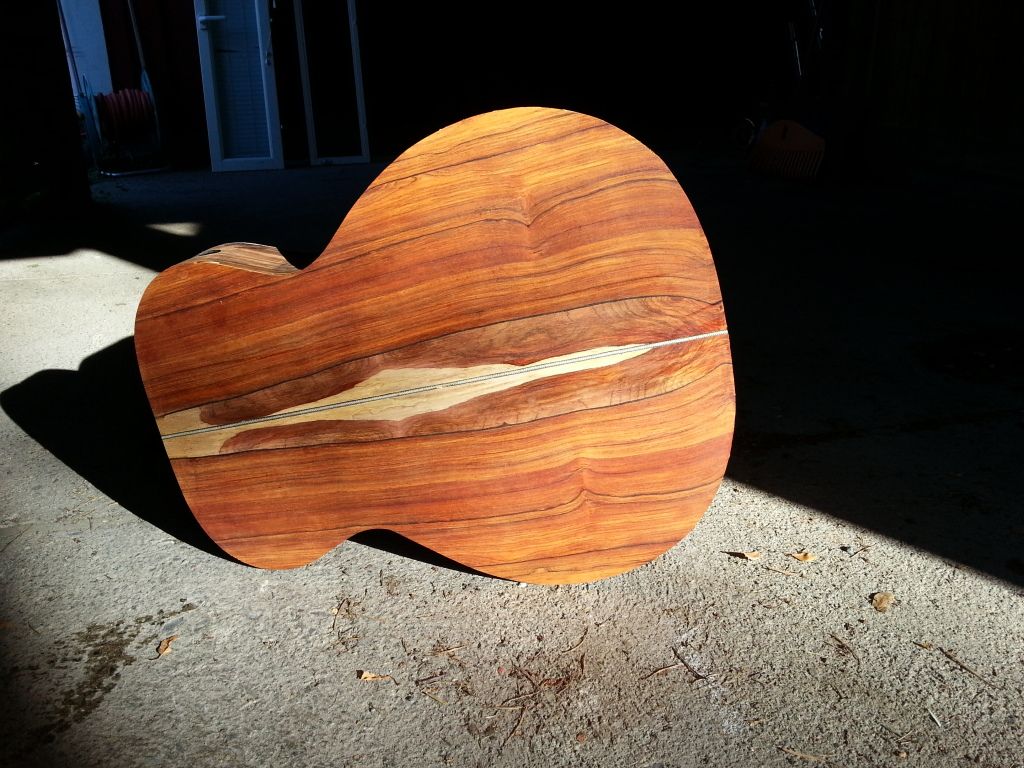
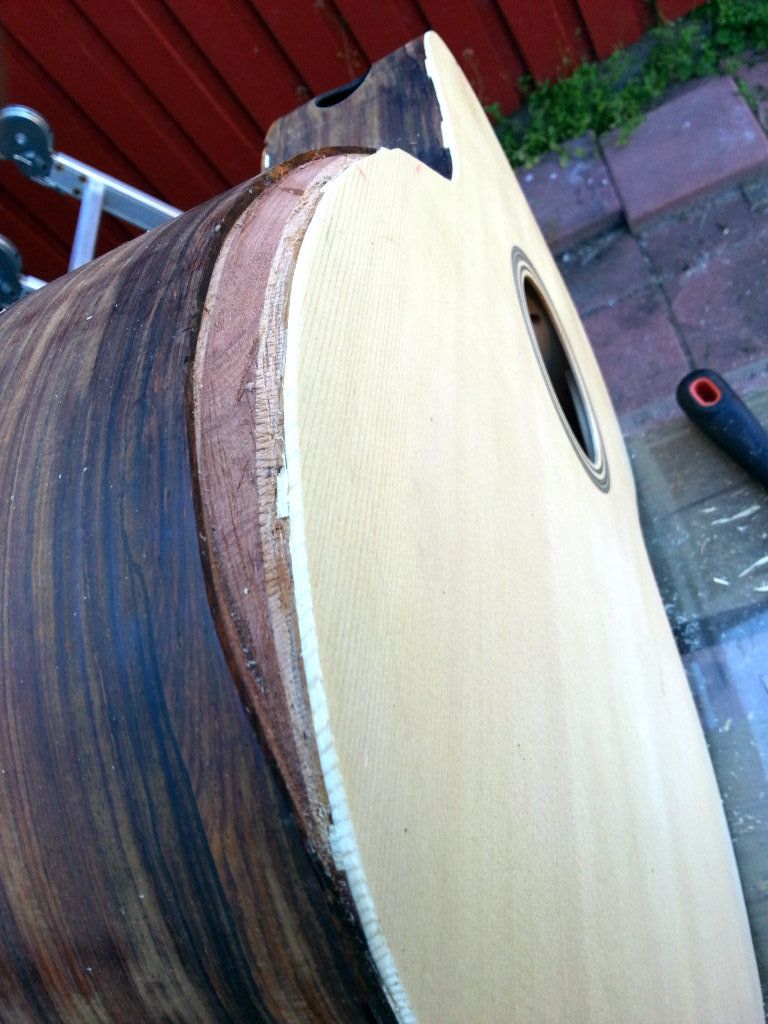
Freshly trimmed back in the morning sun.
I wouldn't mind looking at it every day.
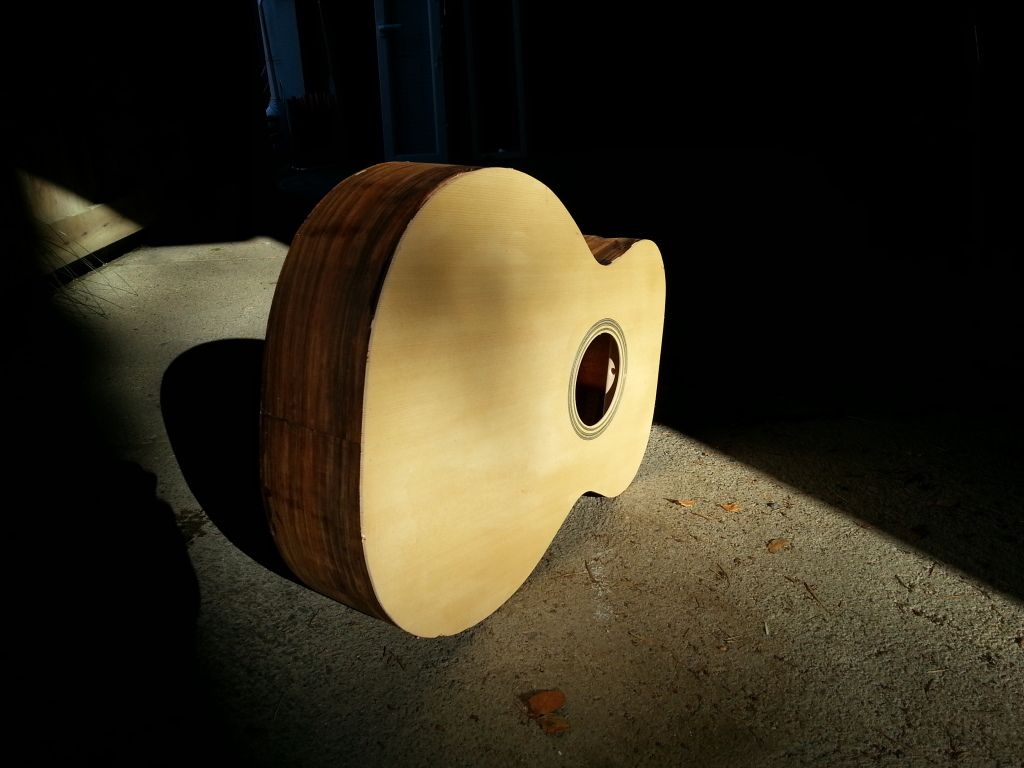
The top before the bevel is trimmed
...and the still fuzzy bevel area in detail. There will be flamed maple
binding extension to cover the insides here. The top was trimmed
using traditional and oh, so sharp knife.
By the way, working with cocobolo you may get hurt. Cocobolo sawdust in my eye is the only explanation I could come up with, as I woke up with black and swollen eye. Shouldn't have spoken about the fist in the eye in the first place. This punch got in!