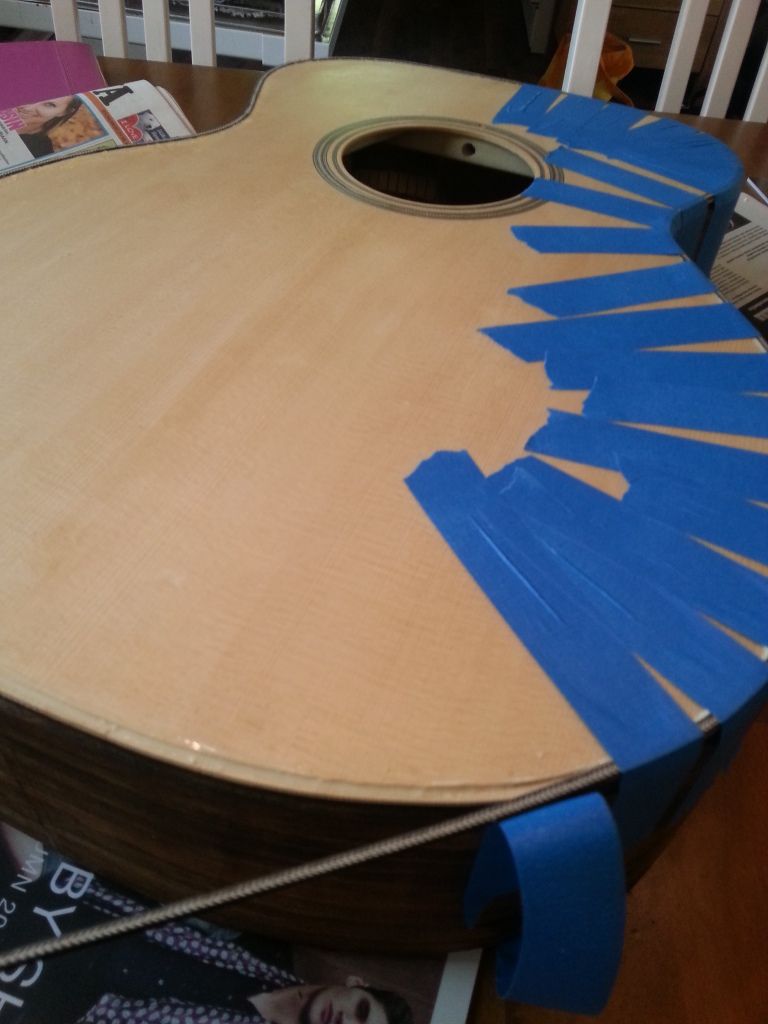
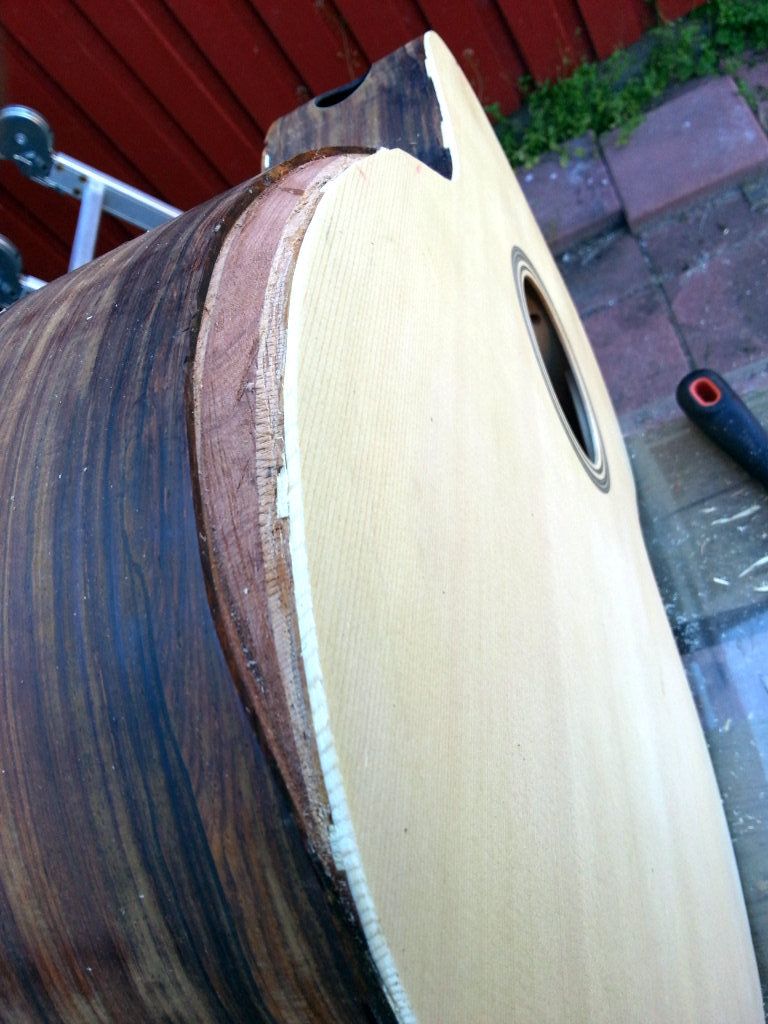
Glued down the herringbone top purfling last night and today. It was a bit trickier than usually, for I had to figure out the bevel area. I ended up cutting the ledge for the purfling with my binding/purfling tool that you got to see in action in the previous post. The bevel area I cut by hand, using a sharp micro chisel and knife.
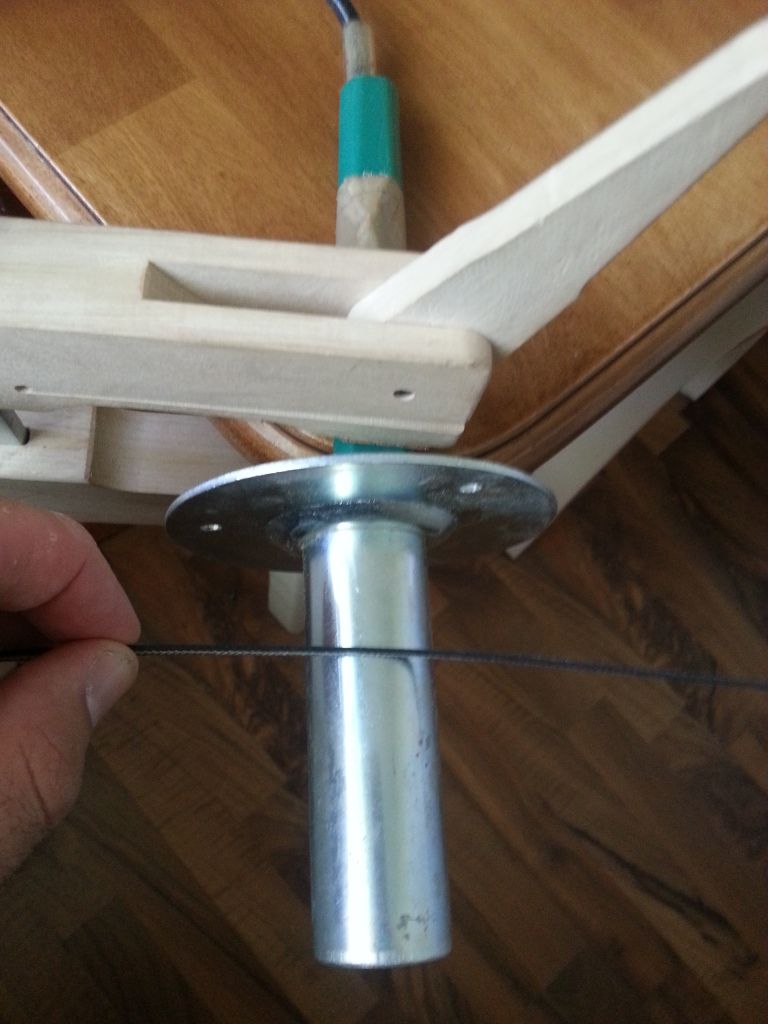
I bend the herringbone using a simple setup: an old soldering iron clamped to the table, and a piece of metal tube around the shank as a heat sink and working surface. The iron itself is too hot to work with, but the tube nicely tames the heat a bit.
For gluing down the binding, I absolutely recommend using the BLUE, weatherproof masking tape.
Tässä blogissa selvitetään kuvin ja sanoin, millaista puuhaa on rakentaa akustista kitaraa kotosalla. In this blog I'm telling with words and images how it's like to build an acoustic guitar (or a few) at home.
lauantai 18. elokuuta 2012
keskiviikko 15. elokuuta 2012
Gluing the back
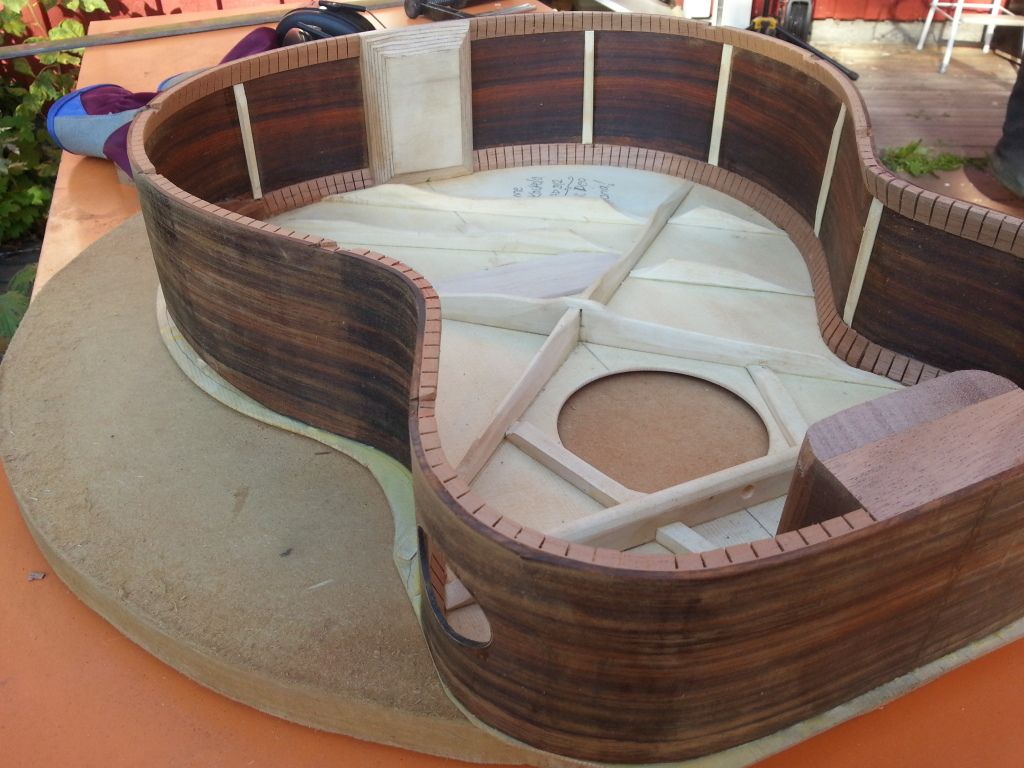
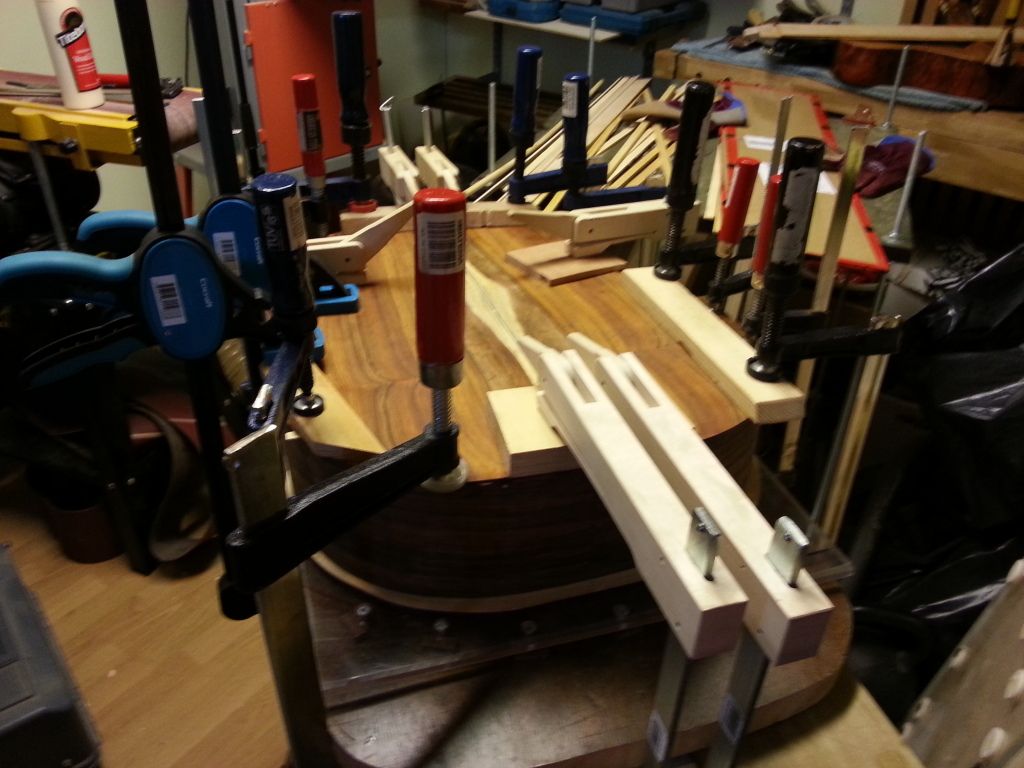
The back is now attached to the sides and the box closed
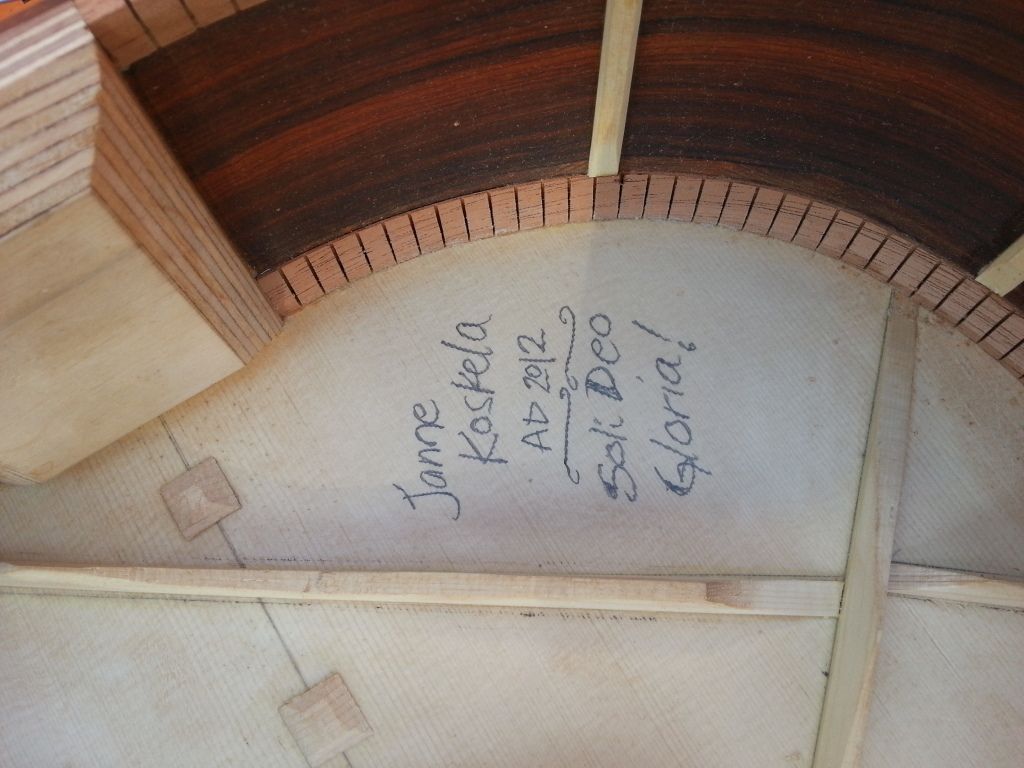
| A little message, should somebody ever open the box again. The little squares are there to reinforce the center seam agains any splitting. |
| Lots of clamps, but only gentle force, since everything fits together like a fist in the eye (like we say in Finnish) |
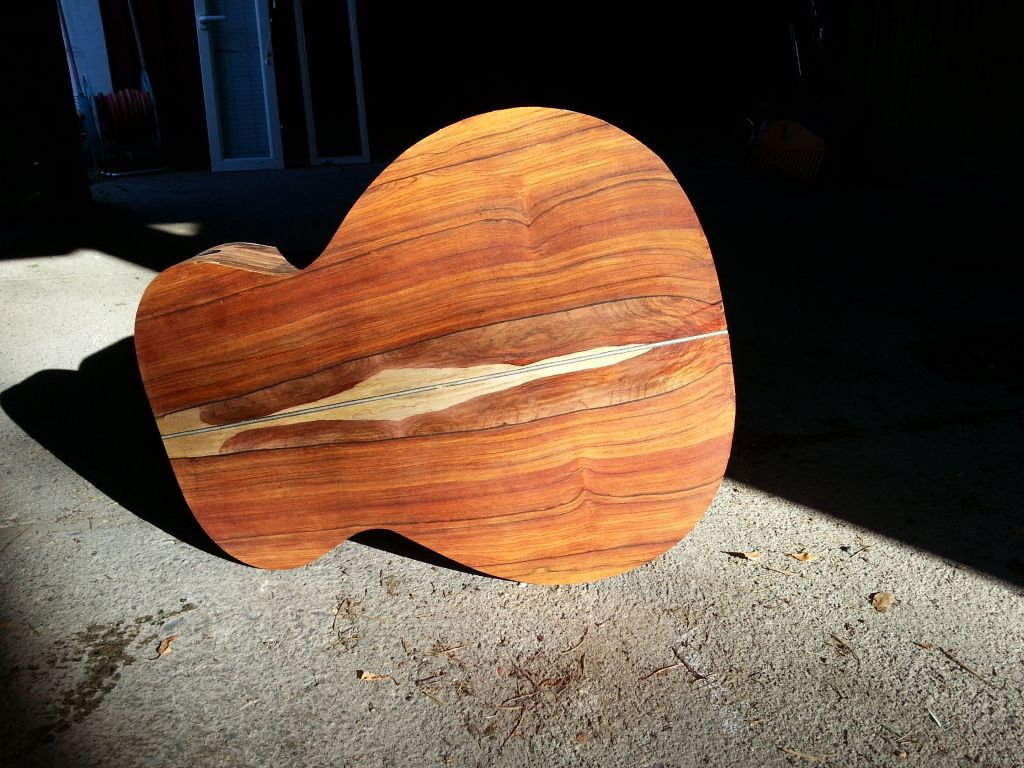
| Freshly trimmed back in the morning sun. I wouldn't mind looking at it every day. |
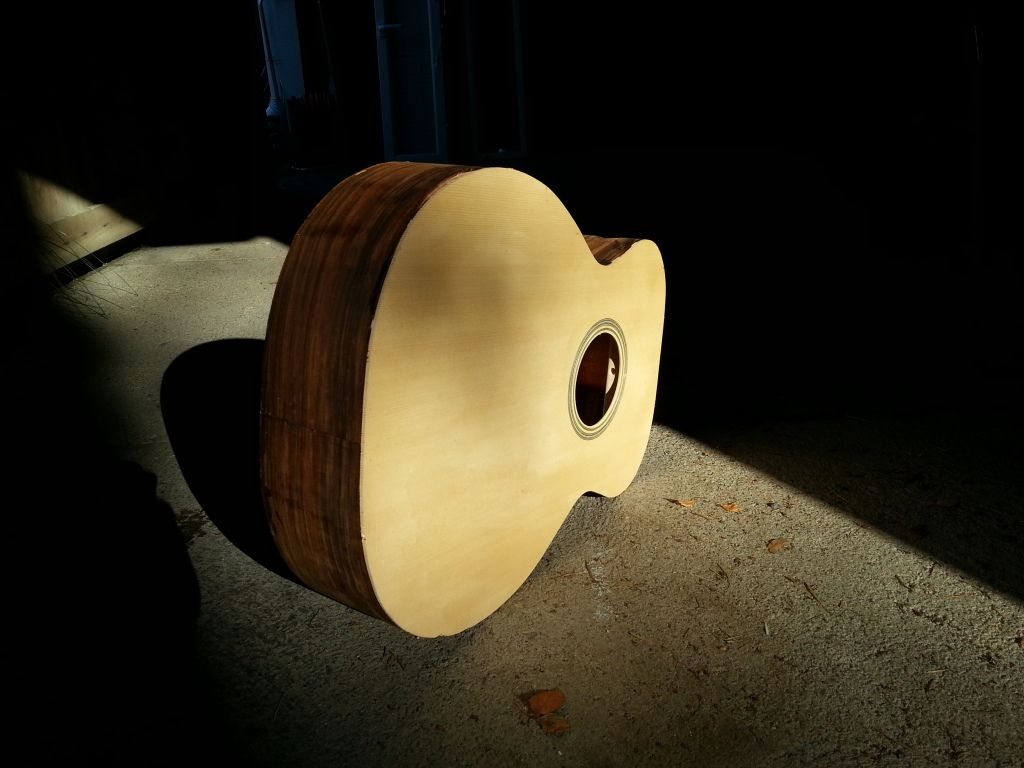
| The top before the bevel is trimmed |
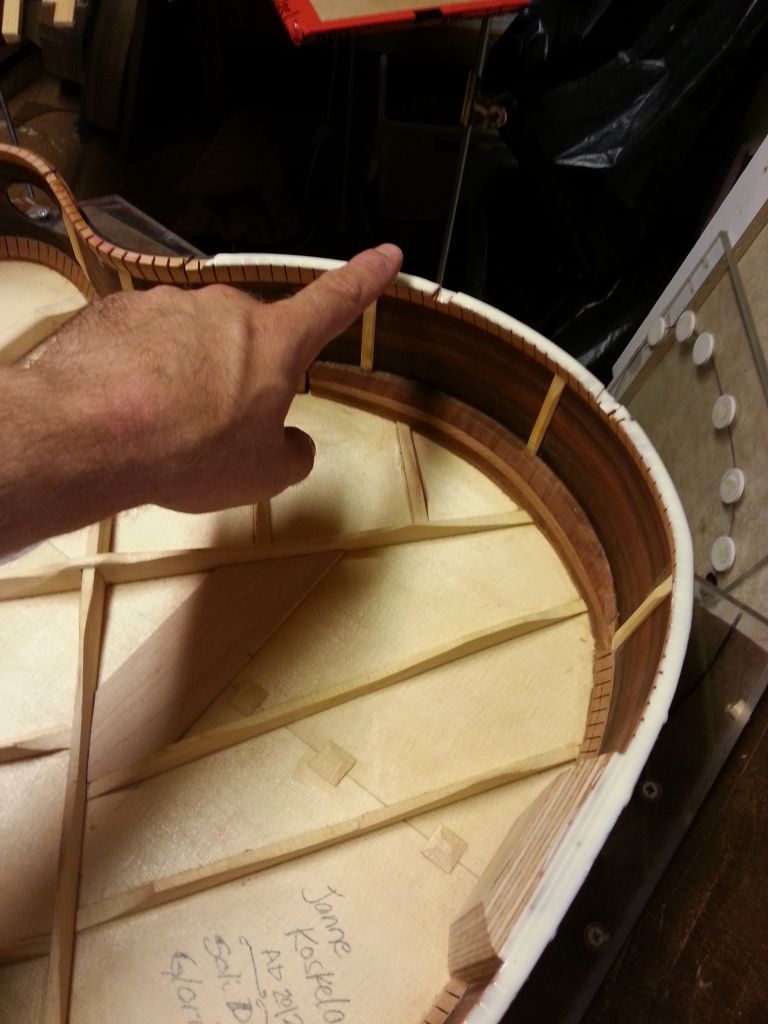
| ...and the still fuzzy bevel area in detail. There will be flamed maple binding extension to cover the insides here. The top was trimmed using traditional and oh, so sharp knife. |
Tunnisteet:
cocobolo back,
gluing the back,
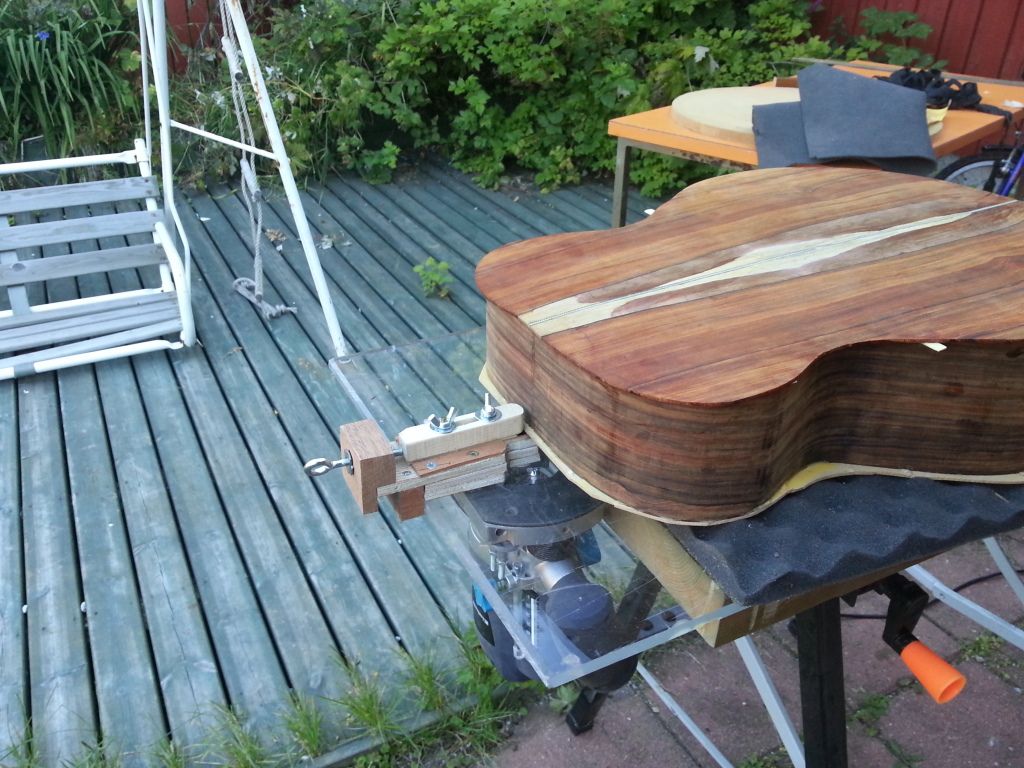
router setup,
ryan bevel,
sapwood,
trimming the overhang
Tilaa:
Blogitekstit (Atom)