Näytetään tekstit, joissa on tunniste akustinen. Näytä kaikki tekstit

maanantai 20. helmikuuta 2012

Top to the rim

It's funny how a hobby can be so rewarding. Seeing an acoustic guitar coming together piece by piece, brings such a joy to my esthetic eye. Knowing it was I whose hands and effort made it happen, makes the feeling even better. I'm humbled and privileged to have the opportunity to work with these things. Thank you, Heavenly Father! Thank you, my dearest wife! Thank you friends who have asked me to build a guitar for you!

Jyrki's guitar got it's top and sides glued together today. The body is going to have two additions to the "ordinary" double O -style:
First, there's my interpretation of the Manzer Wedge shape, making the body thinner at the bass side and thicker at the treble side, thus making the guitar more comfortable to hold and play. In a small guitar like this, it wouldn't be utterly necessary, but as I build the 00's some 10mm deeper than Martin, the slight wedgines makes a difference for the rib cage in longer sessions.
Second, there's a soundport on the upper bout of the bass side, making the guitar project towards the player's ears too. 
Not much in this pic. Only pressure. The four cam clamps I got
 from Bauhaus are awesome! Light and handy. 
The inside view.  Side kerfing is mahogany, side "bracing"
western red cedar. 

There's propably still homework to do
 with symmetry. But I'm approaching...
This one's a lot better try than #1#.


tiistai 13. syyskuuta 2011

DIY internal microphone

Amplifying an acoustic instrument is not an easy task. Picking just the strings isn't enough, because the body resonances are the ones that make the sound "acoustic". My take on the subject is going dual source. The guitars are equipped with a triple soundboard transducer (K&K Pure and JJB Electronics Elite). I like them, because they are pretty inexpensive and offer quite natural response through the frequency range. The dreaded "piezo quack", unnatural high frequency, usual in under saddle piezo transducers, is not so dominant in these soundboard/contact transducers.

Anyway, to add some "air", "naturalness" "whateveryouwannacallitthatsoundsbetter", I use an internal miniature electret condenser microphone. The two passive signals are routed out with a stereo 1/4" cable and into a Presonus Acousti-Q preamp/blender. It's got volume controls for both signals and very nice eq.

I thought I'd report an easy way to make a "gooseneck" condenser mic. This model works only with a preamp feeding 2-12V phantom power to the mic, thou. For a standalone version you'd need a condenser,  a resistor, a 9 volt battery and few inches more wire in addition.

A little sound clip: Dual Source -> Acousti-Q -> Firebox -> Garageband with a hint of EQ and reverb. The delay effect comes from Zoom A2 hooked in the Acousti-Q's efx loop
Gooseneck peeking through the soundhole
Here's the stuff needed to make a mic

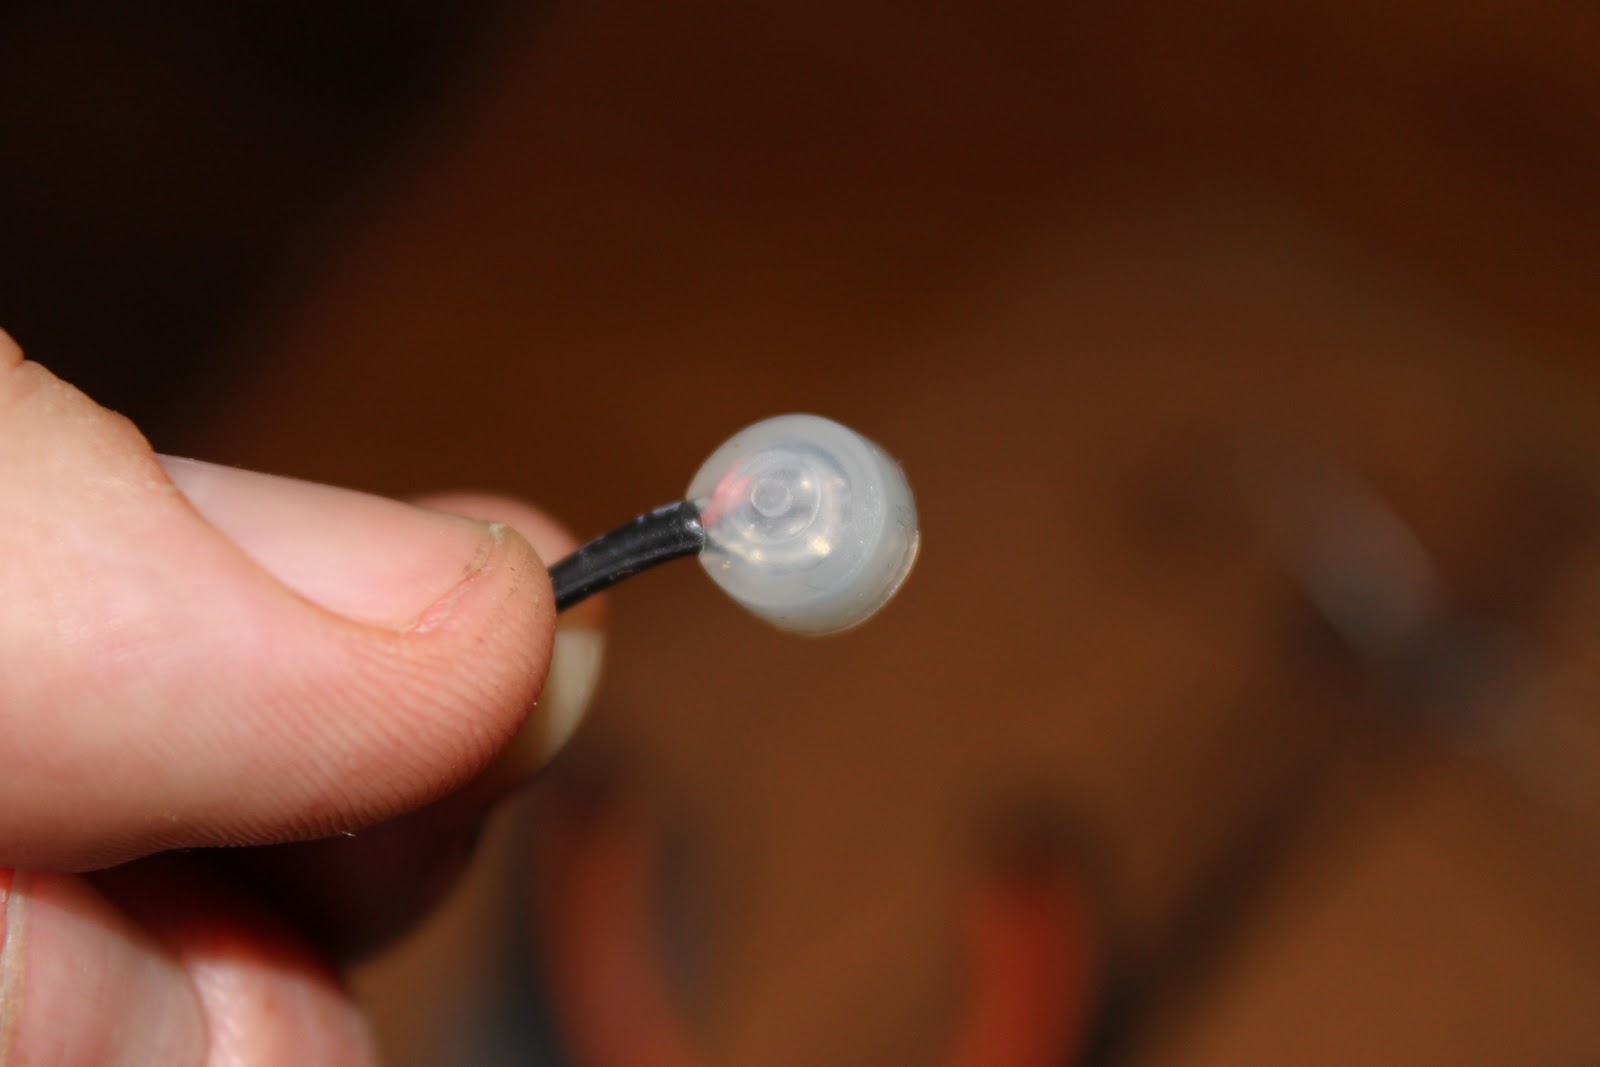
Panasonic capsule and shielded cable...

...soldered together


The capsule's got two terminals, one for hot, one for ground. 

They provide a handy silicon sleeve for the capsule.


Heat shrinking tube...

...and some wire...

...shrunk together...

And attached to a metal paper clip...


...and we're ready! The clip attaches to a back brace nicely and is easy to place to an optimal spot because of the bendable shaft.

This unit provides the phantom power the capsule needs, mixes the two signals and more. It's got a vacuum tube too!

keskiviikko 3. syyskuuta 2008

Oppia ikä kaikki...

Mitä jäi käteen ja korvan taakse ensimmäisestä projektista?

1. Hankinnat kannattaa suunnitella huolella
- Yhdestä paikasta saa yhtä, toisesta toista. Samasta paikasta ei kannata tilata kovin monta kertaa peräkkäin. Ainakaan samoja tarvikkeita. Yhteen kitaraan mahtuu yleensä vain esim. yksi talla. Ei siis kannata ostaa kahta.

2. Sivujen taivutuksessa ja liimauksessa käytettävää muottia ei kannata tehdä pahvista, vaikka se onkin halpaa ja kevyttä.
- Toisaalta,  jos tahdot rakentaa uniikin ja epäsymmetrisen soittimen, ota pikaisesti yhteyttä allekirjoittaneeseen...

3. Ennen sahan tai höylän käynnistämistä kannattaa mitata aina kahdesti tai kolmesti ja tarkistaa piirustuksista, mihin mittaan oltiinkaan tähtäämässä
- Trust me, I know what I'm telling you! Yhäti hieman lyhyeksi jäänyt lapa osuu silmään.

4. Älä säikähdä, jos kaikki ei mene piirustusten mukaan
- Ainakaan ensimmäisellä kerralla et ehkä onnistu luomaan aivan täsmällistä replikaa '29 Martinista, mutta saatat kuitenkin tulla luoneeksi toimivan ja mielenkiintoisen yksilön. Itse satuin "keksimään" kitaraani mm. parikymmentä milliä lyhyemmän skaalan kuin piirustuksissa, mutta soinnin ja soitettavuuden perusteella siitä tuli juuri sopiva tähän kitaraan!

5. Tärkeintä on maaliin pääsy, ei se, miten vaikea matkalla oli
Valmista lopputulosta tarkasteleva ulkopuolinen ei voi arvata, miten monta traagista vahinkoa prosessin aikana on sattunut. Kansi mm. halkesi pari kertaa, reunoista irtoili lastuja ja paloja jotka sai liimattua takaisin, kannen pintakäsittely meni uusiksi kahdesti, kaula tuli väärään kulmaan, talla halkesi... You name it - I got it solved out in my guitar.

6. Opi mestareilta
- Kantapääopiston kurssit pyörivät toki tauotta, mutta kaikkea ei ole pakko keksiä vaikeimman kautta itse. Suosittelen esim. Oulu-opiston kurssia sen sijaan!