Näytetään tekstit, joissa on tunniste acoustic guitar. Näytä kaikki tekstit

perjantai 20. huhtikuuta 2018

Solid Wood Amp Cabinet

It's been a while since I last posted here. But here we go again!

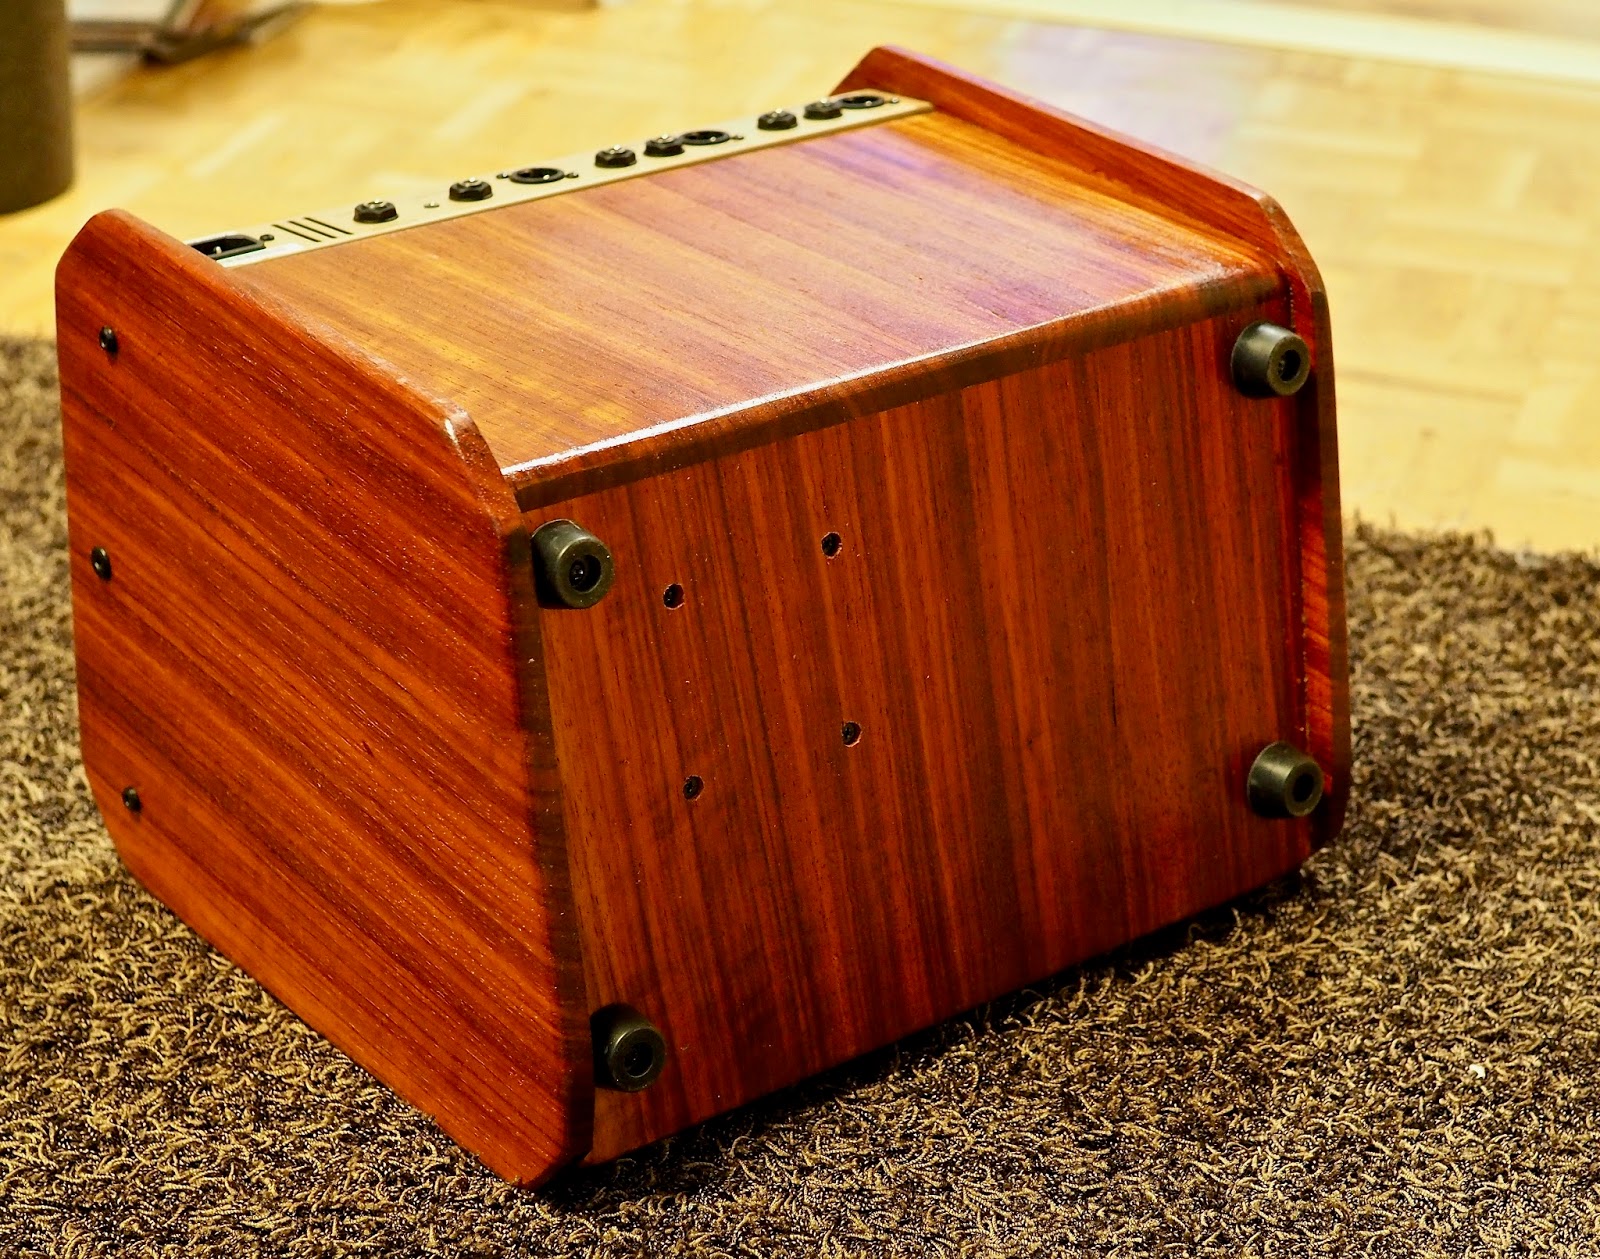
I bought some top/body wood for future acoustic builds, and received a nice billet of Padauk as extra. It was just a tad too short to be cut into guitar back & sides, and thus I finally figured a use for it. It was resawn into 13mm panels to make a new, flashy looking cabinet for my Fishman Loudbox Artist acoustic guitar combo amp.

Here are some pictures of the build process with short explanations attached!

The start. Rough cut 50mm thick mystery plank showed
some nice red texture with distinct rosewood-like scent
After initial planing it showed its true beauty!
Then it popped to my mind. Would the plank be enough
to make a new cabinet for my combo amp?
After taking the measures, time to take
the old cabinet apart 
New side panels: Solid wood
in stead of particle board
Loudbox Artist has a tilted cabinet, and most
of the angles were something else than 90°.
I glued the back to the bottom plate on top
of the old cabinet to get support for the seam 
The front plate and top plate under the amp head were made of 12mm plywood

Testing the fit before final glue down
Box together, short of front grille only.
On the floor you can see the old MDF cabinet. A future birdhouse perhaps? 
Done! I decided to discard the plastic corner protectors. I promise to be careful!

Looking unique!
The sides the audience will never get to see


How does it sound? As good as always!
ToneDexter and Voicelive Play Acoustic bring nice
spice to the already gig worthy sound.
Padauk cabinet matches nicely my
cedar-cocobolo Terz guitar.

keskiviikko 4. huhtikuuta 2012

Beginning the finishing

Here's a few shots of the beginning of the finishing of Jyrki's guitar. I love the point when the fine sanded woods start to come alive and get their finished colours under the first shellac coats. This is the point when faith is starting to turn into seeing...

Tung oil and french polishing are the ways to go in this shop. No spray guns allowed. Or needed.
The neck is finished with Tru Oil, a famous brand of gunstock oil. It'll give a nice, satin, woody feel to the neck. A thin layer is wiped on, the excess wiped off after a while, using a paper towel. I let each layer dry 24 hours after which I buff lightly with 0000 steel wool before adding the next coat. A week or so'll build up the thickness I need.
I prefer my necks with no tinting. The beauty of the wood itself something I don't want to shade with colors.
Age and natural UV rays will  darken the wood gradually.

The first step of french polishing is to seal the rosette, binding and purfling, so that no purple color from rosewood is traveling to contaminate the koa binding, white purfling strip or the spruce top. This is done a few times, using just a folded piece of cloth. Then the whole guitar is spit coated with shellac using cloth, before the actual polishing/building up action takes place.
I LOVE the tone and lustre of the koa binding against rosewood!

This time I'm trying Ubeaut Hard Shellac that is rumored to be harder and more durable than the ordinary shellac. We'll see that later.
The rosewood is pore filled with Timbermate filler from stewmac. It seems easier than the pumicing or epoxy methods that I've tried before. 

torstai 22. maaliskuuta 2012

Bound headstock and heel cap

I decided to try out two new things with the neck. Binding the headstock and laminating the heel cap of several layers. Both seemed to come out pretty nicely.
The koa wood binding with black/white/black purfling comes from stewmac and looks awesome!
Both the ebony fingerboard and the headstock are now
bound with koa, with black/white/black purfling at the bottom.
It does give the neck a pretty finished look!

The heel cap is walnut/koa/walnut/flame maple sandwich

The neck-to-headstock transition is not the smoothest possible yet.
Anyway, the binding has to be cut down to accommodate the bone saddle.
The side dots I made out of black shielded solid copper wire.
It looks a bit messy right now due to cyanoacrylate. Hope it cleans out later.

Some detail issues here. Fortunately out of sight of the right handed player

The fretboard position dots are classic 4mm abalone.

torstai 1. maaliskuuta 2012

Neck with a slotted headstock

Once the box is put together, it's come time to focus on the neck.
I'm making a scarf-jointed heel-stacked 12-fret spanish cedar neck with slotted headstock. The fine scent of Cedrala Odorata is just wonderful - worth working with!

I made the slotting by hand, drilling, sawing, chiseling and filing. Still some sanding is required, but I'm pretty happy with the outcome.

The tuning machines are Golden Age Restoration tuners from Stewmac. A fitting choice for an old-timey job like this 

Rosewood overlay with a 0,5mm walnut veneer in between

Umm, I think I might need to shape the neck a little more

sunnuntai 26. helmikuuta 2012

Binding and the tool to get it done

Jyrki's guitar has hit the binding state in the factory.

Rosewood/spruce is getting curly koa binding and a herringbone purfling for the top. To route the ledge for the purling and binding, I've made a little tool that I spotted a pic of somewhere. With this kind of fixture it's a breeze to cut safely and exactly the amount needed to accommodate the trims. Much easier compared to any and held device. Strongly recommended!


The Manzer Wedge visible, plus to my eye a nice maple/koa end graft detail. 
Simple but efficient


maanantai 20. helmikuuta 2012

Top to the rim

It's funny how a hobby can be so rewarding. Seeing an acoustic guitar coming together piece by piece, brings such a joy to my esthetic eye. Knowing it was I whose hands and effort made it happen, makes the feeling even better. I'm humbled and privileged to have the opportunity to work with these things. Thank you, Heavenly Father! Thank you, my dearest wife! Thank you friends who have asked me to build a guitar for you!

Jyrki's guitar got it's top and sides glued together today. The body is going to have two additions to the "ordinary" double O -style:
First, there's my interpretation of the Manzer Wedge shape, making the body thinner at the bass side and thicker at the treble side, thus making the guitar more comfortable to hold and play. In a small guitar like this, it wouldn't be utterly necessary, but as I build the 00's some 10mm deeper than Martin, the slight wedgines makes a difference for the rib cage in longer sessions.
Second, there's a soundport on the upper bout of the bass side, making the guitar project towards the player's ears too. 
Not much in this pic. Only pressure. The four cam clamps I got
 from Bauhaus are awesome! Light and handy. 
The inside view.  Side kerfing is mahogany, side "bracing"
western red cedar. 

There's propably still homework to do
 with symmetry. But I'm approaching...
This one's a lot better try than #1#.


tiistai 1. marraskuuta 2011

Brace shaping and back bracing

Top braces are now shaped and the rosewood bridge plate glued in 00-model. The J-OM model back received it's center seam reinforcement strip of spruce and bracing. The next thing is thickening the J-OM top down to 3mm, cutting the rosette and laying down the bracing pattern. Then it's side bending time, possibly before this year ends.
Making the internal bracing starts
with splitting the quality, straight grained
spruce brace wood
down to size.
Once the wedge is driven into the slab,
 it pops out with a clappy, happy sound.
The tool laying on the floor is "puukko"
(aka fisherman's/hunter's/carpenter's knife)
 - the thing us  Finns used to utilize for every
 walk of life from food supply to cooking to
 eating to making tools & toys to relating to
 neighbors & family to putting up a fire to warfare
and hunting to law enforcement to whatever you name.
 It's pretty handy to have a few at hand in
case of any need.

The grain must be straight and driving
pace slow, to make straight splits

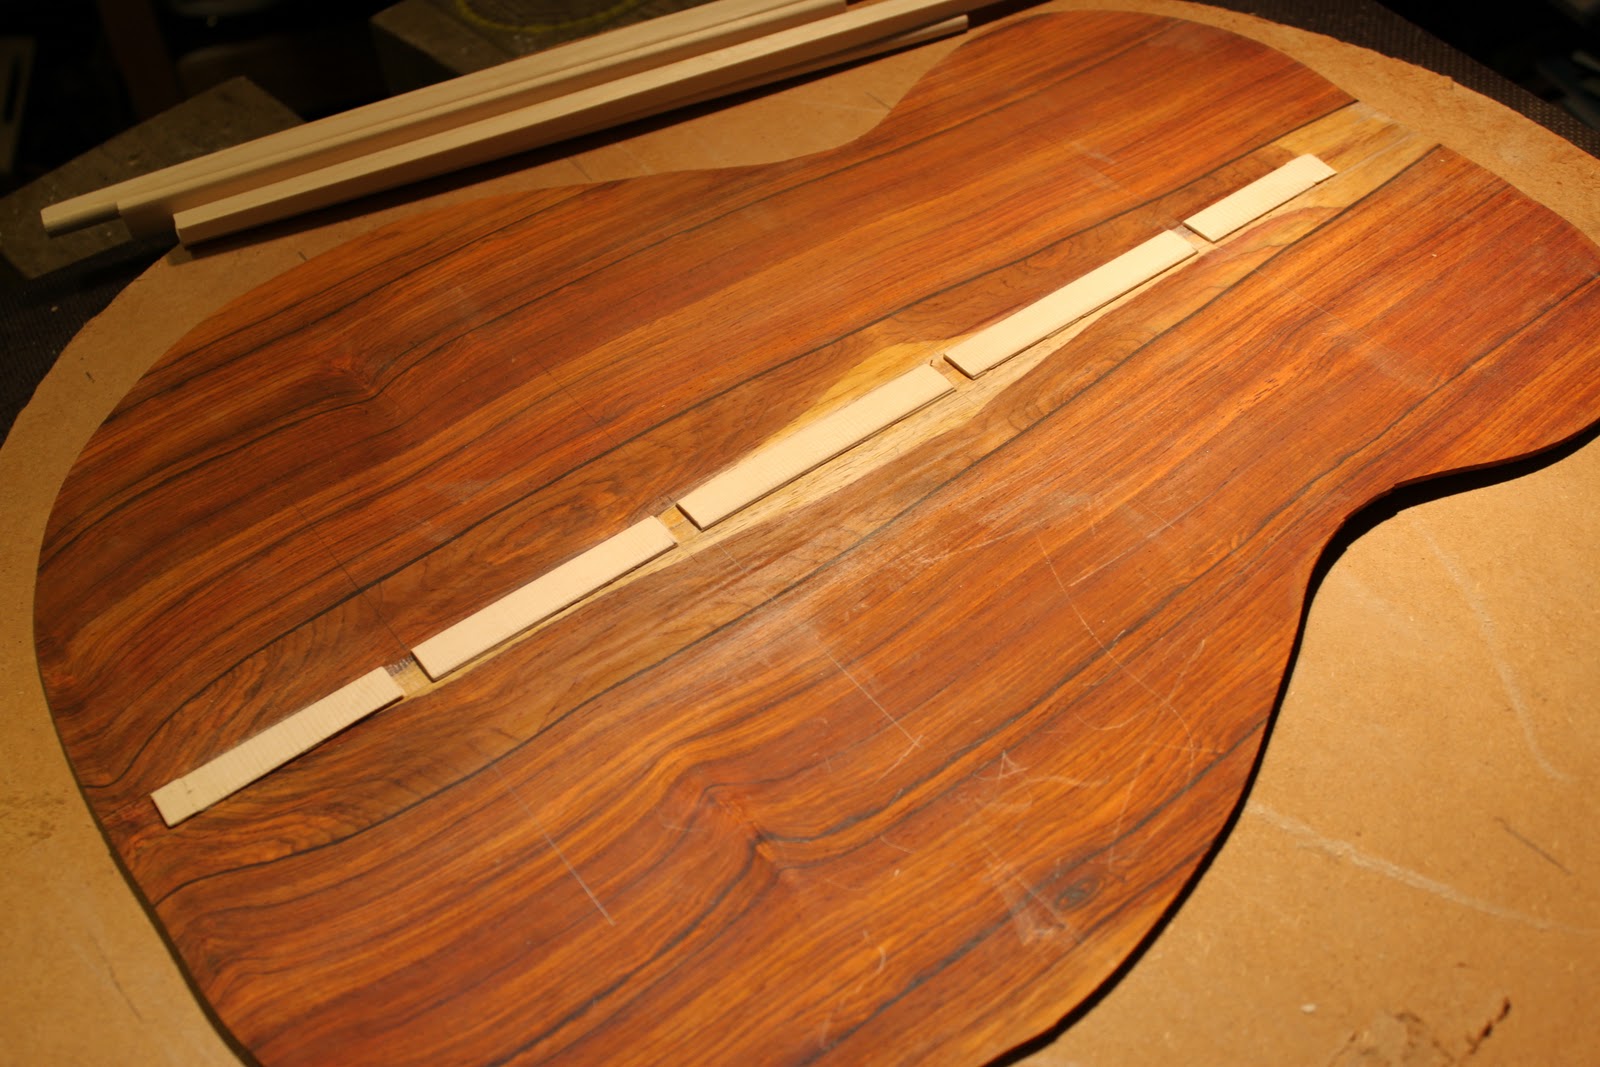
Here the center seam reinforcement is glued down and
the braces are ROUGH split. Enter the plane!
Back brace bottoms are contour-sanded on my
high-tech contour-sander


The center seam is notched to house the braces


Go-baring again. This is such a handy invetion!


Back to the top. All the braces are there, but only
 part of them shaped. I use a sharp chisel in shaping.
 The largest braces are scalloped - meaning some material
 is removed of the brace to make the top lighter
and more flexible.
The bridge plate (3mm) is made of scrap rosewood.
 It's reinforcing the bridge area, as it has to resist
the pull of the strings for the years to come.
The grain goes intentionally a bit off axis,
 to prevent possible splitting from the
string ball ends.

Gluing the bridge plate with wooden cauls.
Finally all the braces are shaped too.