Näytetään tekstit, joissa on tunniste akustinen kitara. Näytä kaikki tekstit

perjantai 20. huhtikuuta 2018

Solid Wood Amp Cabinet

It's been a while since I last posted here. But here we go again!

I bought some top/body wood for future acoustic builds, and received a nice billet of Padauk as extra. It was just a tad too short to be cut into guitar back & sides, and thus I finally figured a use for it. It was resawn into 13mm panels to make a new, flashy looking cabinet for my Fishman Loudbox Artist acoustic guitar combo amp.

Here are some pictures of the build process with short explanations attached!

The start. Rough cut 50mm thick mystery plank showed
some nice red texture with distinct rosewood-like scent
After initial planing it showed its true beauty!
Then it popped to my mind. Would the plank be enough
to make a new cabinet for my combo amp?
After taking the measures, time to take
the old cabinet apart 
New side panels: Solid wood
in stead of particle board
Loudbox Artist has a tilted cabinet, and most
of the angles were something else than 90°.
I glued the back to the bottom plate on top
of the old cabinet to get support for the seam 
The front plate and top plate under the amp head were made of 12mm plywood

Testing the fit before final glue down
Box together, short of front grille only.
On the floor you can see the old MDF cabinet. A future birdhouse perhaps? 
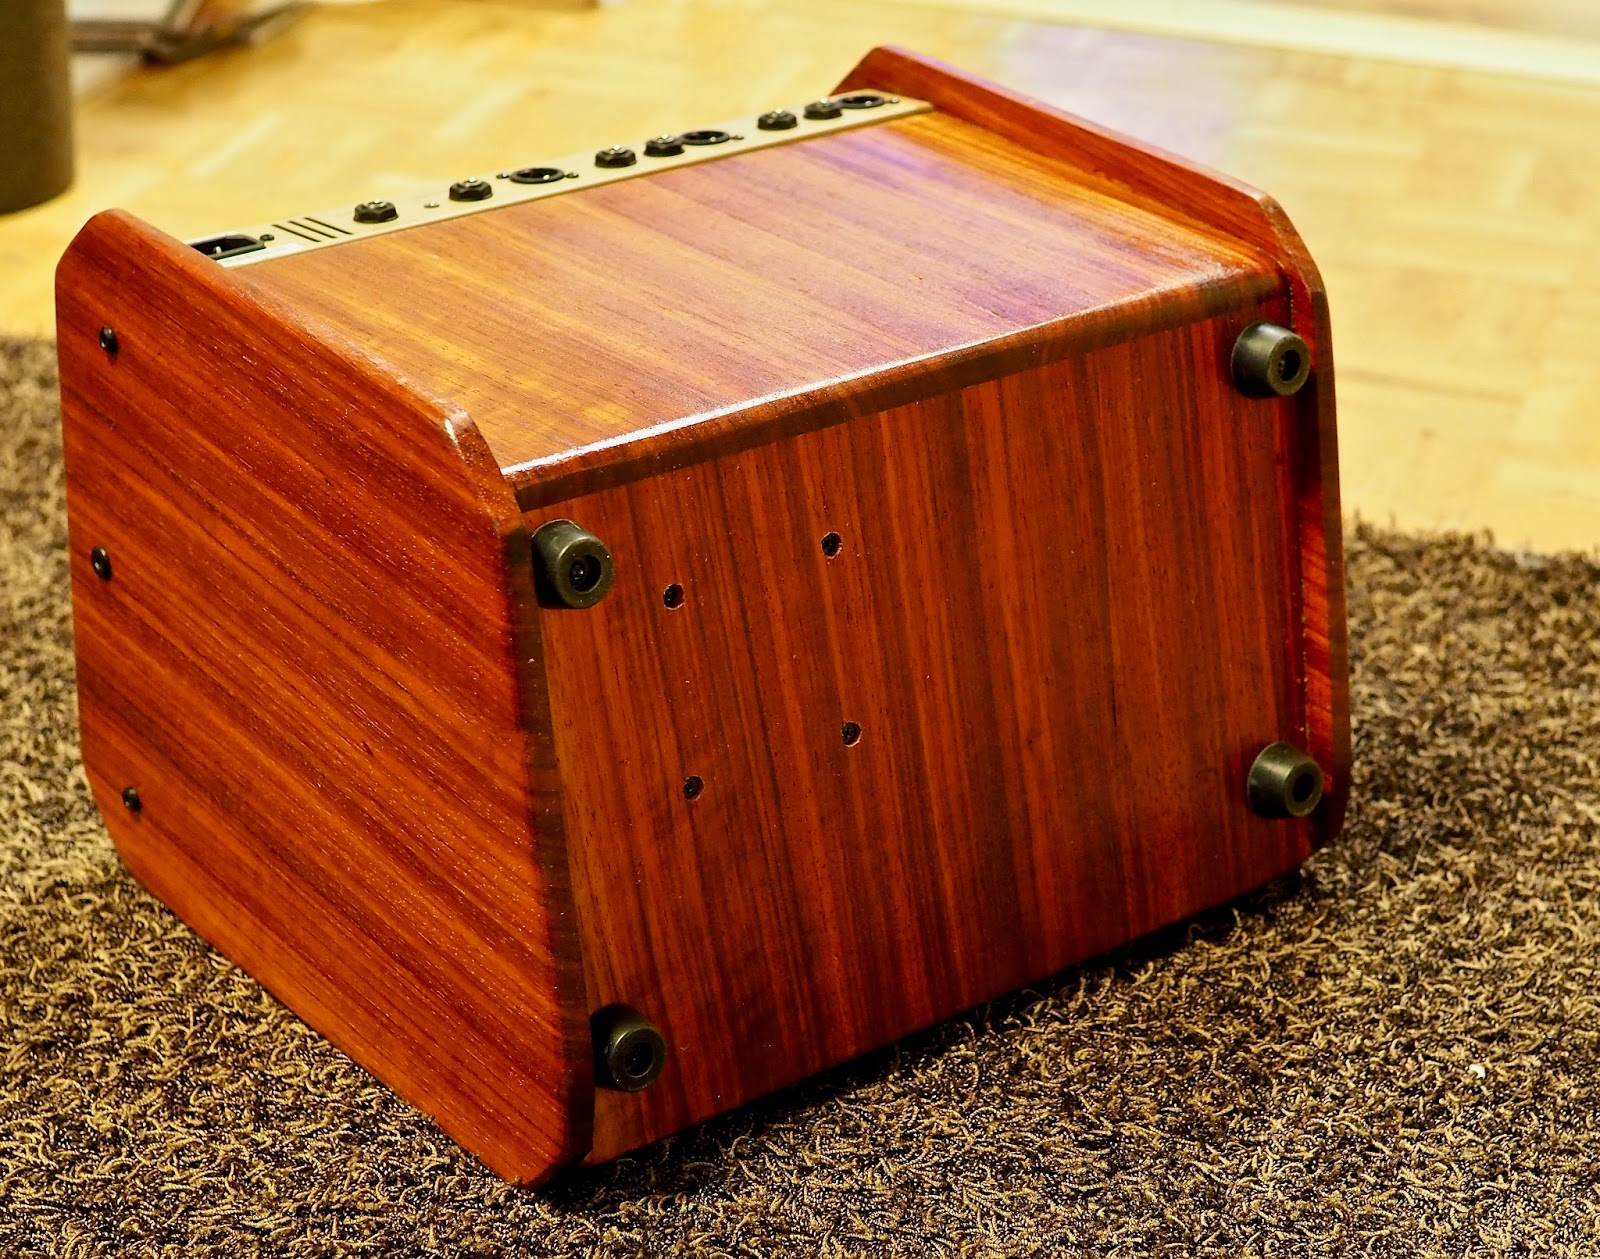
Done! I decided to discard the plastic corner protectors. I promise to be careful!

Looking unique!
The sides the audience will never get to see


How does it sound? As good as always!
ToneDexter and Voicelive Play Acoustic bring nice
spice to the already gig worthy sound.
Padauk cabinet matches nicely my
cedar-cocobolo Terz guitar.

maanantai 20. helmikuuta 2012

Top to the rim

It's funny how a hobby can be so rewarding. Seeing an acoustic guitar coming together piece by piece, brings such a joy to my esthetic eye. Knowing it was I whose hands and effort made it happen, makes the feeling even better. I'm humbled and privileged to have the opportunity to work with these things. Thank you, Heavenly Father! Thank you, my dearest wife! Thank you friends who have asked me to build a guitar for you!

Jyrki's guitar got it's top and sides glued together today. The body is going to have two additions to the "ordinary" double O -style:
First, there's my interpretation of the Manzer Wedge shape, making the body thinner at the bass side and thicker at the treble side, thus making the guitar more comfortable to hold and play. In a small guitar like this, it wouldn't be utterly necessary, but as I build the 00's some 10mm deeper than Martin, the slight wedgines makes a difference for the rib cage in longer sessions.
Second, there's a soundport on the upper bout of the bass side, making the guitar project towards the player's ears too. 
Not much in this pic. Only pressure. The four cam clamps I got
 from Bauhaus are awesome! Light and handy. 
The inside view.  Side kerfing is mahogany, side "bracing"
western red cedar. 

There's propably still homework to do
 with symmetry. But I'm approaching...
This one's a lot better try than #1#.


tiistai 13. syyskuuta 2011

DIY internal microphone

Amplifying an acoustic instrument is not an easy task. Picking just the strings isn't enough, because the body resonances are the ones that make the sound "acoustic". My take on the subject is going dual source. The guitars are equipped with a triple soundboard transducer (K&K Pure and JJB Electronics Elite). I like them, because they are pretty inexpensive and offer quite natural response through the frequency range. The dreaded "piezo quack", unnatural high frequency, usual in under saddle piezo transducers, is not so dominant in these soundboard/contact transducers.

Anyway, to add some "air", "naturalness" "whateveryouwannacallitthatsoundsbetter", I use an internal miniature electret condenser microphone. The two passive signals are routed out with a stereo 1/4" cable and into a Presonus Acousti-Q preamp/blender. It's got volume controls for both signals and very nice eq.

I thought I'd report an easy way to make a "gooseneck" condenser mic. This model works only with a preamp feeding 2-12V phantom power to the mic, thou. For a standalone version you'd need a condenser,  a resistor, a 9 volt battery and few inches more wire in addition.

A little sound clip: Dual Source -> Acousti-Q -> Firebox -> Garageband with a hint of EQ and reverb. The delay effect comes from Zoom A2 hooked in the Acousti-Q's efx loop
Gooseneck peeking through the soundhole
Here's the stuff needed to make a mic

Panasonic capsule and shielded cable...

...soldered together


The capsule's got two terminals, one for hot, one for ground. 

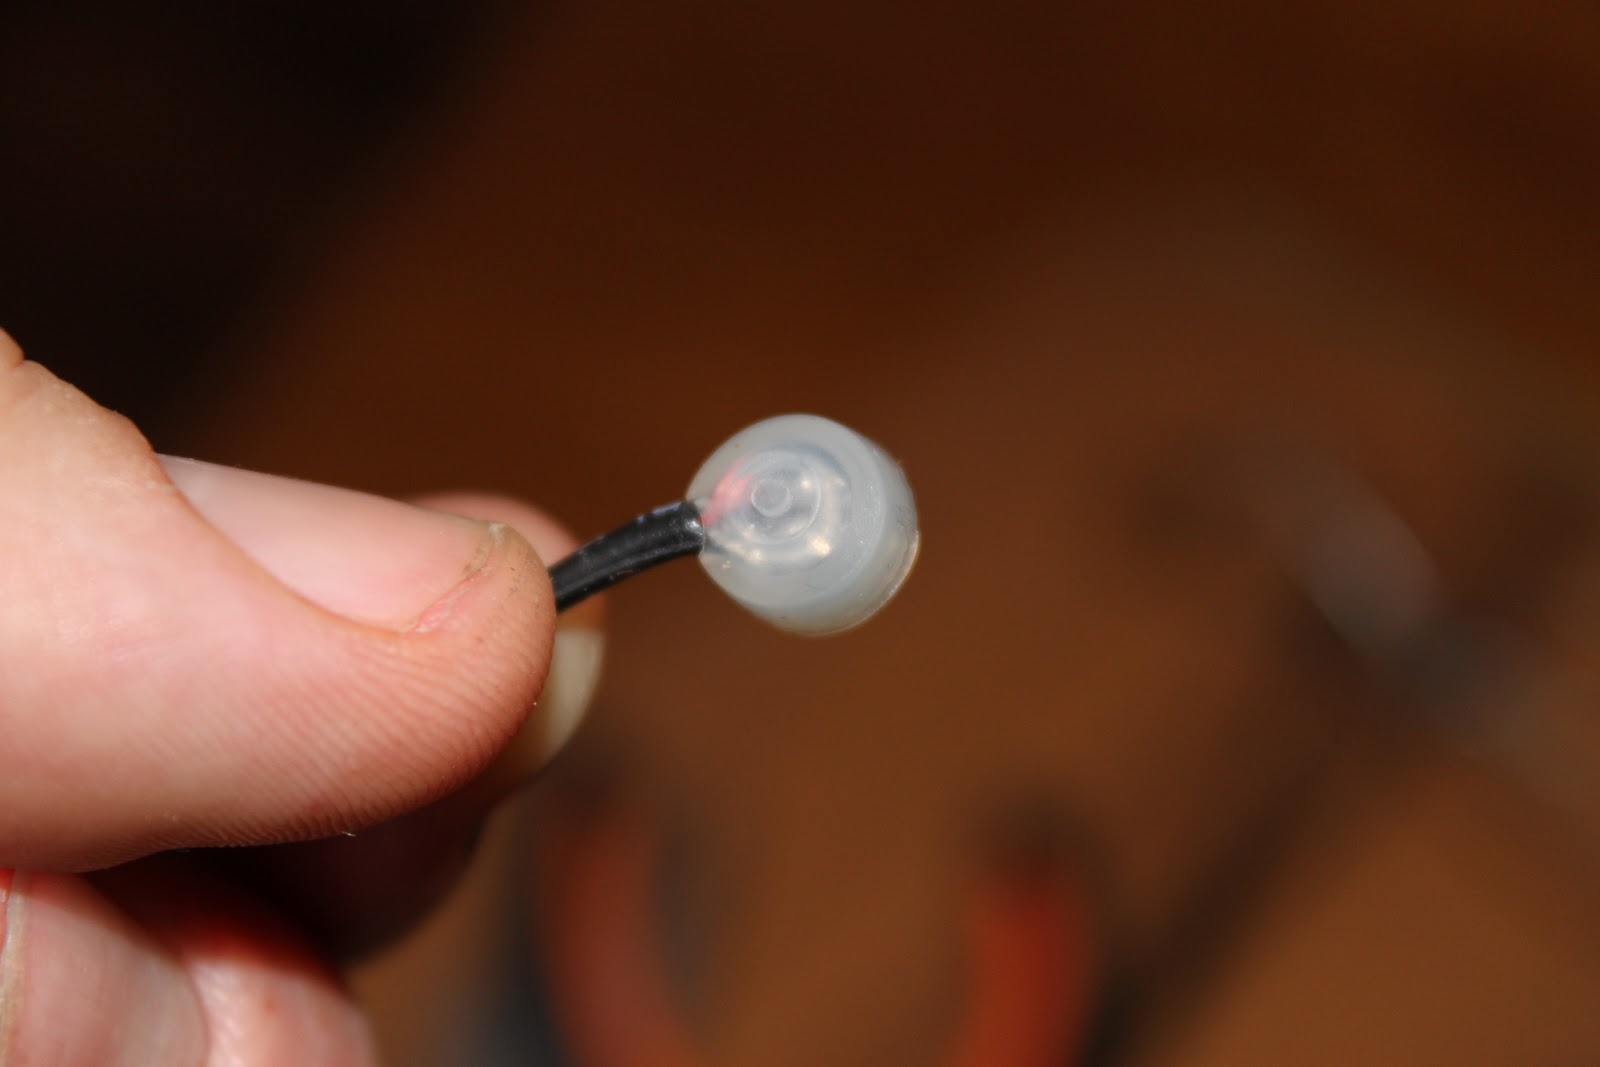
They provide a handy silicon sleeve for the capsule.


Heat shrinking tube...

...and some wire...

...shrunk together...

And attached to a metal paper clip...


...and we're ready! The clip attaches to a back brace nicely and is easy to place to an optimal spot because of the bendable shaft.

This unit provides the phantom power the capsule needs, mixes the two signals and more. It's got a vacuum tube too!

torstai 2. syyskuuta 2010

Getting it together

The baritone box is starting to seriously take shape. I´m trying a Manzer Wedge kind of thing on this one - to make the pretty thick guitar a bit more playable. That's why the rim looks a bit weird if you take a closer look.
I tried X-bracing the back also. Don't know if it makes any difference, but to my eye, it looks kinda cool..
O, and there's a toneport cut to the upper bout of the treble side. It's for projecting the sound of the guitar to the player (that'd be me).


perjantai 5. syyskuuta 2008

Kaulailua


Loppuviikko kuluu yleensä tehokkaasti saarnaa valmistellessa. Harrastukset eivät ole siis juuri päässeet etenemään. Vähän kuitenkin. 
Eilen myöhäisillasta piirtelin kaulalautoihin kaulan sivuprofiilit, jotta tiistaina olisi sitten vannesahalle töitä. (kuvassa myös pahvinen malli) Kovasti toivon, että koko projektin aikana ei tulisi kirveelle töitä... 
Ehtiessäni olen murehtinut, mistä tummasta puusta laitan muutaman millin viilut kaulan mahonkisiivujen väliin vahvikkeeksi, koristeeksi ja ennen kaikkea levikkeeksi. Tänään löysin Oulusta erikoispuusepän, jolla on varastossa pähkinäpuuta lankkuna. Ehkäpä sieltä tärppää ensi viikolla.

Vähän erikoisempia puita (siis muuta kuin koivua tai mäntyä) on tosi vaikea a) löytää, b) löytää sopivassa koossa (puolen metrin kertaluonteiseen tarpeeseen en millään viitsisi ostaa kahta ja puolta metriä), c) löytää sopivassa koossa sopivalla hinnalla. Sen kolmimetrisen lankun saisi toki tilattua Turusta tai Lahdesta parilla sadalla rahteineen, mutta: kiitos ei kiitos.

Päätin tosiaan tehdä kaulasta viisiosaisen (5-piece). Toisin sanoen kaula liimataan kasaan kolmesta mahonkisesta ja parista pähkinäpuisesta "sivuprofiilista". Tällainen pitkittäissaumainen laminoitu kaula on melko paljon työläämpi tehdä kuin suorasta laudasta poikittaissaumaisella jatkoliitoksella, mutta isot pojat sanovat, että sen pitäisi olla kestävämpi ja vakaampi, kun kaikki puun syyrakenteet eivät kulje kaulassa samaan suuntaan. Hyvin tehty liimasauma on aina vahvempi kuin sitä ympäröivä puu. Kai. 

Kolmas, kallein ja epäekologisin tapa olisi ottaa ISO pölkky ja sahata koko kaula siitä suuresta hukkapuumäärästä välittämättä. Tällä hetkellä olen tietysti täysin vakuuttunut, että tämä minun valitsemani laminoinnin tie on kaikkein paras ja autuaallisin... Näin saan yhdestä kohtuullisen kokoisesta lankusta melko järkevällä hinnalla KAKSI kaulaa pienellä hukkaprosentilla.

Mitäkö teen kahdella kaulalla? Vaimo kyseli samaa tänään autossa. Ohitin kysymyksen tyynesti ja viileästi, melkein huomaamatta. "Katsotaan nyt sitten..." 

(Valistuneet lukijat tietävät toki, että kahdesta kaulasta tehdään tietysti KAKSI KITARAA! Kuka nyt jättäisi hyvän kaulan tyhjän pantiksi nurkkaan pölyttymään? No, aika näyttää.)