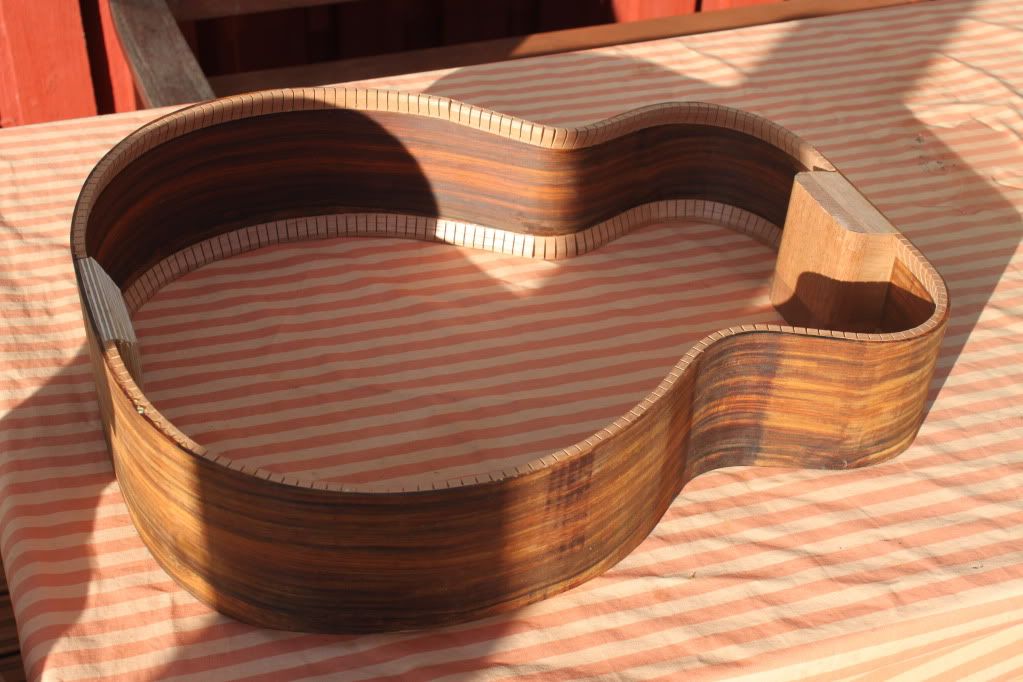
Guitars have long been made exactly the same way. The shapes and sizes are time proven standards. Every now and then somebody has tried to re-think the construction of the guitar, sometimes with great success, sometimes with epic failures. I'm a tradition oriented guy, and try to construct my guitars with the classic shapes in mind. But. During this learning process I've stumbled through since 2008, I've encountered some interesting deviations of the tradition, ones that do little to the overall appearance, but enhance the playability and comfort of the guitar from the player's point of view.
The one's I've tried and liked so far are:
1.
Soundport that directs part of the sound from the soundbox toward the players ears. Soundports divide people and real luthiers, but based on my short experience, I'm definitely for them.
2.
The Manzer wedge shapes the sides of the guitar so that the treble side is deeper than the bass side, making the guitar sit easier on the lap of the player and slanting the top a bit more towards the player. This eases the probable right hand shoulder problems with bigger bodied guitars.
3.
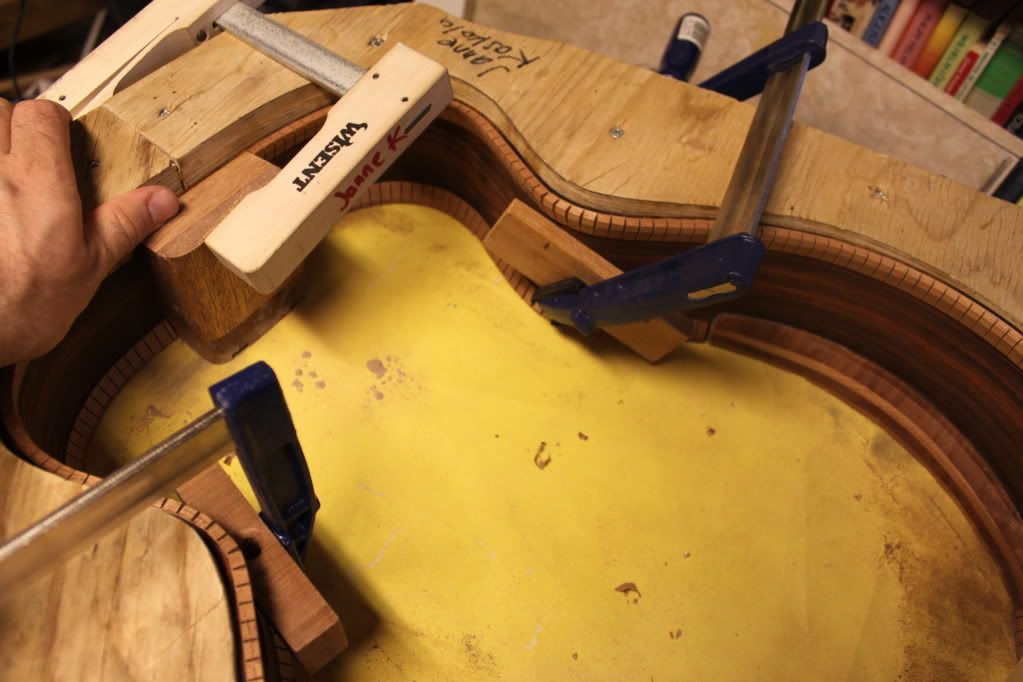
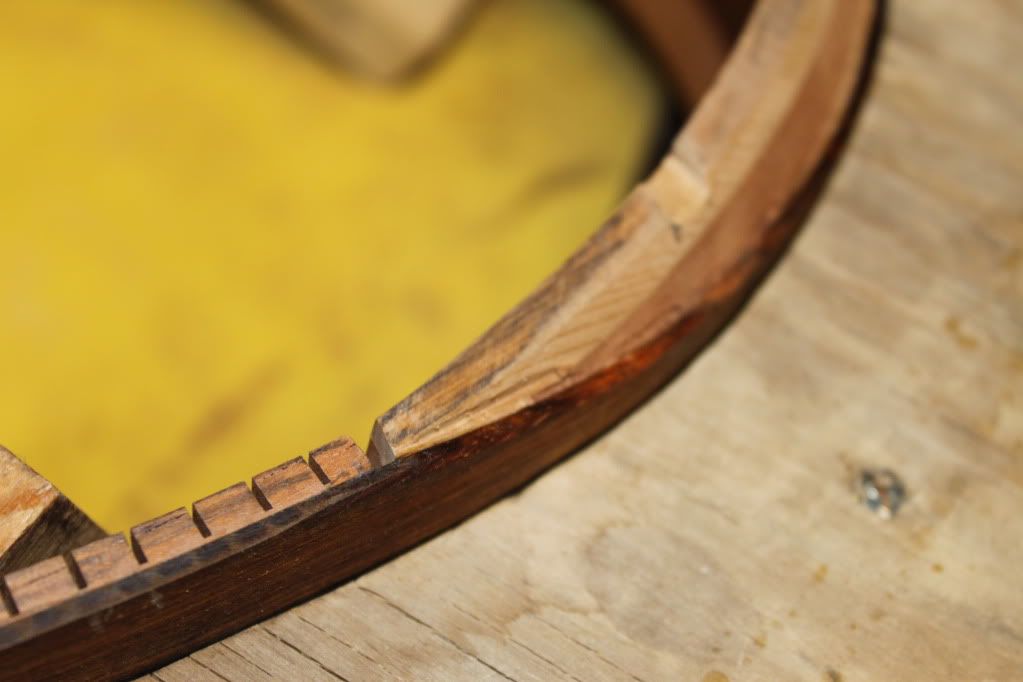
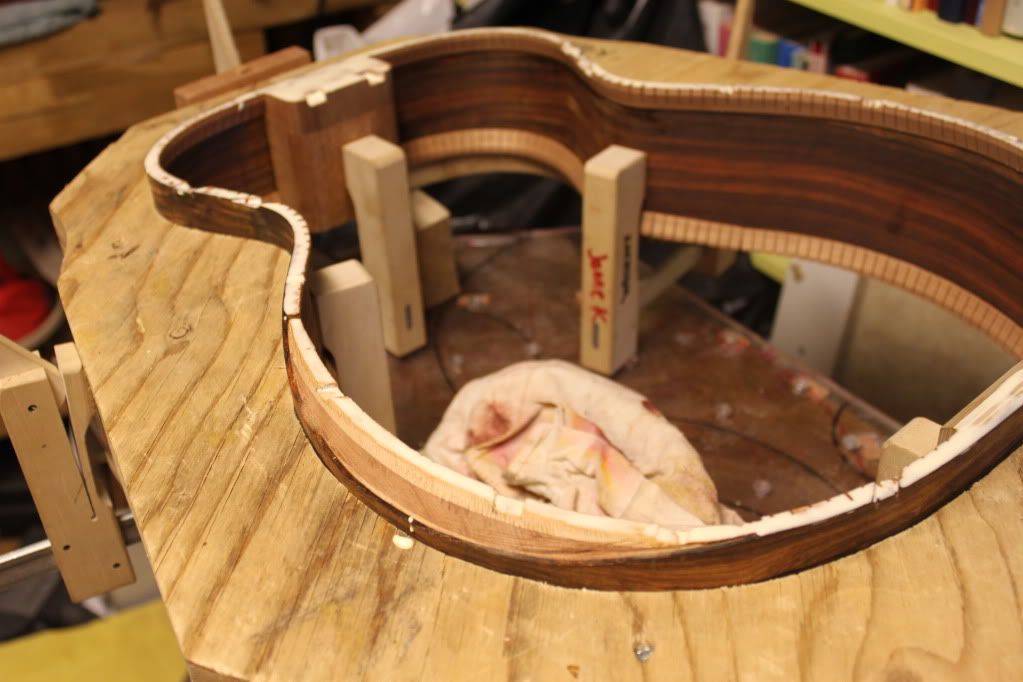
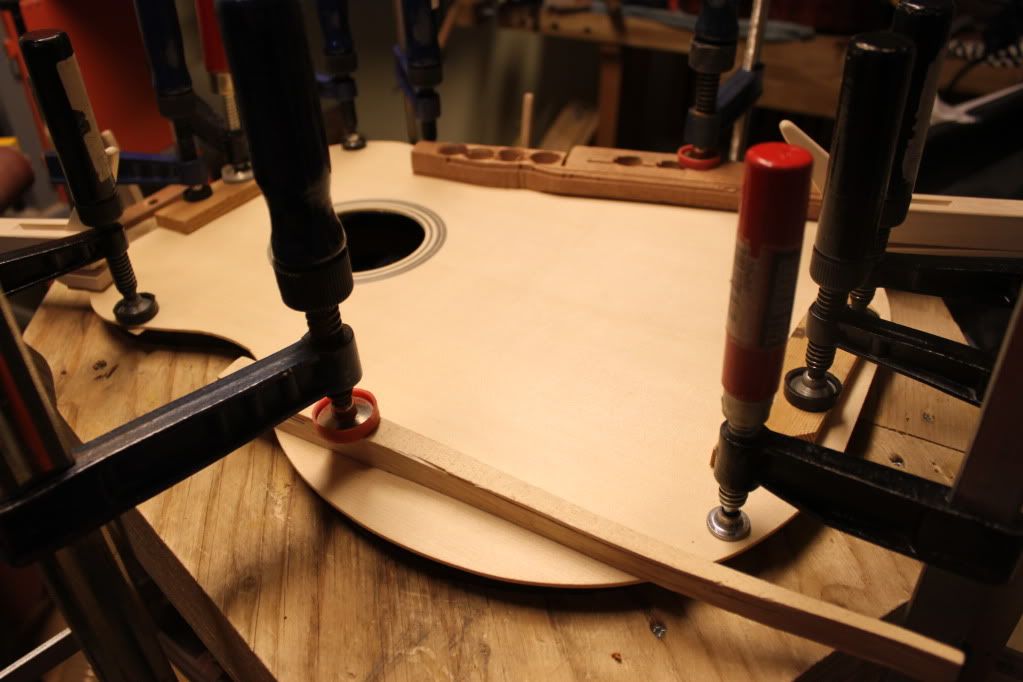
armrest/Ryan style bevel takes the sharp corner off from where the right hand curves over the side to the top. I've done two external armrests, and this is the first time I'm trying the integrated Ryan style bevel (go google for Ryan bevel and Ryan acoustic flutes to get the original idea). Below are a few pics of the "guts" that I think go into it.
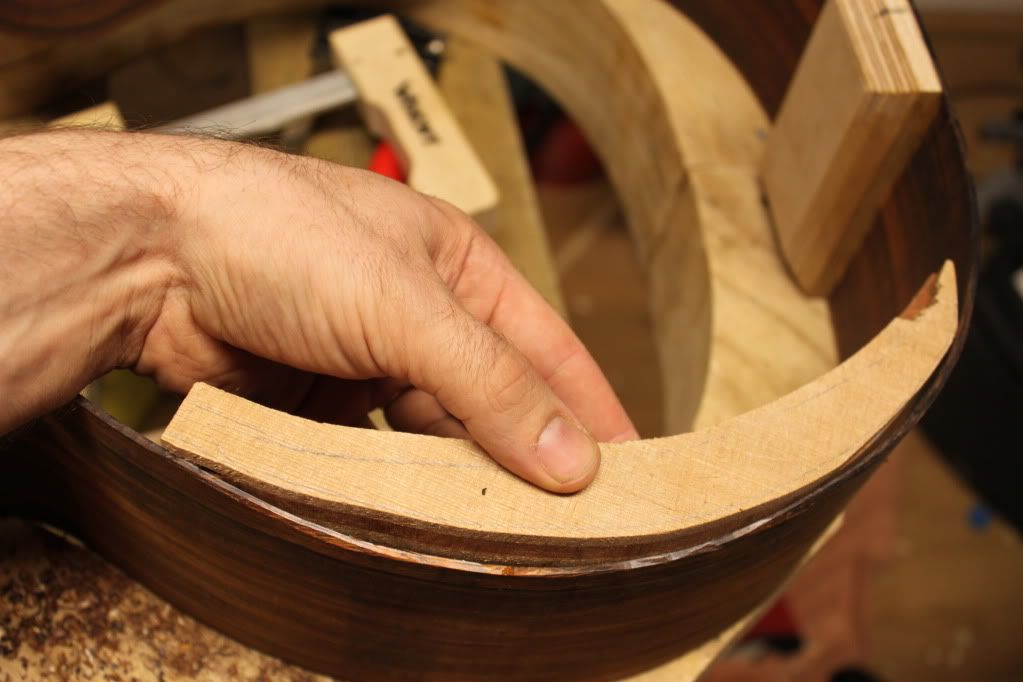 |
| I started be laminating scraps of cedar and redwood into a thick enough chunk. Then traced the inline of the side and band sawed to a rough shape |
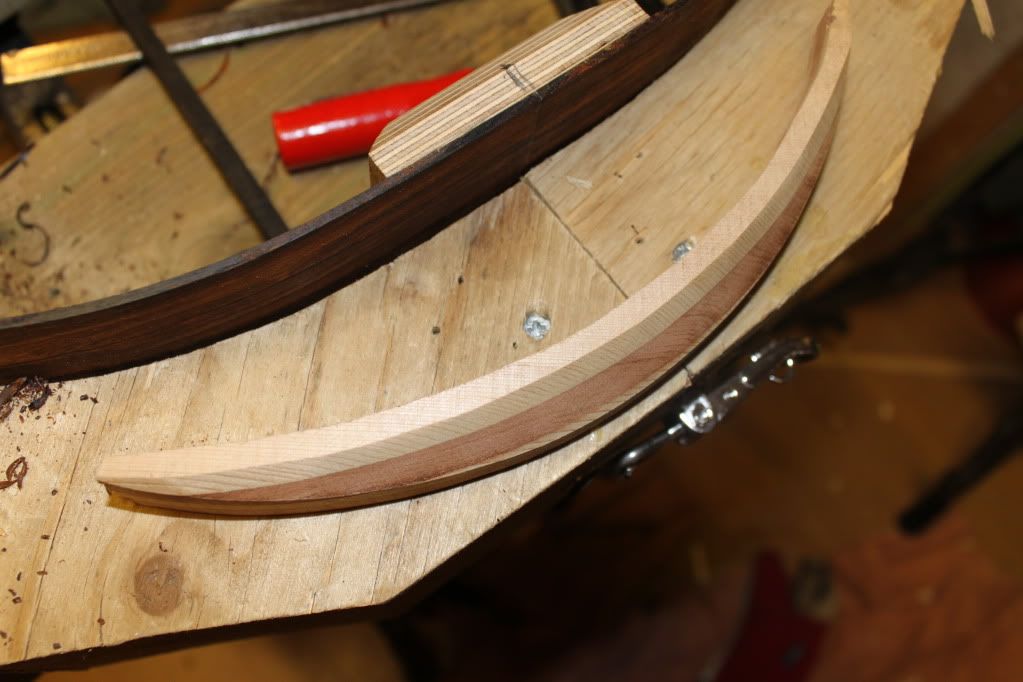 |
| Further shaping was done with belt/disc sander. In finnish the pros call it "jeputtaminen". Something learned from my guitar building friend Miika |
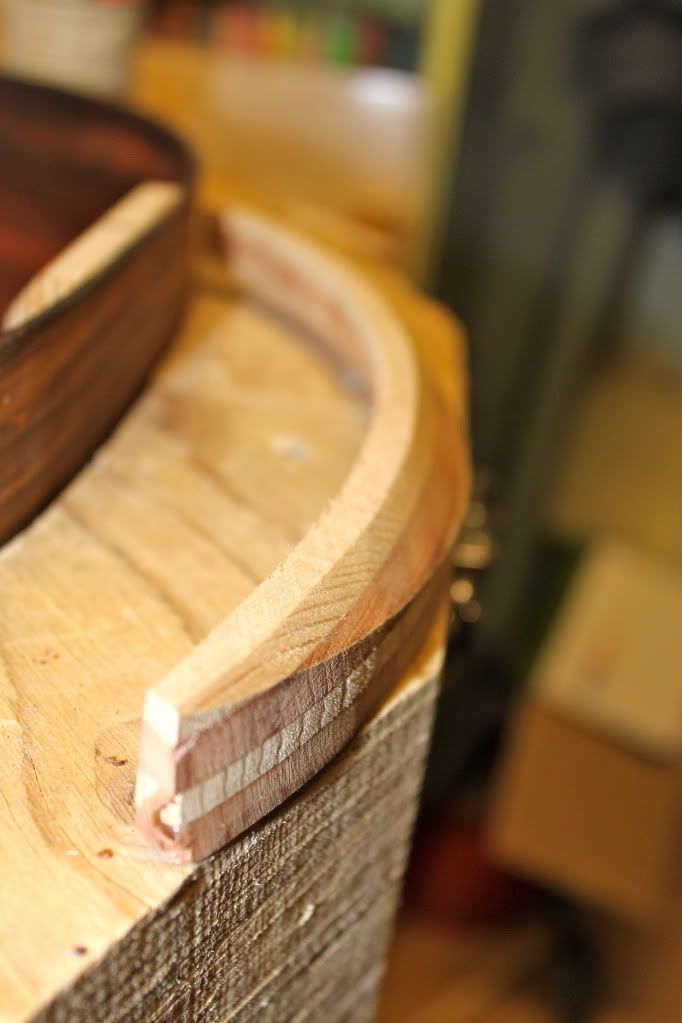 |
| The about 45° is the backing surface for the bevel veneer. |
 |
| Clamp well! |
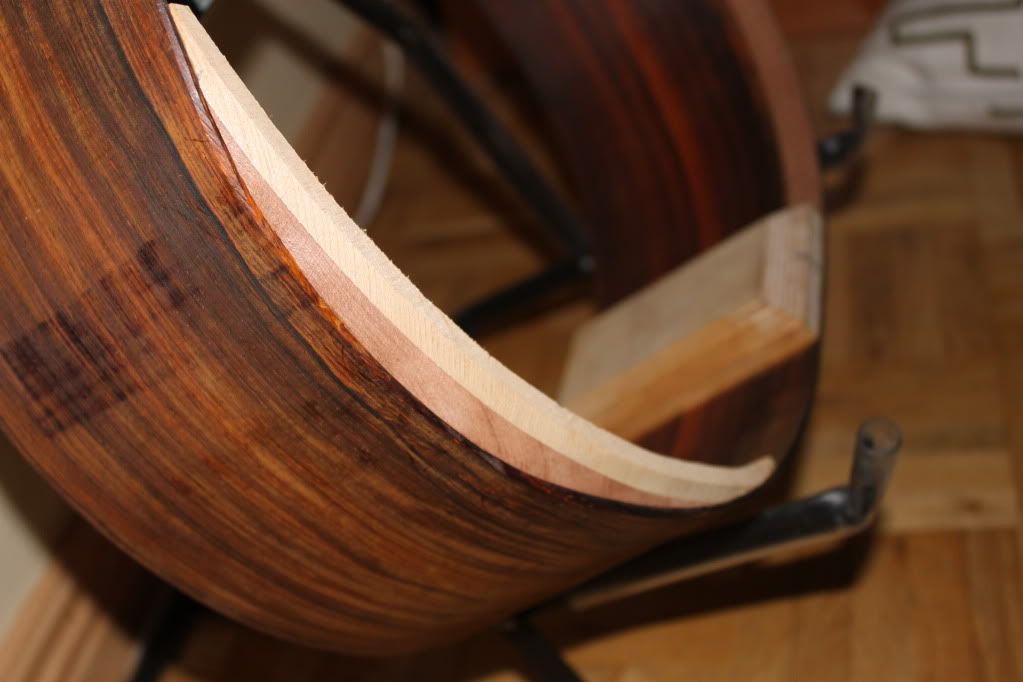 |
| And here we are. The side is trimmed down a bit, and the top gets a little asymmetric. But playing comfort is increased in hours! |
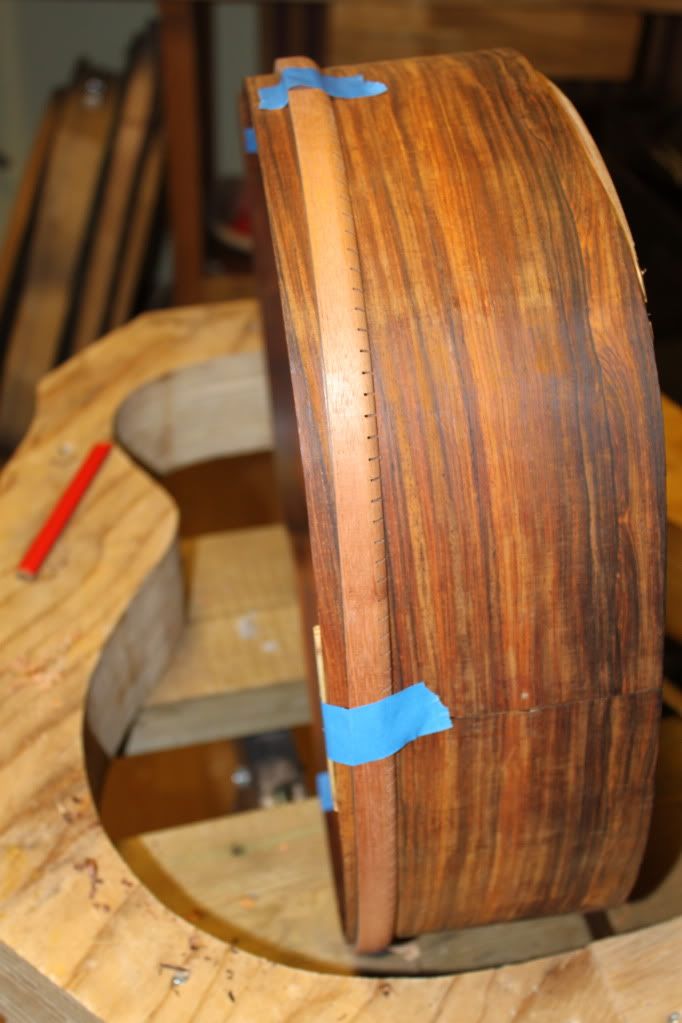 |
| Just a little trick to trace down the Manzer Wedge outline. Kerfing is like a flexible ruler. Just don't glue it here! |
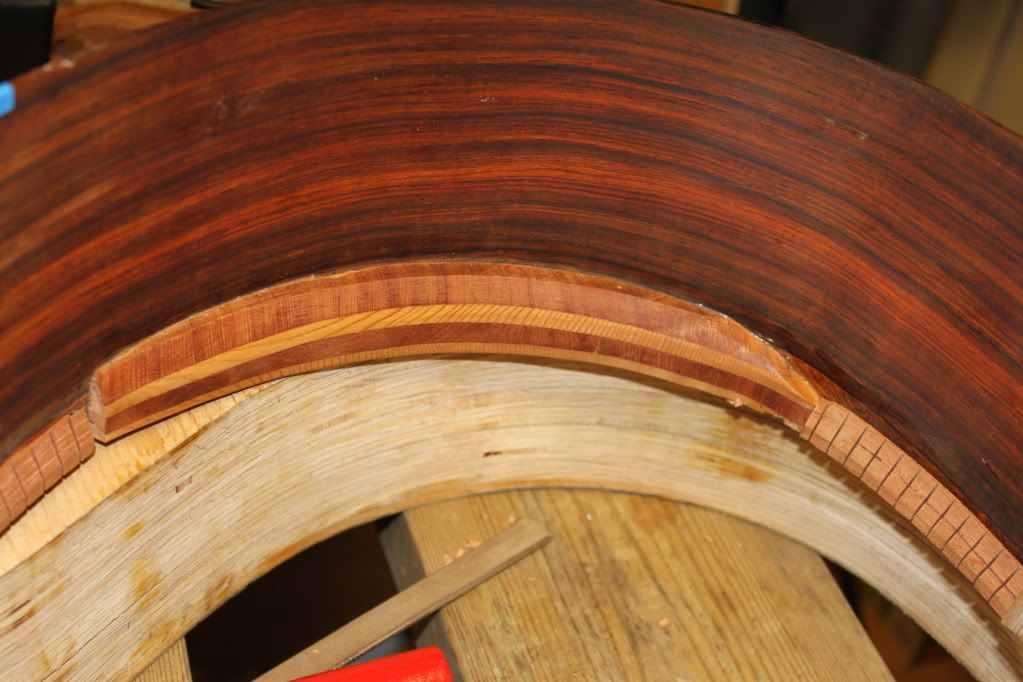 |
| Under the hood the bevel looks like this |
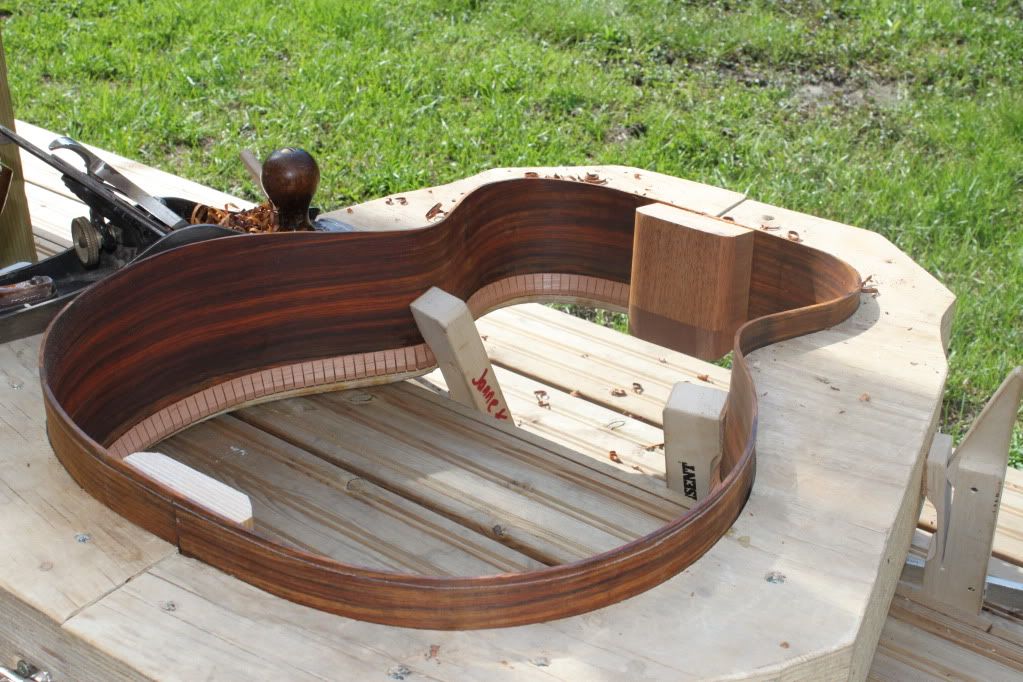 |
| Preparing for the back kerfing. |
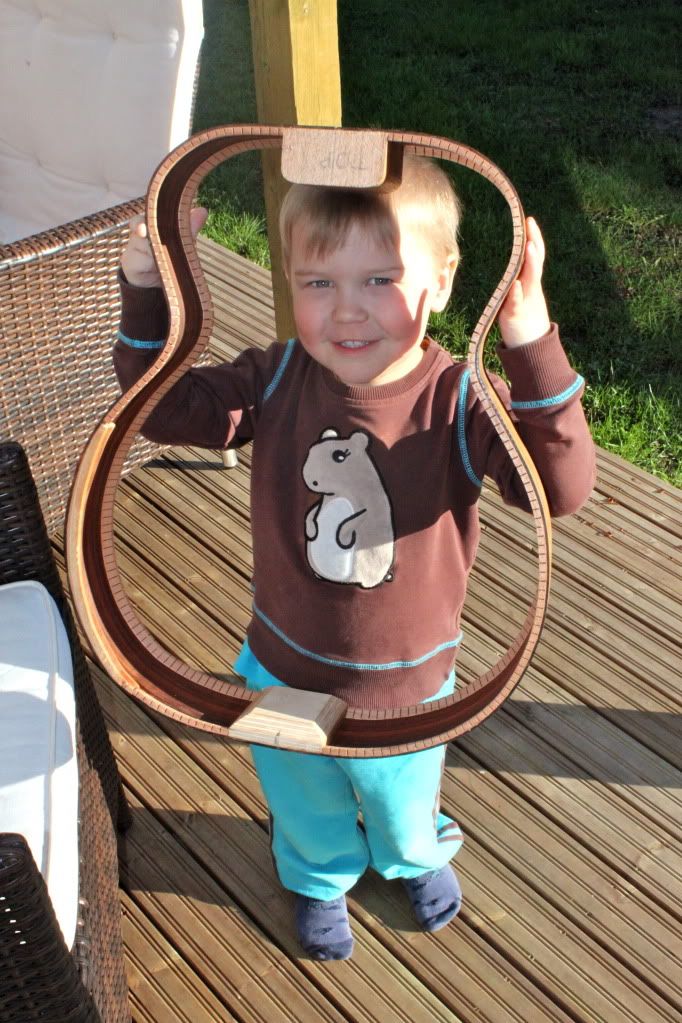 |
| Proud apprentice peeking through |
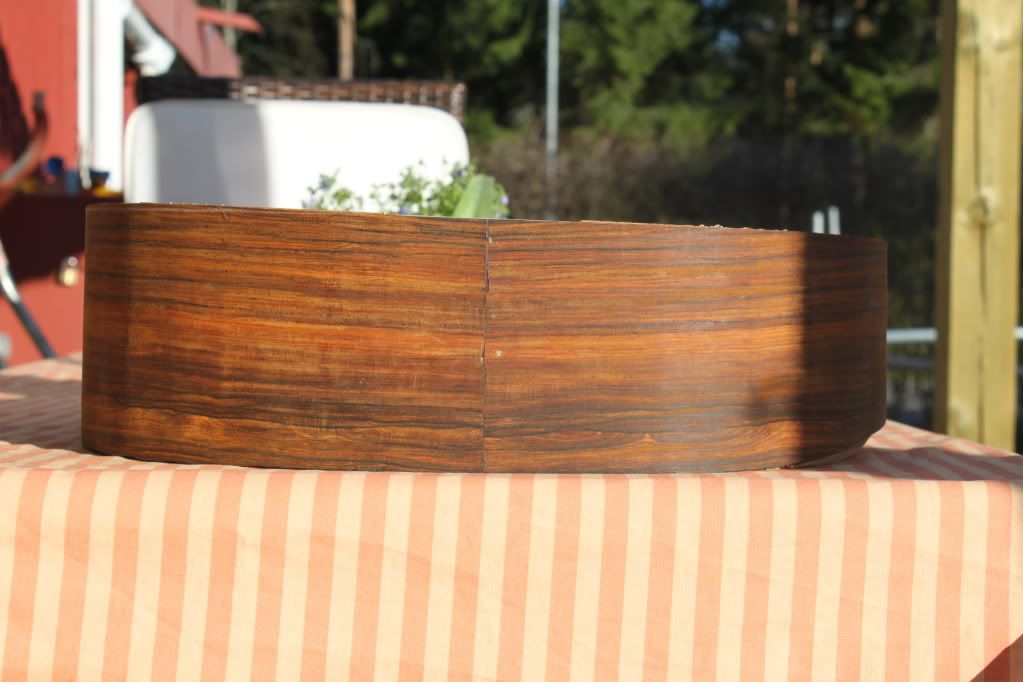 |
| The subtle wedgines is roughly 15mm |