lauantai 1. joulukuuta 2012

Uke rosettes

We did simple black-white line patterns for the boy's ukuleles. Nice and understated. And yet classy because of the real wood strips used. No plastic at this factory!


perjantai 30. marraskuuta 2012

Neck in the making

Two necks under construction. A few phases of the building here. Plus the recent "oops factor" achievements. Once again I learned that almost anything can happen and yet still almost nothing is irreparable.

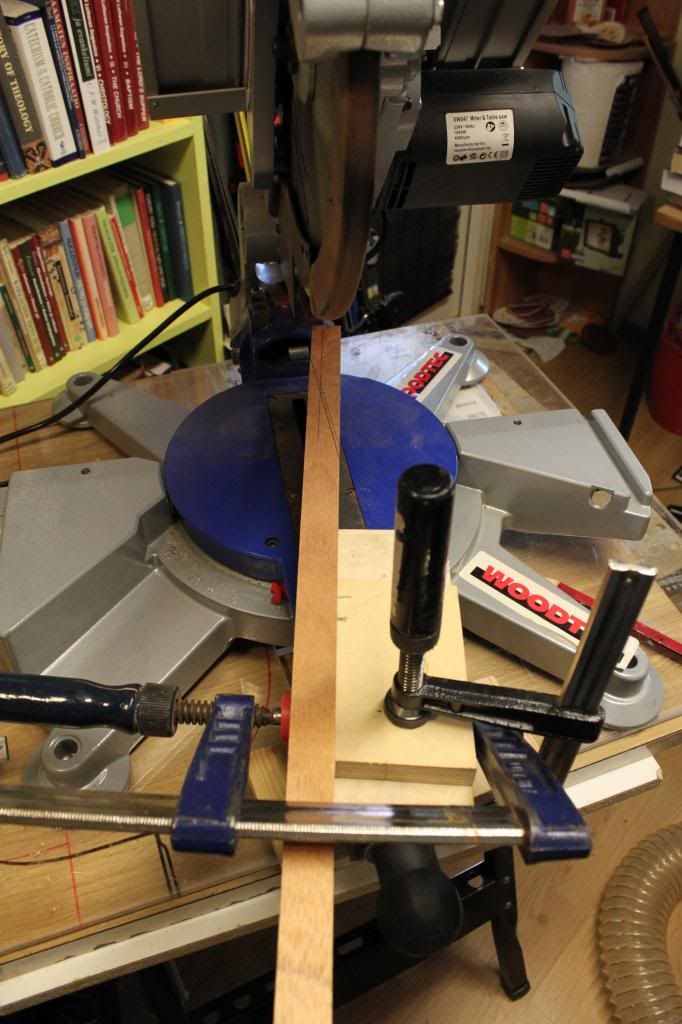
I've been trying to find a way to do the scarf joint cut without hand sawing.
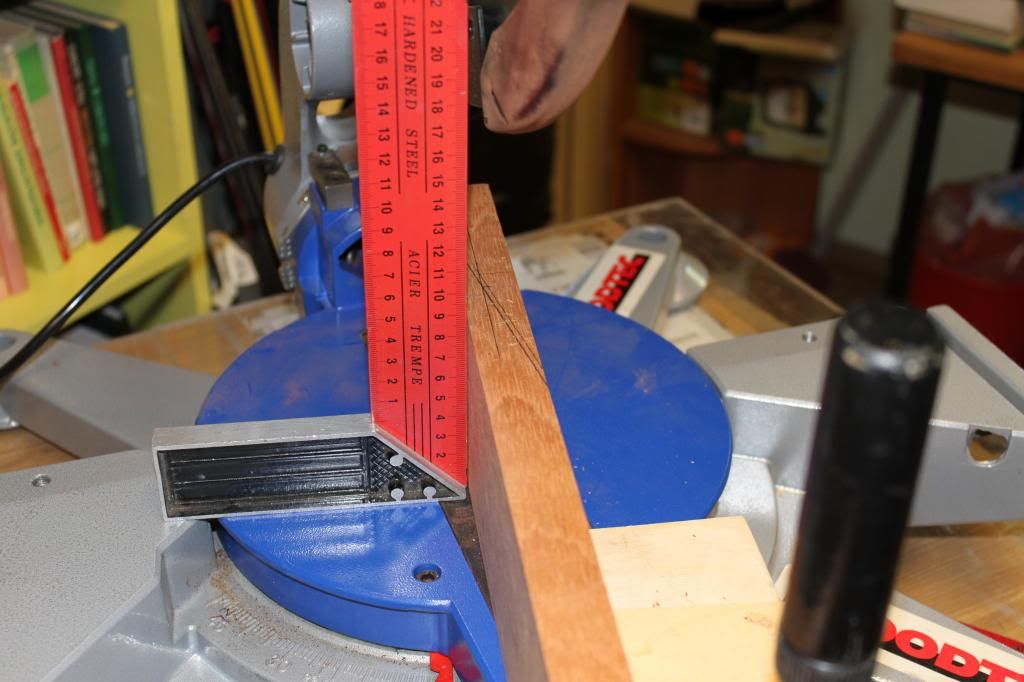
Here I got close. But only close. In the end the cut was not deep enough and had to be hand finished
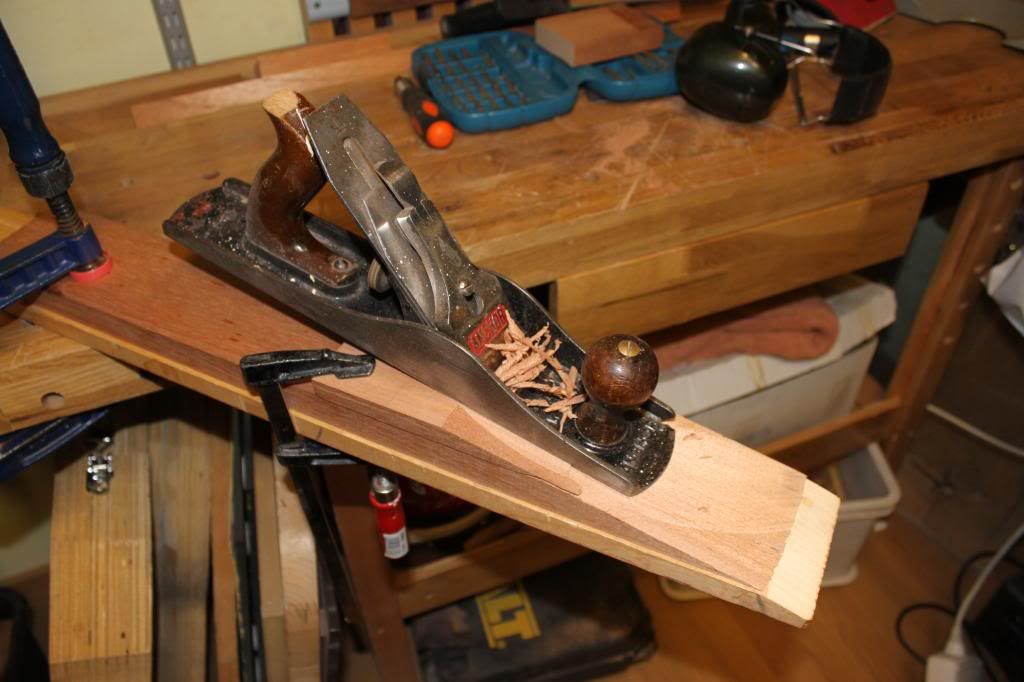
Good ol' planing does the trick. (The other neck was done with the belt sander, thou.)
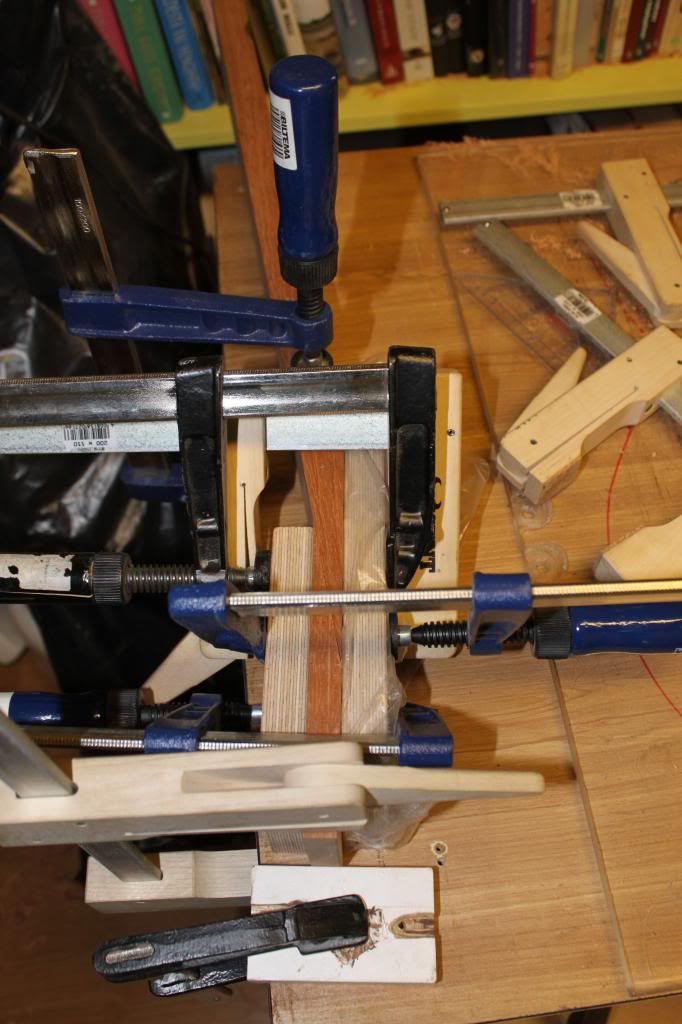
Gluing the joint. Good cauls and a fair amount of clamps will do this trick
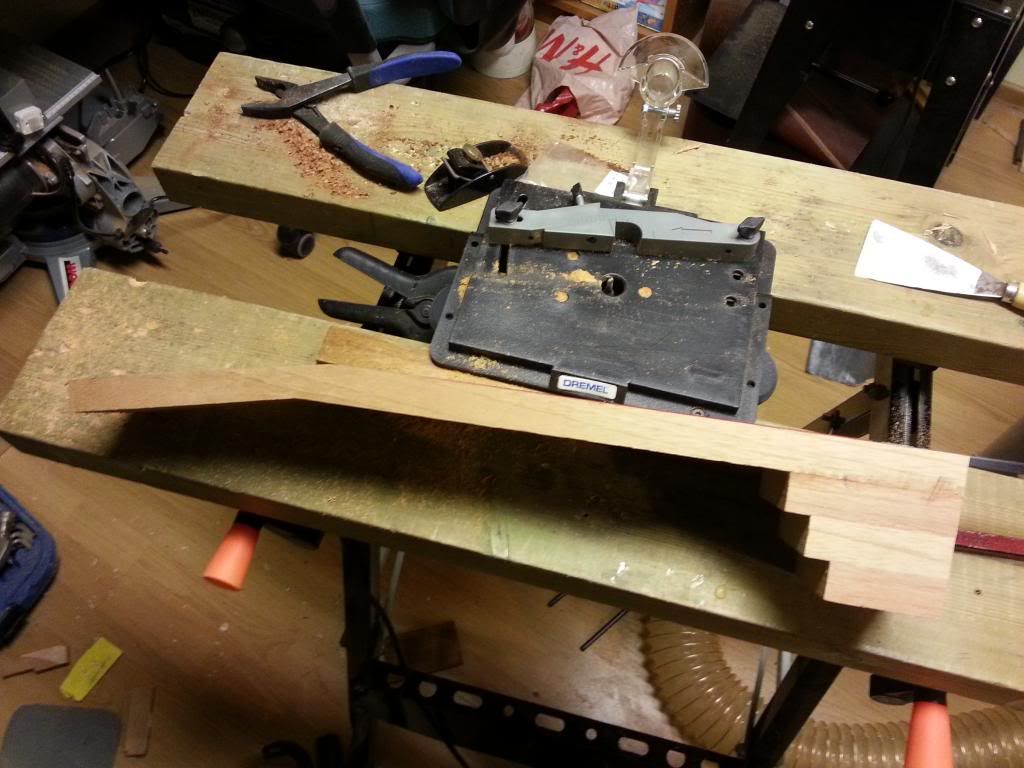
The headstock angle is scarf jointed and the heel stacked. 
The neck shaft routed for truss rod and carbon fibre bars. The heel preliminarily contoured and the tenon cut with a table saw
I cut the channels to the top of the neck using my proper router attached to the playful dremel base. Good enough!
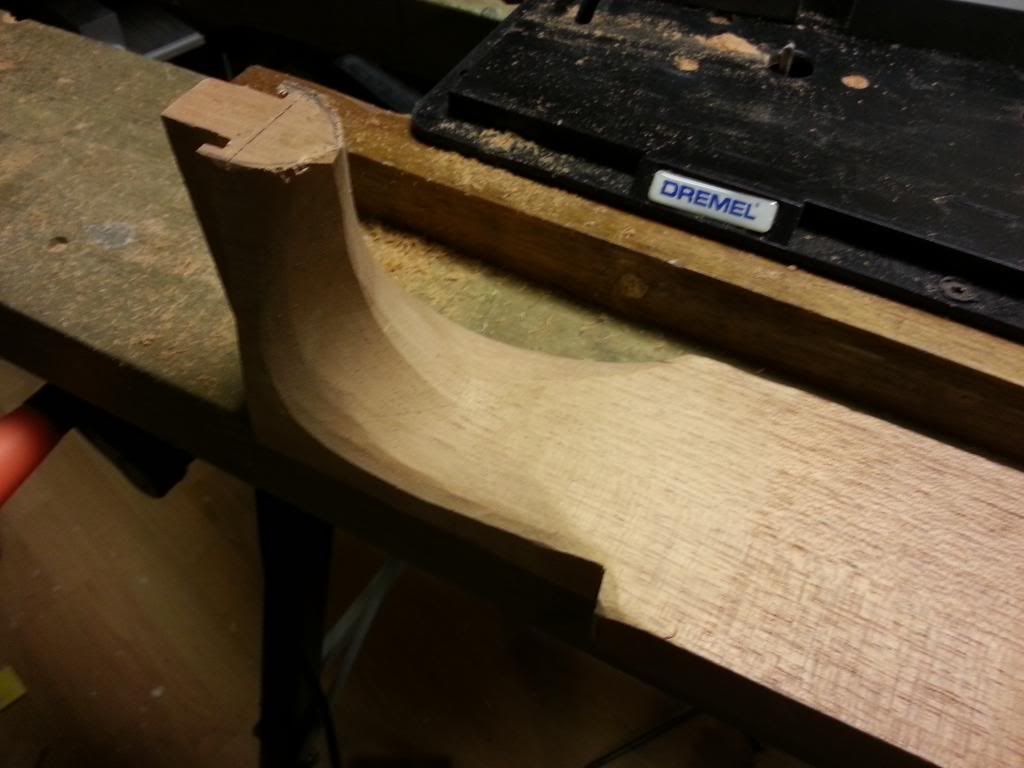
The heel is roughly shaped with the belt sander's round edge
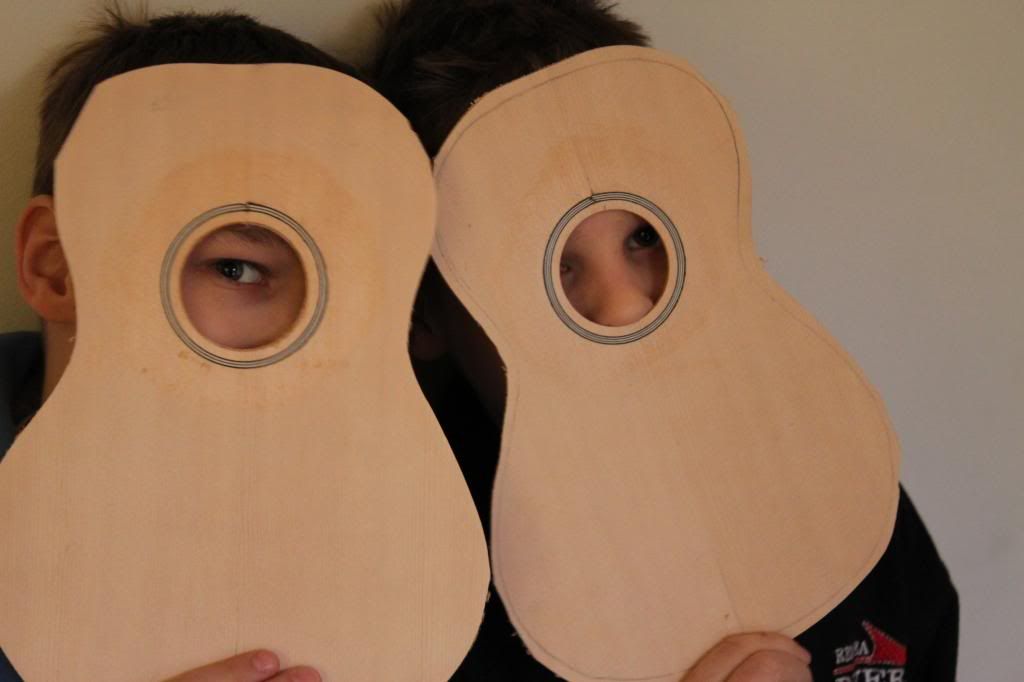
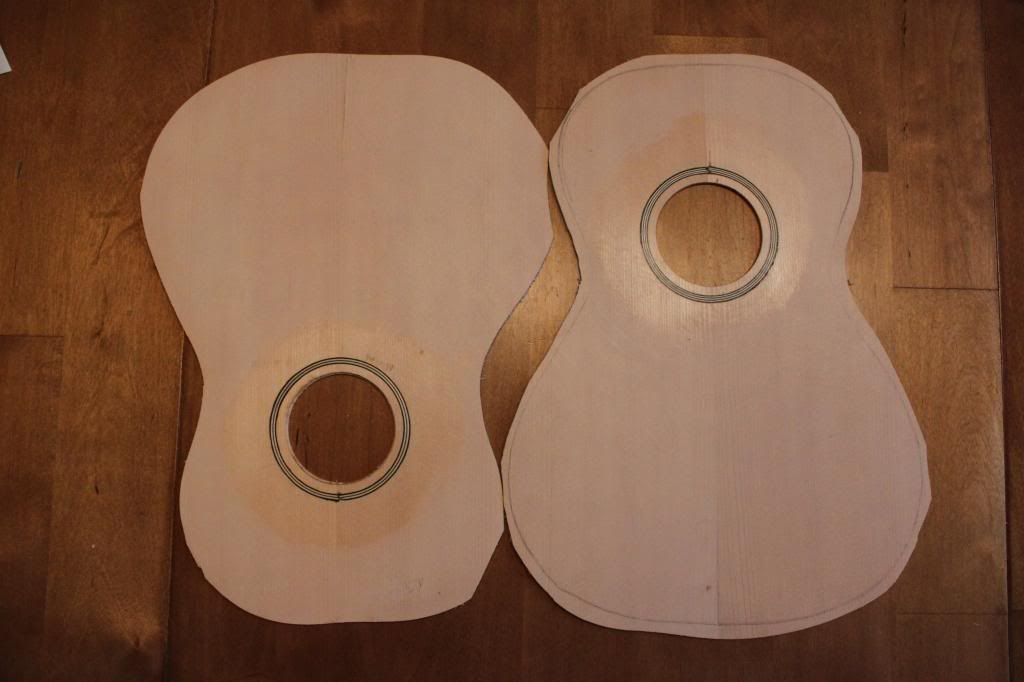
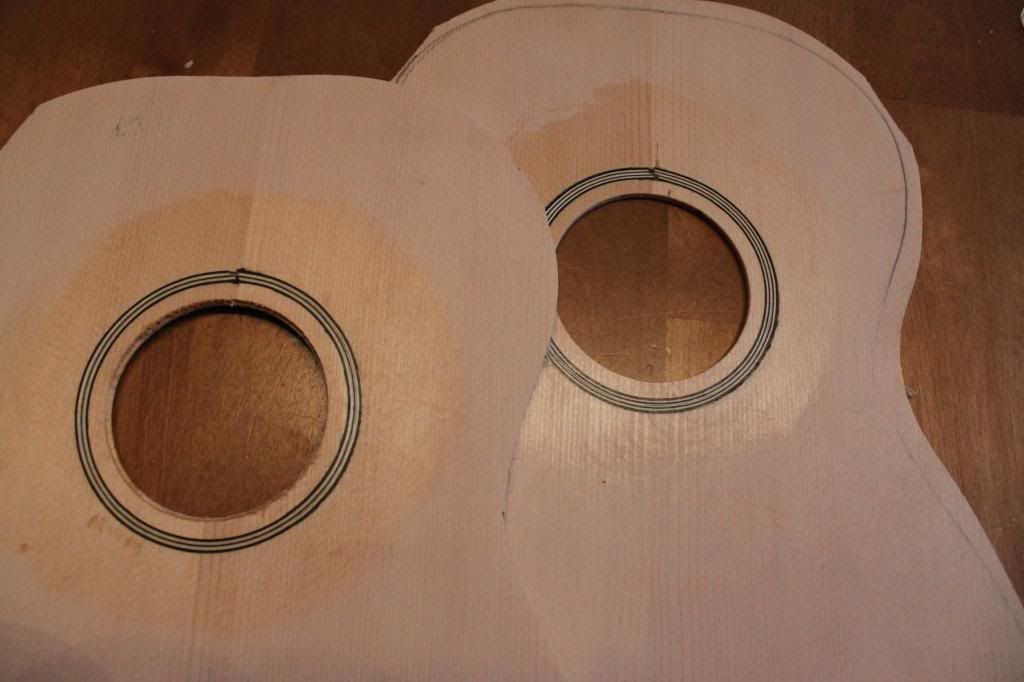
Them twins routed. To your left is a 13th fretter, to your right a 14th fretter. 
Now the mortise is to be cut using a router.
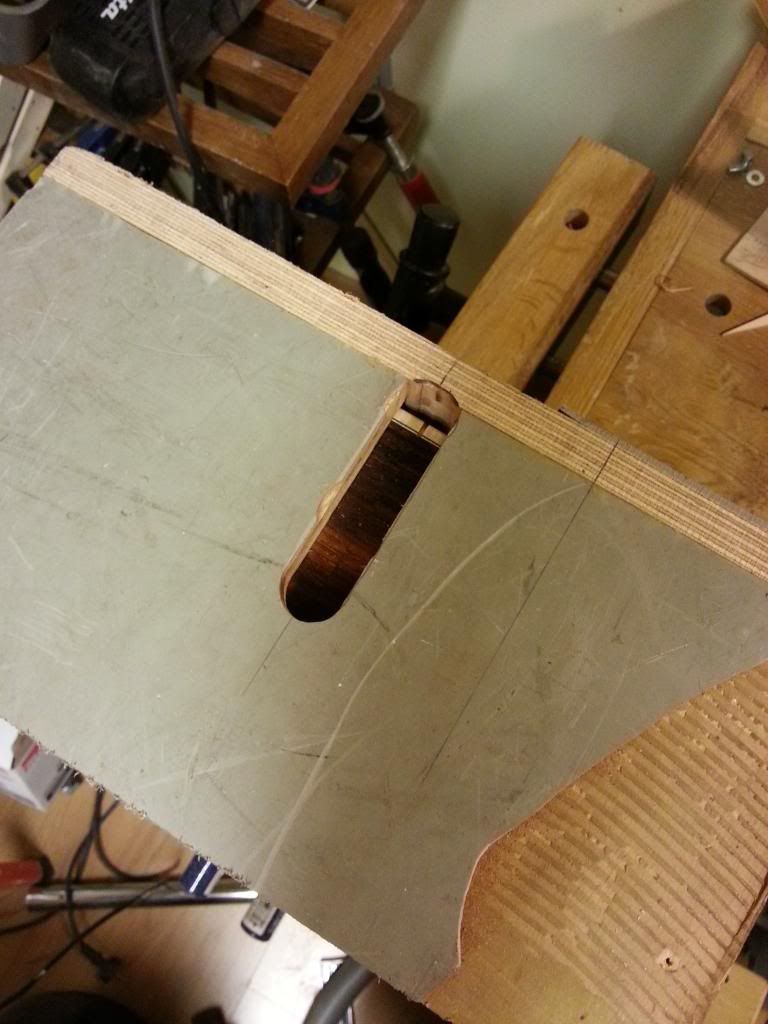
Strictly at the center line, as you can see...
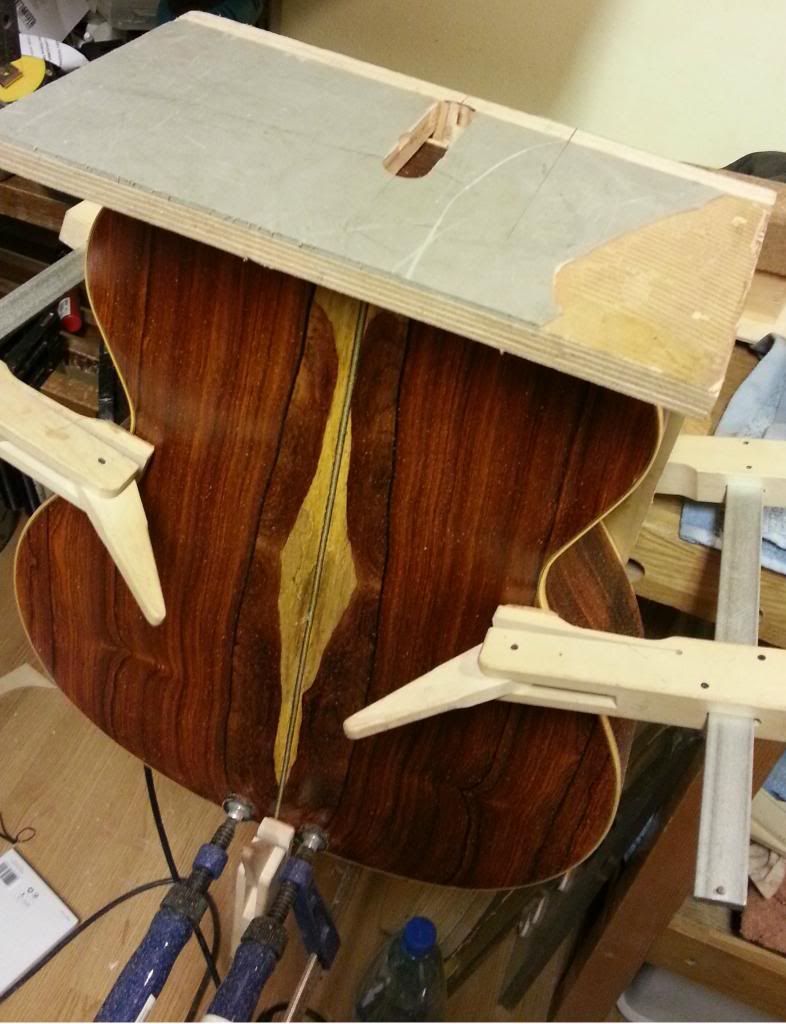
...and this is the result. NEVER make any cut without first trying the bit! This time the shaft of the bit was microscopically twisted in my previous project, causing everything to vibrate and moving the box in its mold. A brief moment of deep desperation and after that some re-thinking. Luckily, I've made so many mistakes I already know that everything can be repaired and covered up later.
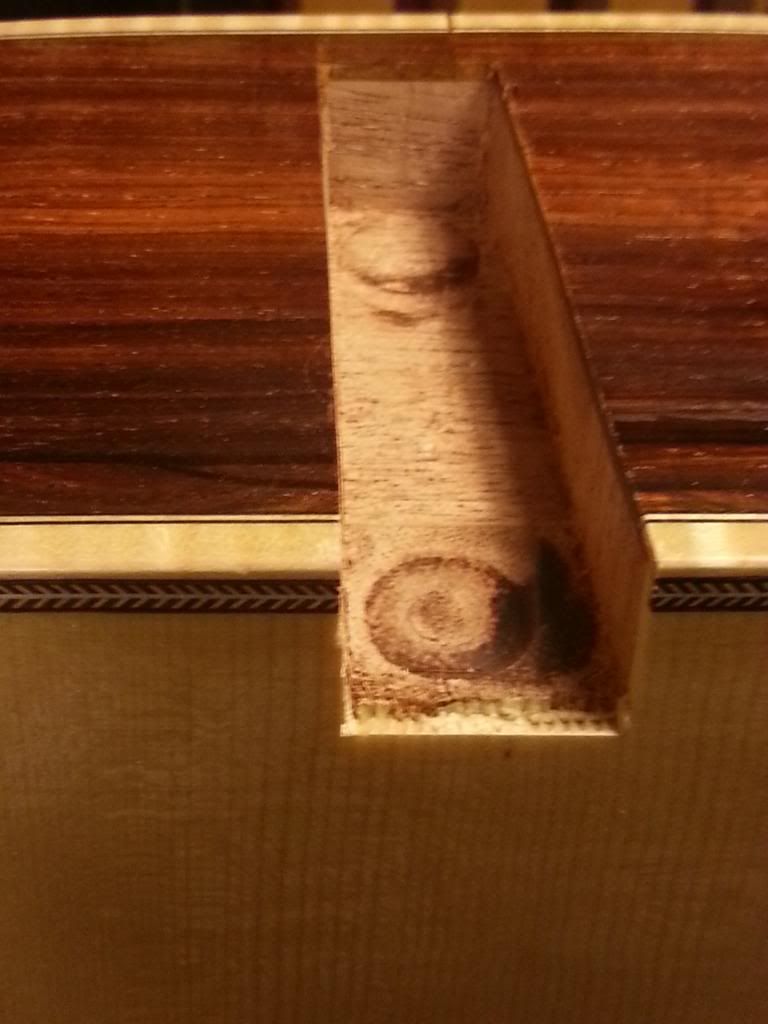
After some thought (and settling down of smoke and sawdust) I decided to use my japanese pull saw and chisel to clean up the edges of this terrible, off-set slot. I was happy to notice that the heel of the neck will still cover everything up nicely.
Filled the slot with some neck block material to provide the neck with support it needs and deserves. This time I'm thinking of ditching the motise and tenon approach and try a simpler flush mount and bolts with bolted-on fingerboard approach. Nothing to worry, Jouni, we're still in schedule!

maanantai 26. marraskuuta 2012

Home brewed alternative for Switch-3

I've written before about this nice, no, awesome TC Helicon vocal/guitar processor with a hefty name: Voicelive Play GTX. There is an optional 3-pole footswitch to control the oh-so-many options in the processor. The company is kind enough to provide the diy customer with the schematics to make his/her own footswitch. I already made one, but it turned out to be too small and light weighted to take all the tramping action. In addition, as I thought would happen, the plastic switches couldn't hold their own in use.

So, back to the bench, I ordered three rugged metal momentary switches and made the prototype #2# out of flamed redwood that never made it to be a top of a guitar. This time I made it wide enough to accommodate toes or shoe tip on one button without pushing the others, and deep enough to prevent the box from tipping when pushed. It's working like a charm and looking WAY better than the usual black metal box design.

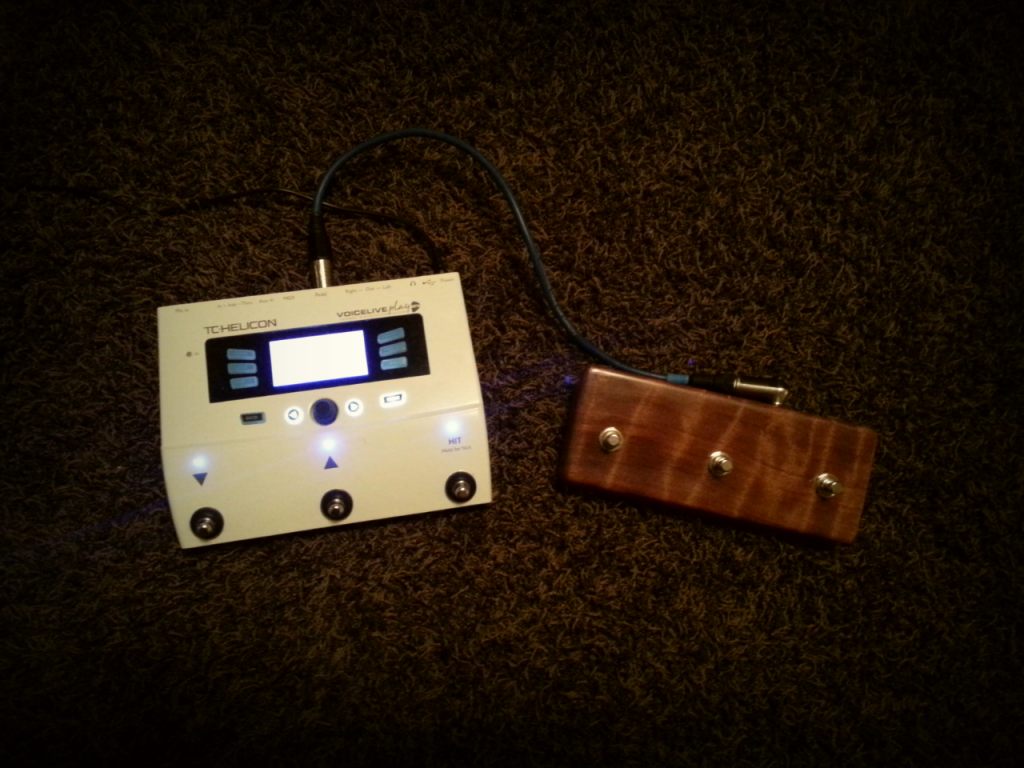
You can program this optional footswitch to do a plethora of things. Turn on and off different vocal effects and harmonies, set tap tempo, give looping commands, boost guitar and effects etc. I wouldn't be surprised if you could even make some coffee with it.
The setup is a very basic wooden box with slanted roof. The intestines were soldered and attached before the bottom  plate was glued in. A layer of foam from what used to be a mousepad keeps the thing from surfing around.

keskiviikko 10. lokakuuta 2012

Pre-war gem strung

The pre-war repair project is now strung and found out to be an absolute player! You can check back in the blog to see the condition the guitar was brought in. My aim was not to restore the guitar as a museum object, but a playing instrument. So some support was added to the neck block, and the neck joint was converted from a badly made dovetail to a well made bolt on. The soft and worn out vintage frets were replaced with new ones. In addition, I had to make a new pyramid bridge to replace the split and warped original. The bridge relocated, and the saddle properly compensated, the guitar plays in tune for the first time in its 100 years, I believe. Anyway, this again is one of those guitars I will hate to depart with when that time comes.

Here's two simple samples of the sounds. The Billie Holiday classic from 1939 just had to be sung with this guitar. Imagine it was already 25-30 years old when that song was written! Sorry about the out of tune singing. There's no bridge relocation for that. Just practice.

God bless the child
Virsi 184

tiistai 2. lokakuuta 2012

Ukulele project

Cleaning and re-organizing the shop, I found big enough top off-cuts to make a couple of concert ukulele tops. Add in the flamed maple sides that were intended to make some binding, and I found myself planning a scrap ukulele project. This is a hands-on course for my two eldest sons into the world of luthiery, hopefully into playing guitar family instruments, and definitely a nice way to spend some father-son time together. I ordered plans for concert size ukulele, and made the mold. The boys will do all the gluing, sanding and everything there is to do, with my help of course. The goal is to make two serious ukes with the quality and beauty you won't find in the music shops nearby, at a very low budget. All we need to buy is the tuners and strings.
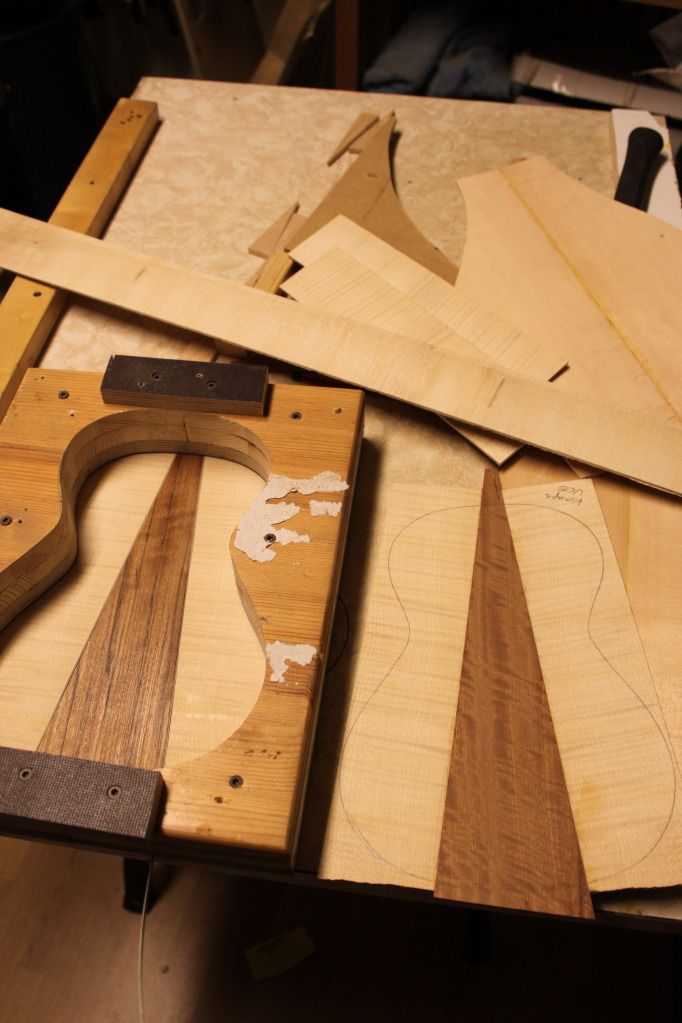
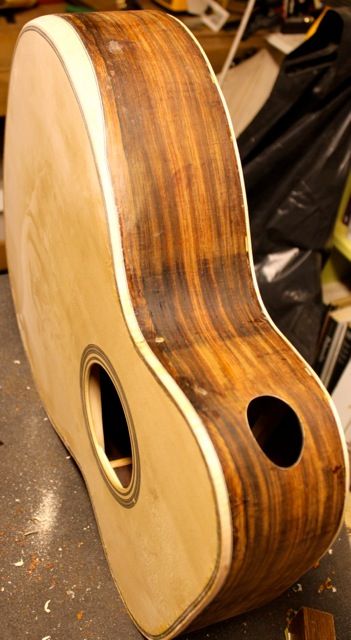
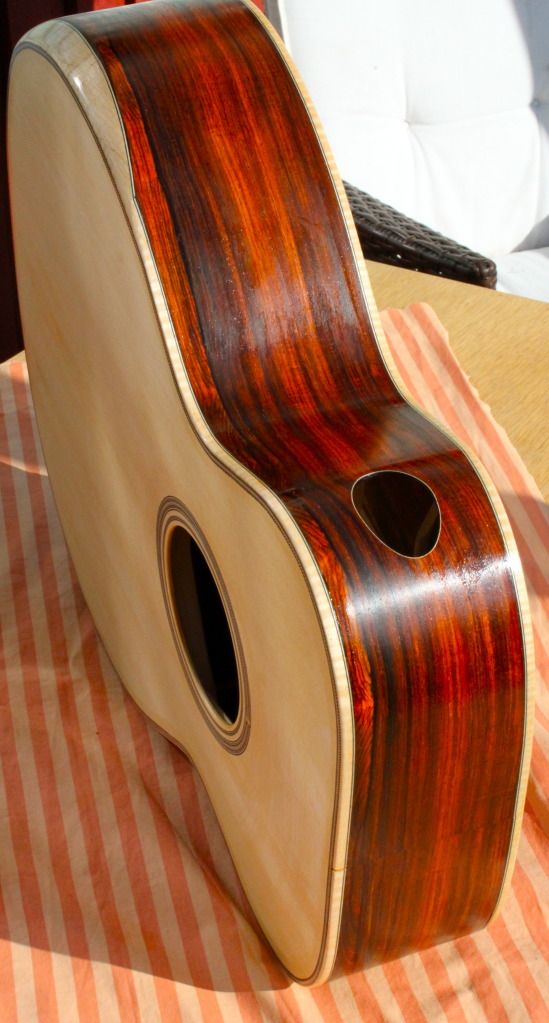
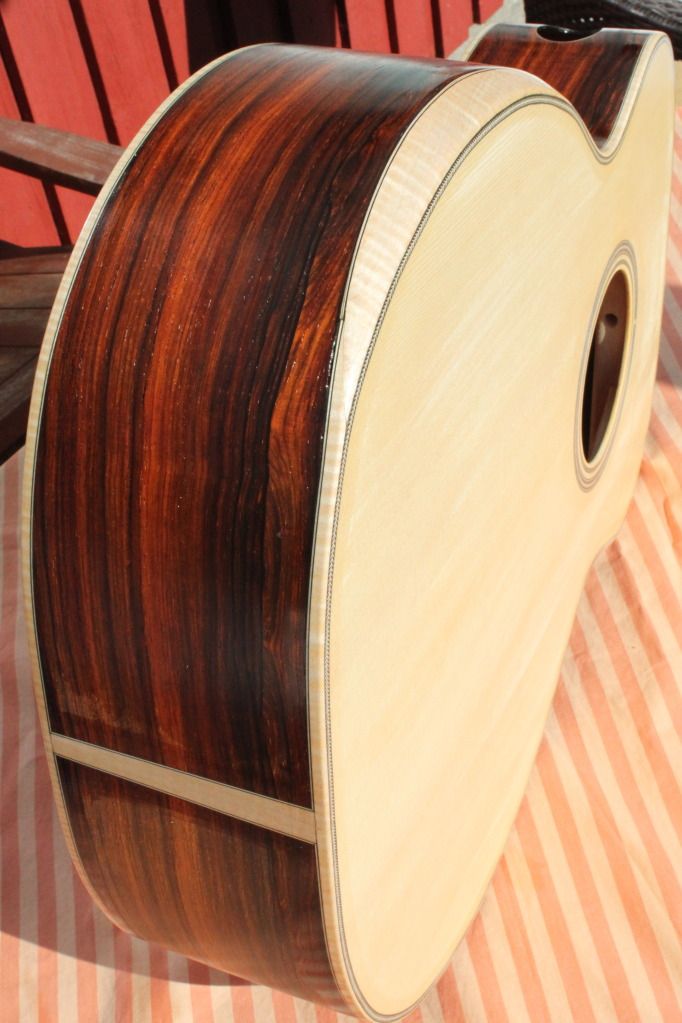
Here's the material. Nice flamed bosnian maple
 for the backs and sides, and european spruce
for the tops

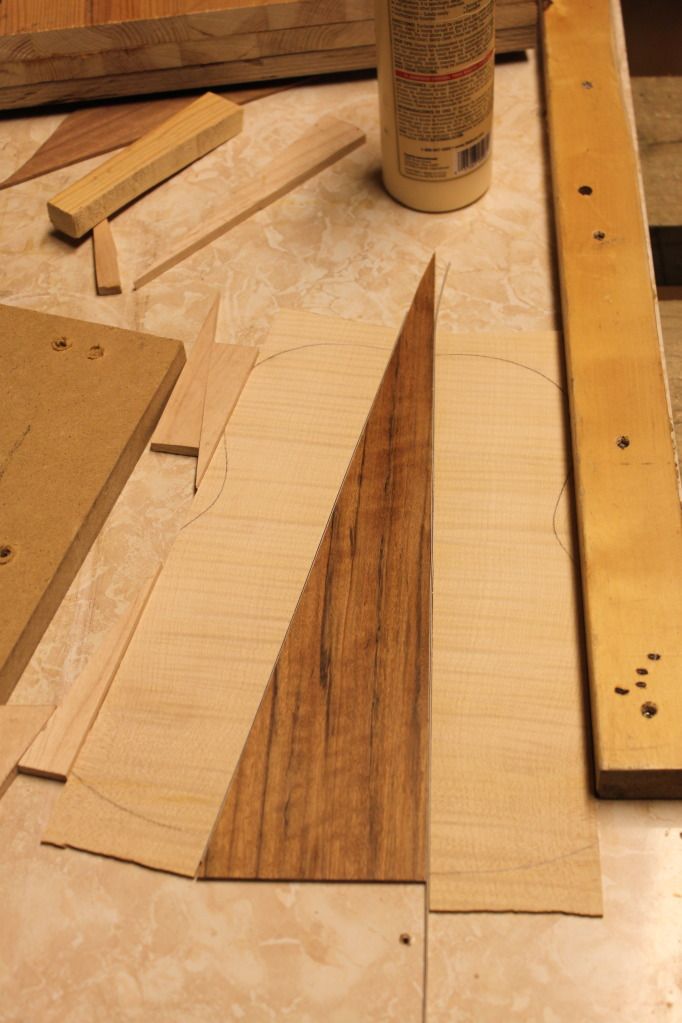
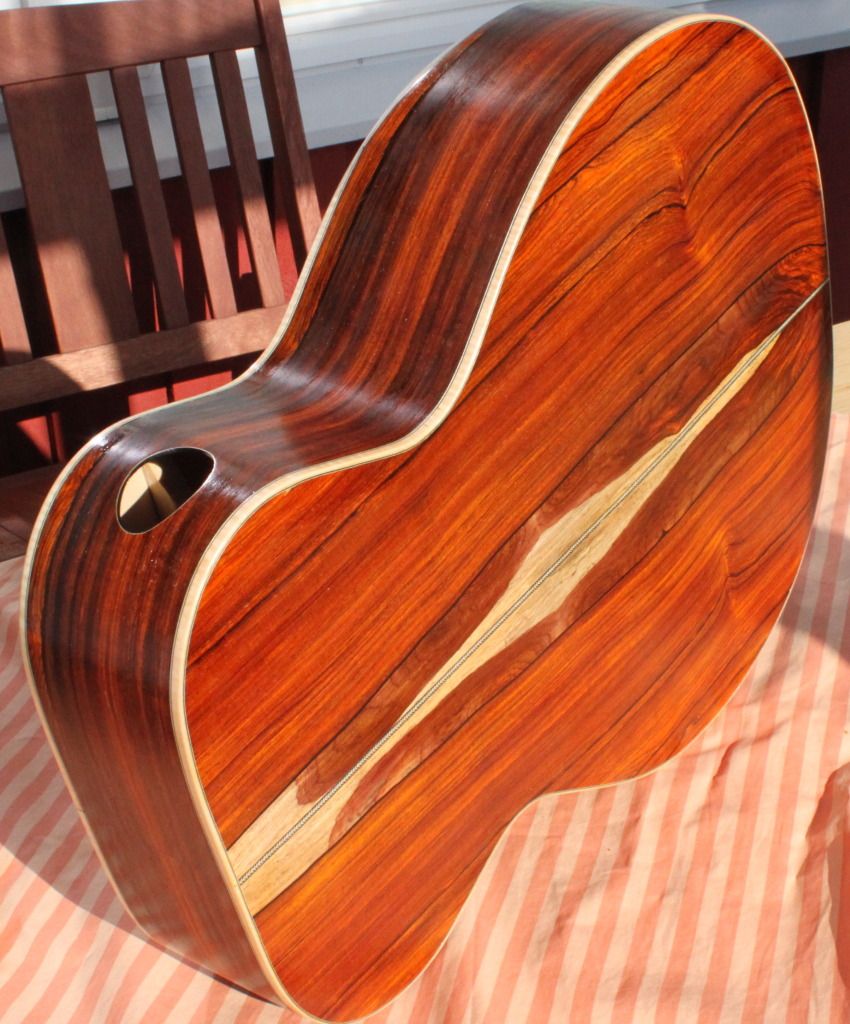
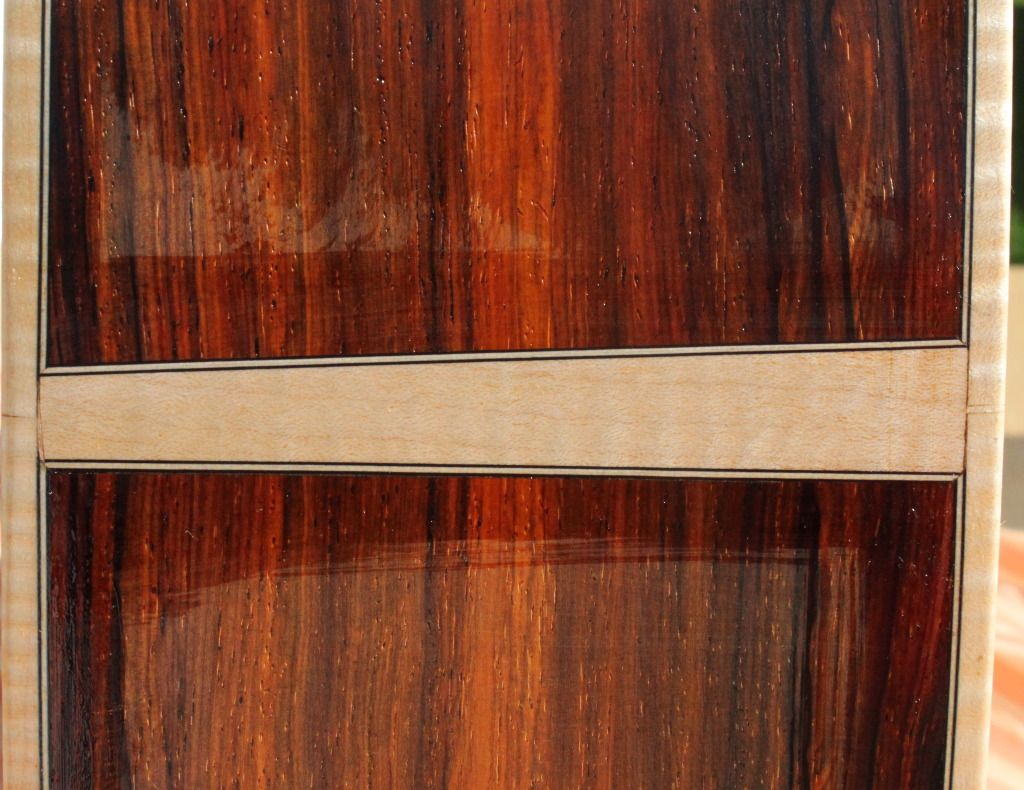
Miika's uke will get an ovankol wedge for the three piece back...
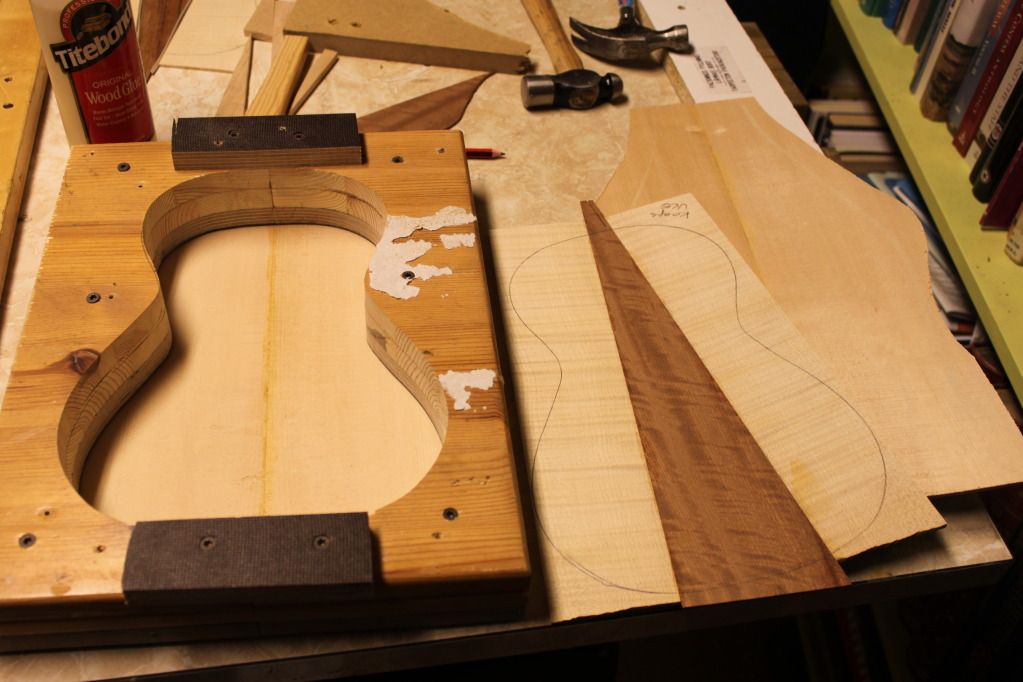
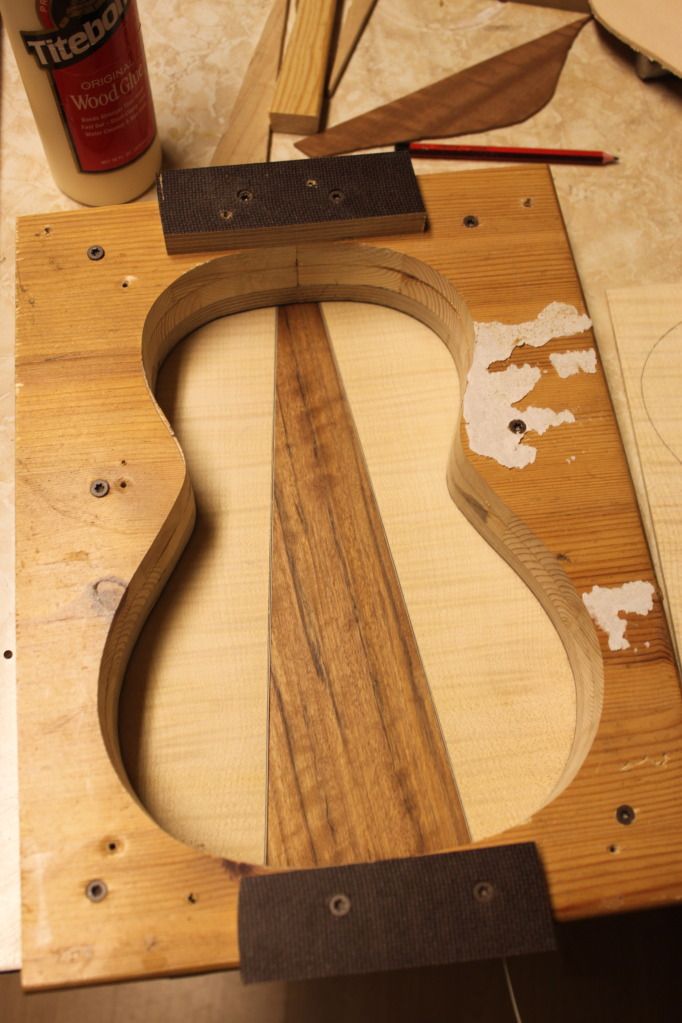
...while Kaapo's uke will get flamed sapele wedge. Both of them
 are off-cuts from my previous or to-come projects.
 The backs had to be done of three pieces to make
the maple meet the sides as well. Both the center pieces
will make a strong visual statement as well.
This is my top/back joining method.
The clamping wedges are made of maple.


lauantai 15. syyskuuta 2012

Bridge slotting jig

I built this simple plywood jig for routing the saddle slot to the bridge. "Cam clamps" hold the piece down firmly against the pocket and provide level surface for the router rail.
This mechanism provides well enough force to keep everything in place


I wanted to use my proper router, for my Dremel doesn't give a clean enough cut. With 3mm straight bit,  the router base needs to fit snuggly in between the side bars, and the end stops define the slot length. Mine is set to 74mm. The rail system is simply clamped down to the base, at exactly right place and angle, of course.

I mark the centerline of the slot to the bridge plank to help the rail placement.

I cut in multiple passes, thus preventing the router from tilting when starting the cut.

A clean cut. The depth of the slot is approximately 1/2 to 3/4 of the saddle height, depending on the latter.

My saddle blanks are a bit oversized for a 3mm slot. A little sanding ensures a tight fit.

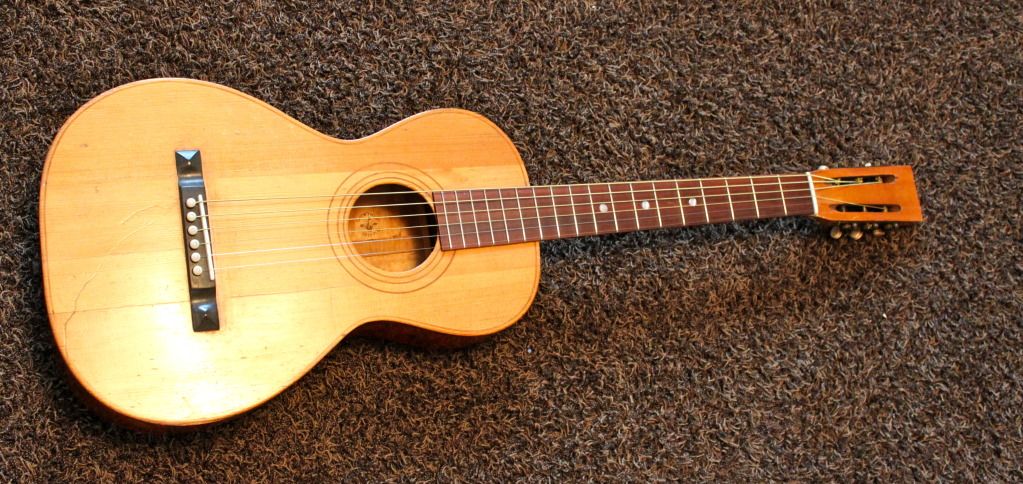
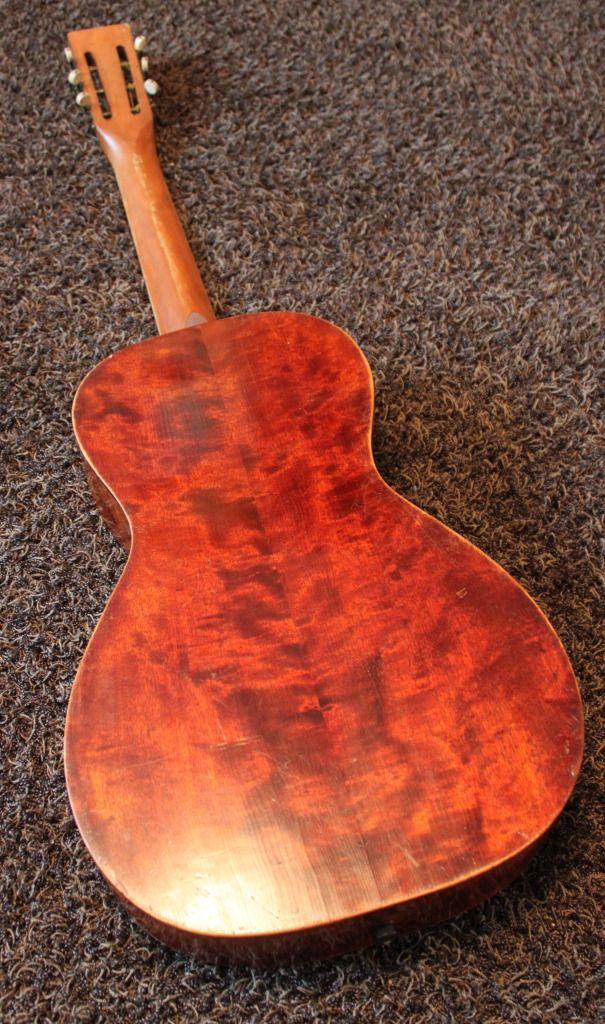
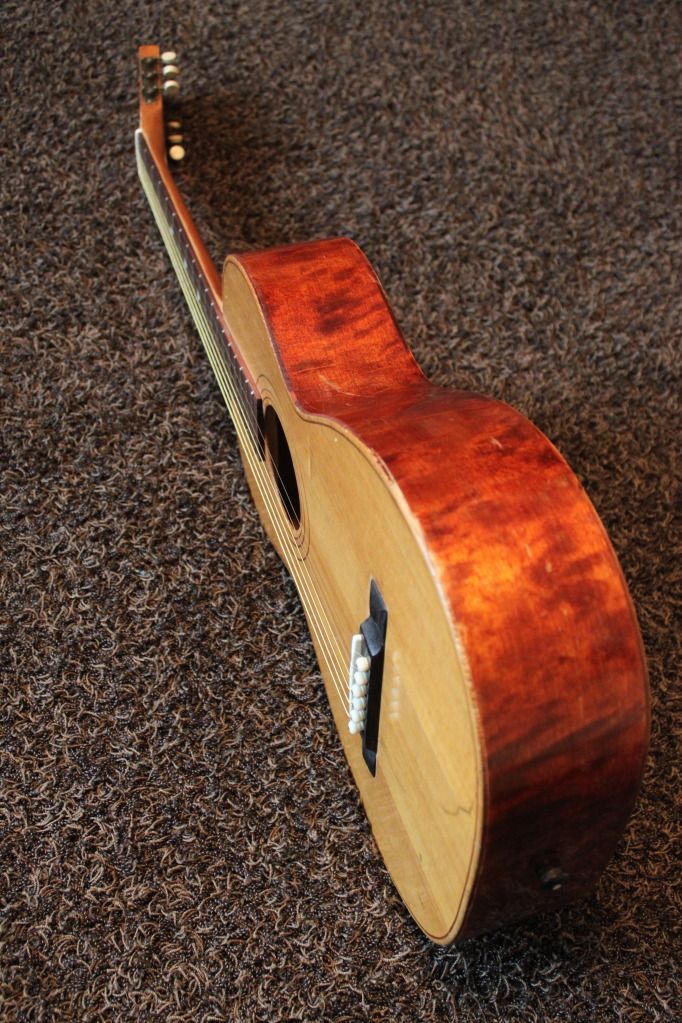
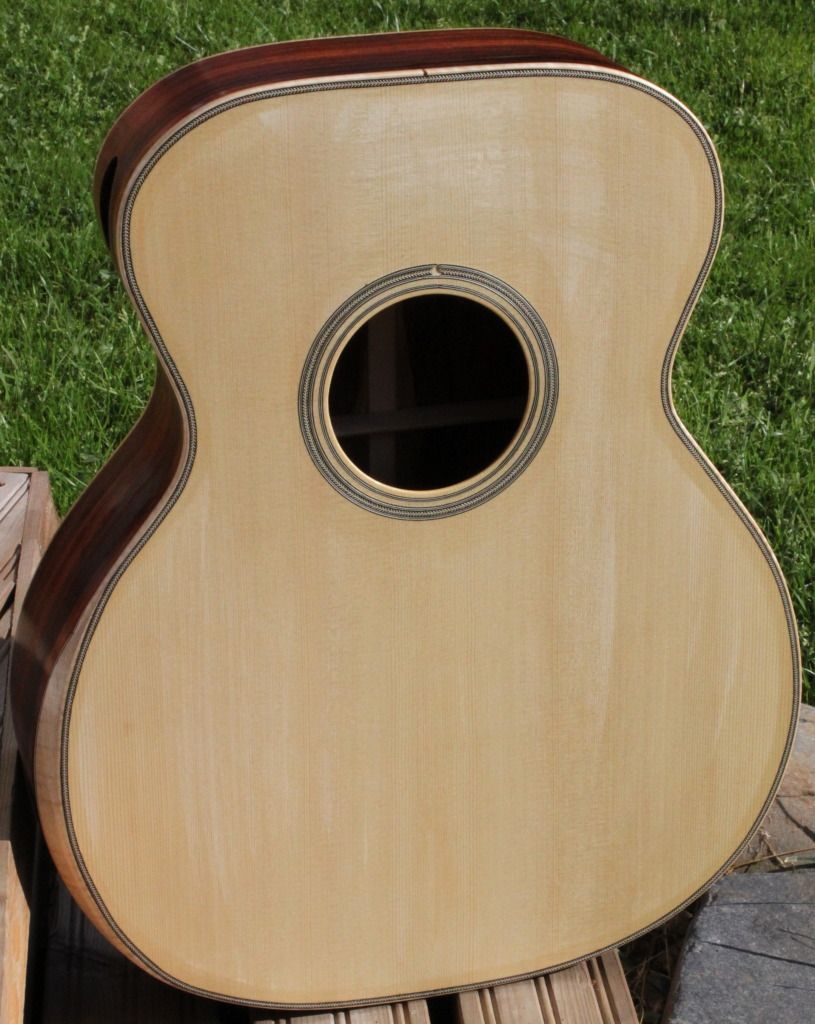
Here is the target. The original ebony bridge of this pre-war gem was beautiful, but had too many issues (split in half for instance) to be repaired. The replacement pyramid bridge is still rough, waiting for the time to get in shape.

perjantai 24. elokuuta 2012

Just add neck... and some other things

One milestone has been achieved, as I got to put on the first spit coat of shellac today.

After gluing the bindings, I use my (well, my father's) hand held sander with 100 grit paper to level the bindings to the top, back and sides. Compared to scraper or hand sanding, this really speeds things up. I machine sand down to 240 grit and then switch to hand sanding, using 240-320-400-600-800grit papers. Sanding light colored spruce top and maple bindings simultaneously with the very color contaminant cocobolo takes a certain work procedure. With fresh paper, first top and bindings, then the back and sides, then with another fresh paper, the bindings again. I used a shoe brush and a dry cotton rag to get rid of the cocobolo dust.

When the sanding is done, it's time to cover up the easily stained parts with a few layers of shellac. This keep the colors in their proper places. A lot of filling pores and gaps ahead, but looking good already!


torstai 23. elokuuta 2012

Binding & bevel


I've had some intensive nights, installing the purfling, binding and most of all, the Ryan style bevel topping.


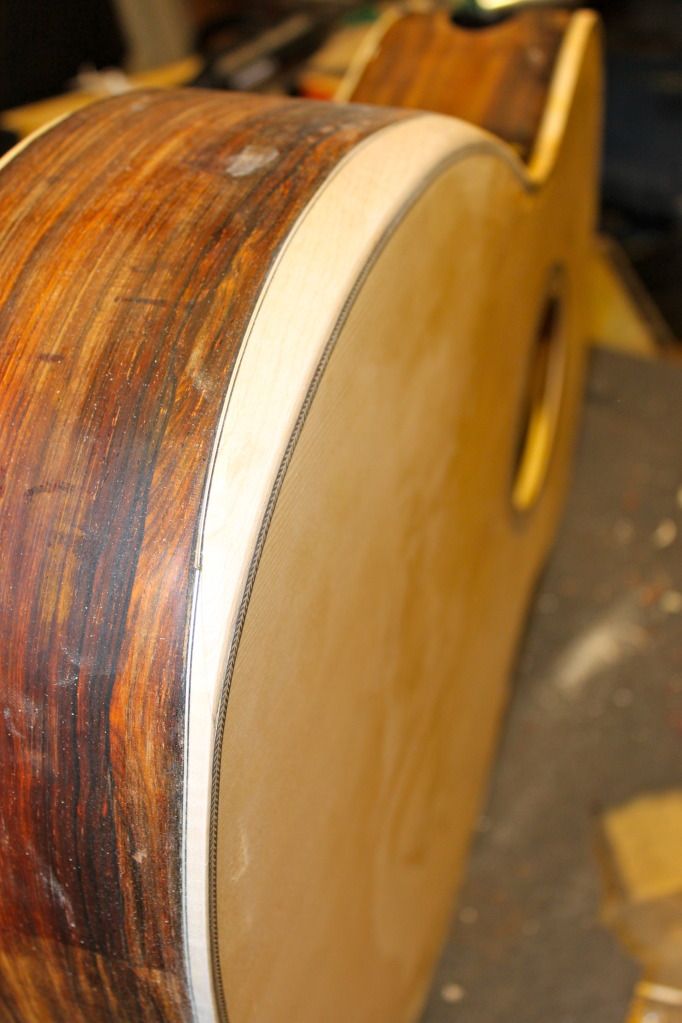
Here the end wedge is being glued down
This ought to be covered...
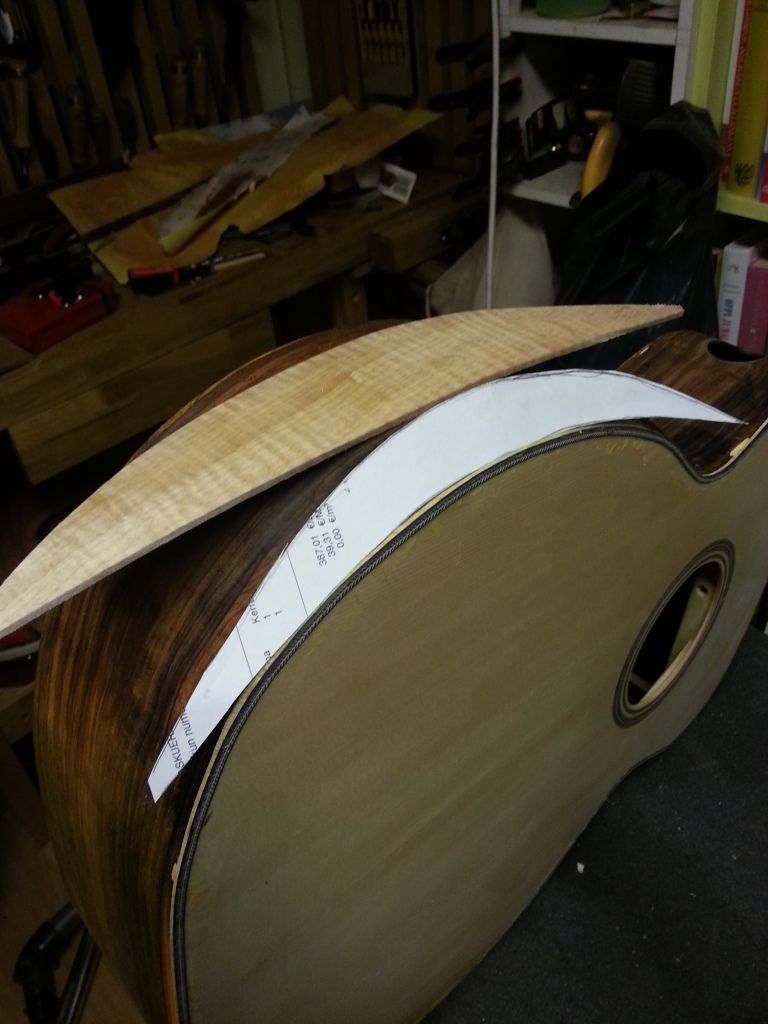
...with this
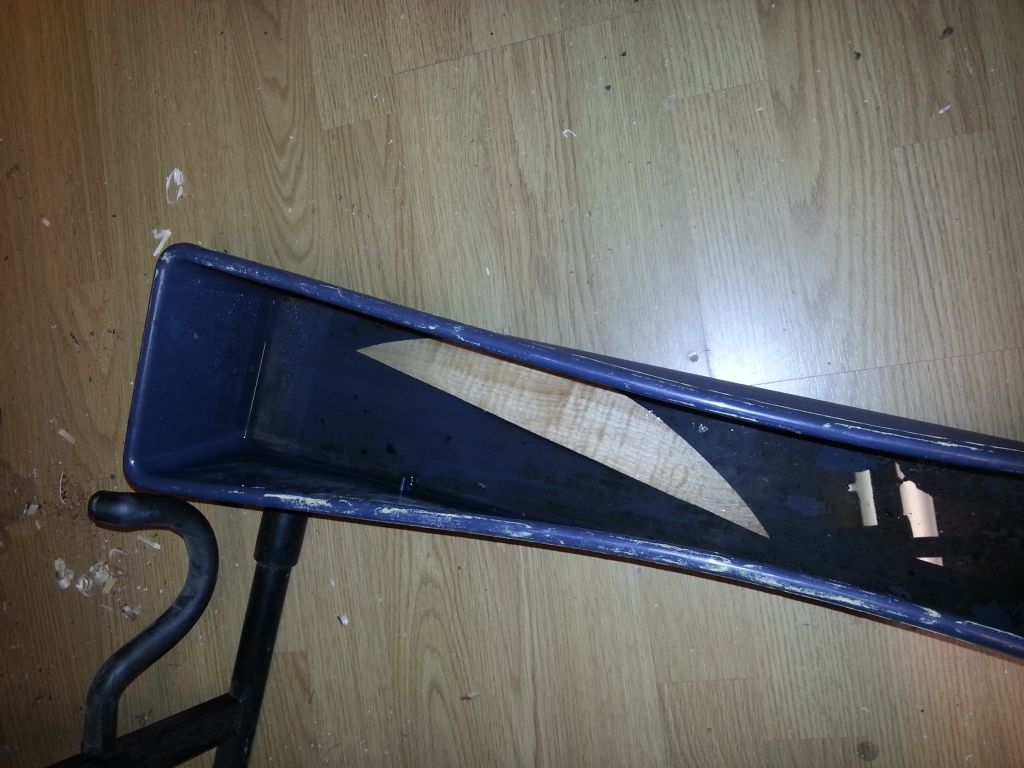
Some moisture and heat applied
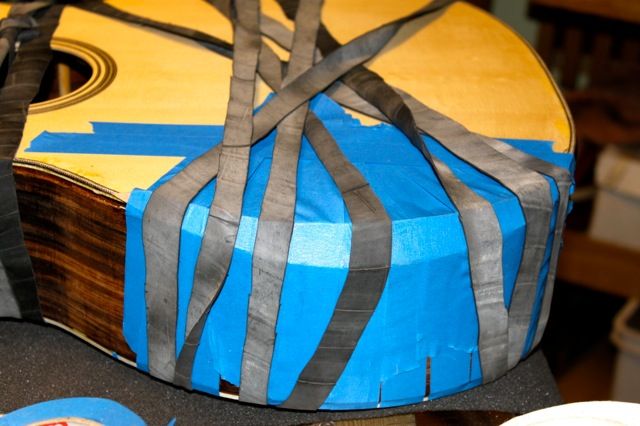
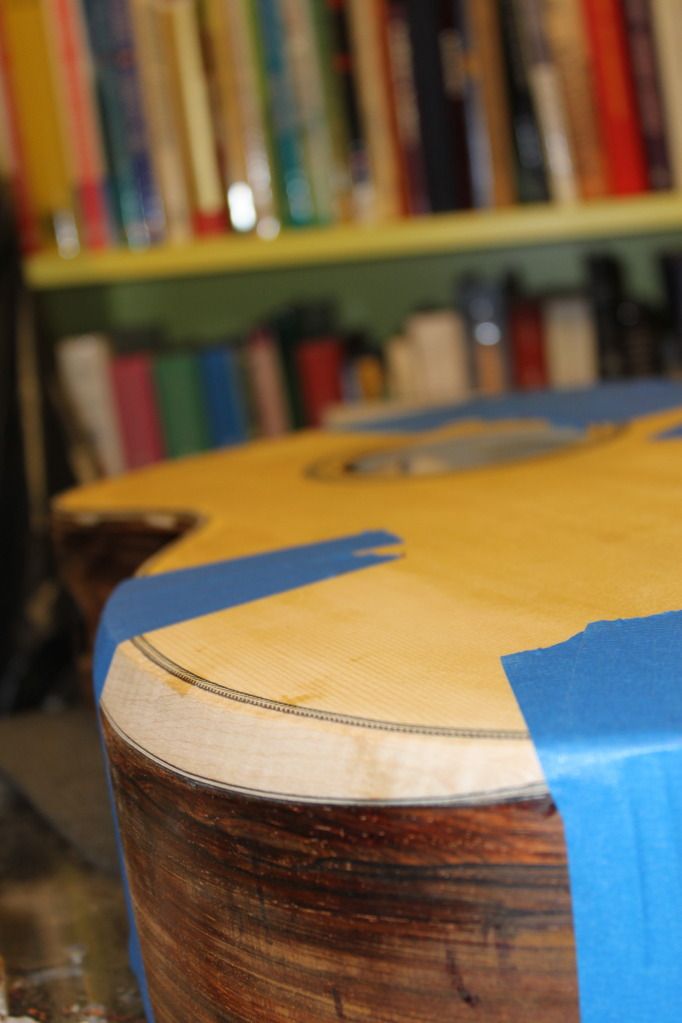
A serious amount of epoxy "under the hood",  held together
with masking tape and bicycle tire rubber band
What you can't see here is all the work it took to shape the bevel topping to exactly match the shape of the radiused and odd-shaped bevel area. I bent the topping with the soldering iron rig, put it in place, traced the edges to the underside of the topping and then carved and sanded it to perfectly fit the cocobolo side. The top edge I butt airtightly against the herringbone trim, and when the glue had settled, planed and sanded down the excess. For my first bevel, I'd say it's a good match. But it surely takes quite some extra time and effort to get accomplished!
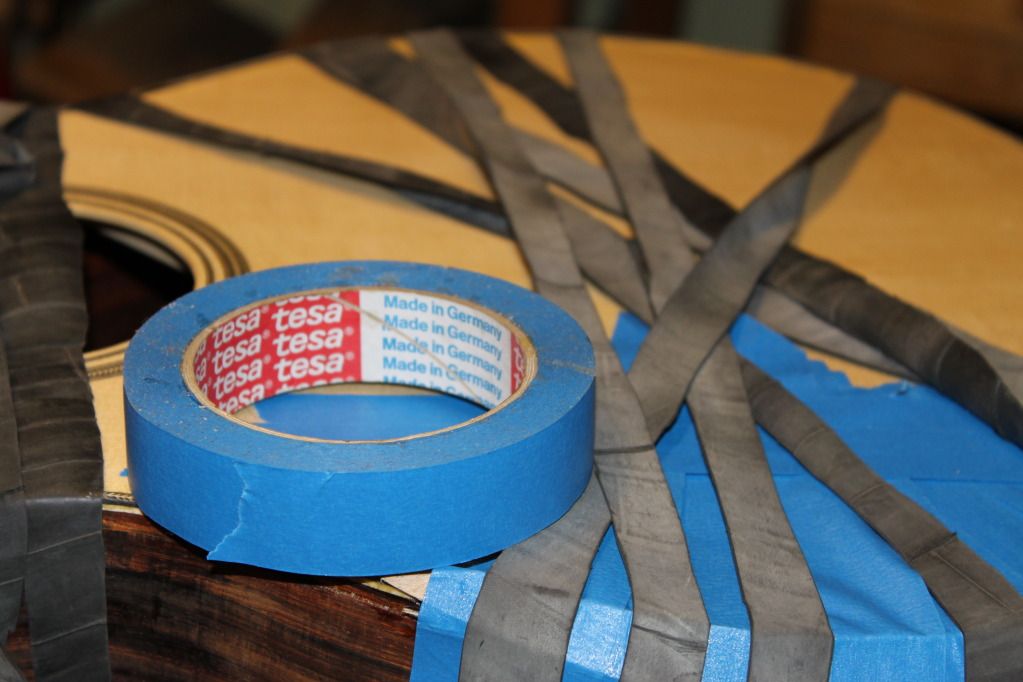
Close picture of THE masking tape
Some more gluing with the ends
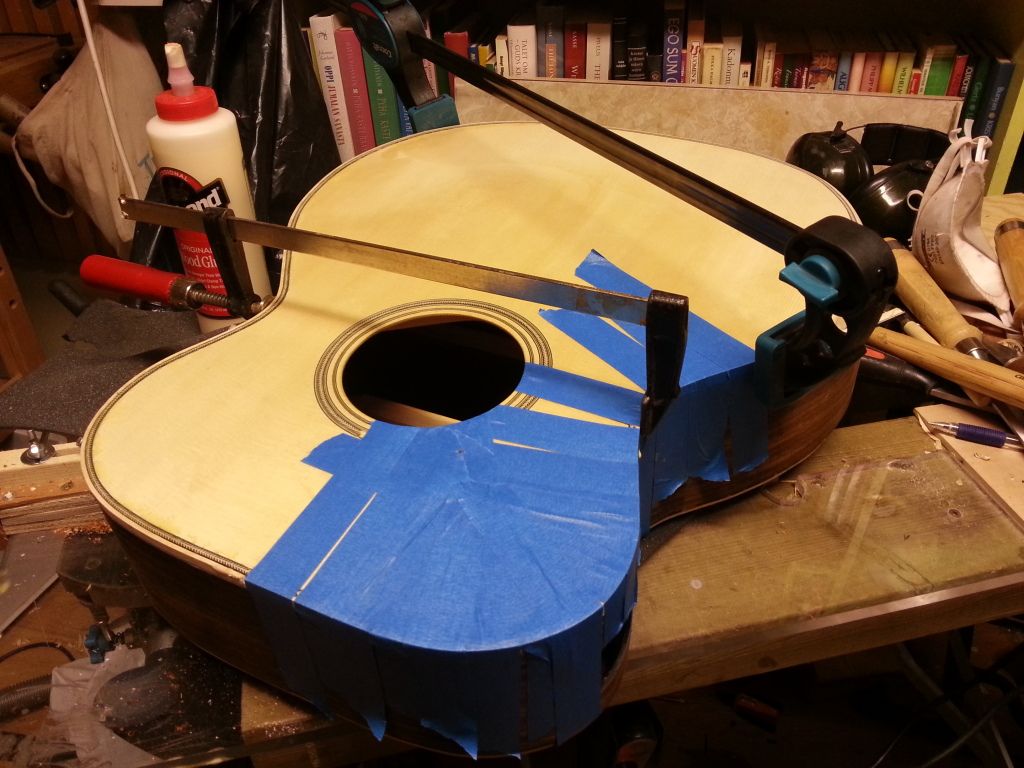
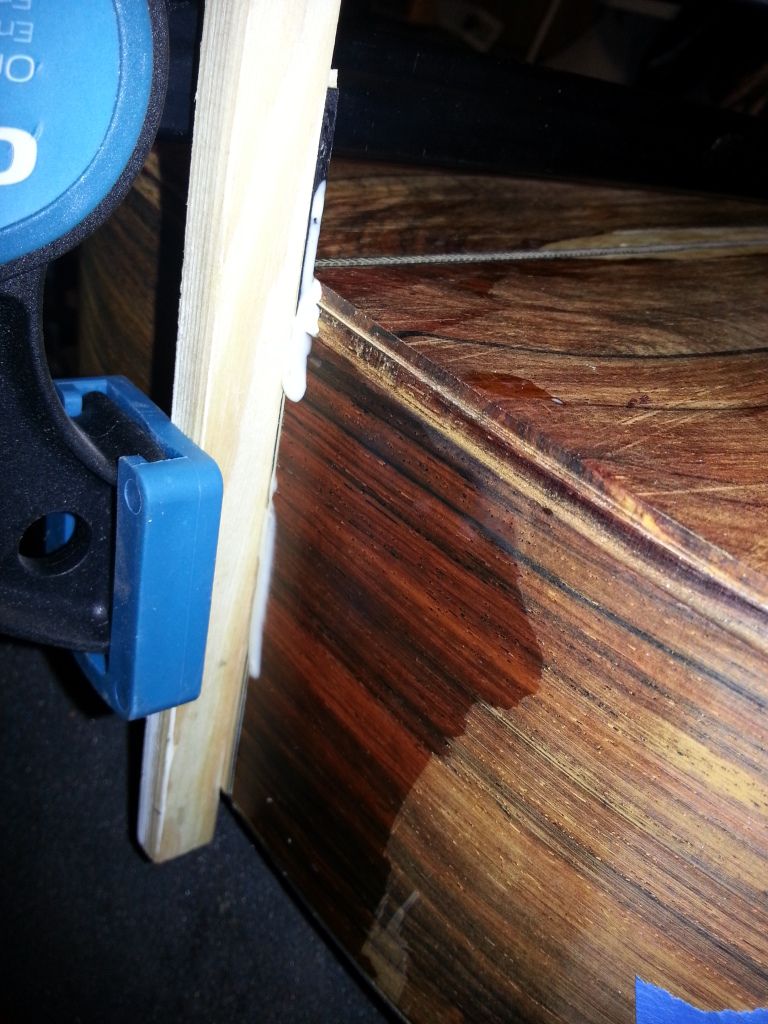
I glued in the bevel side binding in two pieces. The clamps are used to
 hold the binding down in the most critical places.
The ends were joined with a scarf joint.

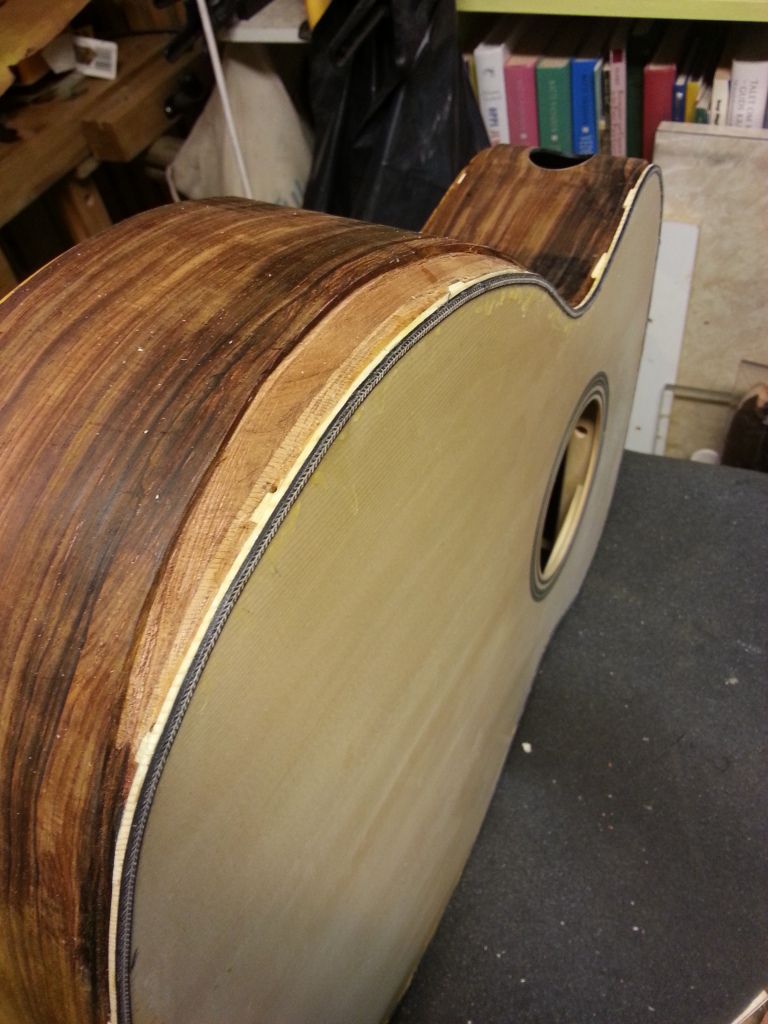
The bevel could be a bit closer to the end, but still
does it's job, with my arm at least