torstai 21. elokuuta 2014

Top bracing, side bending, fretwire bender and 13 fretter neck

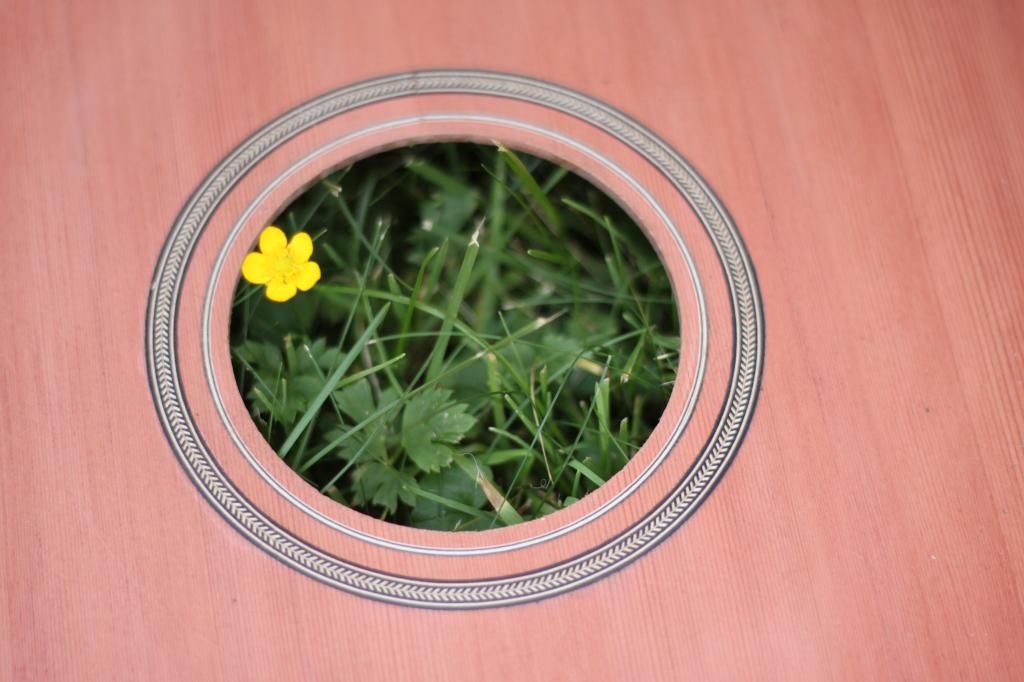
The Redwood top of Sami's guitar has now been braced and the quilted Sapele sides bent. Looking good, progressing with a nice pace.

In the bottom there are pics of my 13-fret neck-to-be with roughed out headstock, and below that is a picture of the fret wire bender I made out of old (dusty&rusty) skateboard bearings, an old birch wood bed leg and three bolts and washers. It's turned with a 10mm wrench and works like a charm for 0€ product!
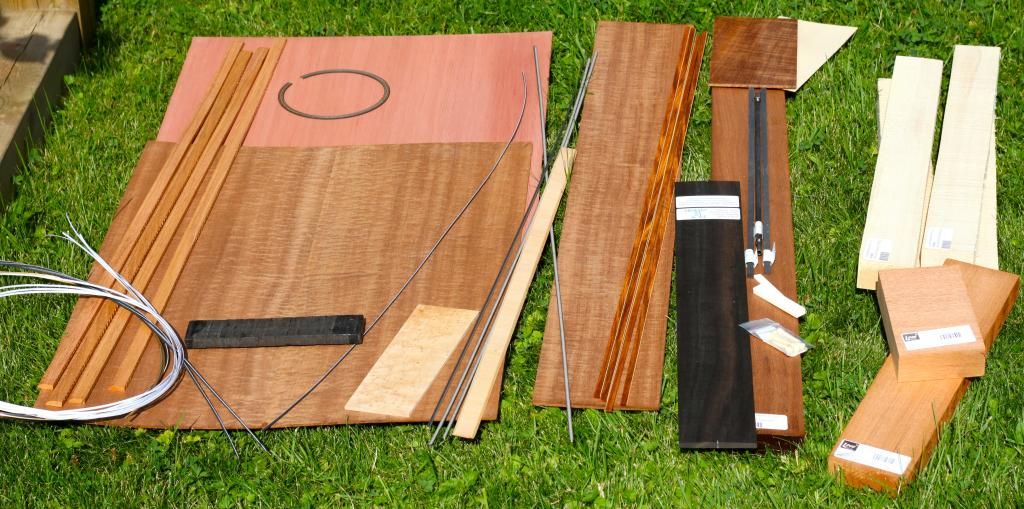
Adirondack spruce only! 
LMII has kindly labeled every item they supplied, 
so I won't accidentally build an adirondack neck
 and brace the top with neck wood.

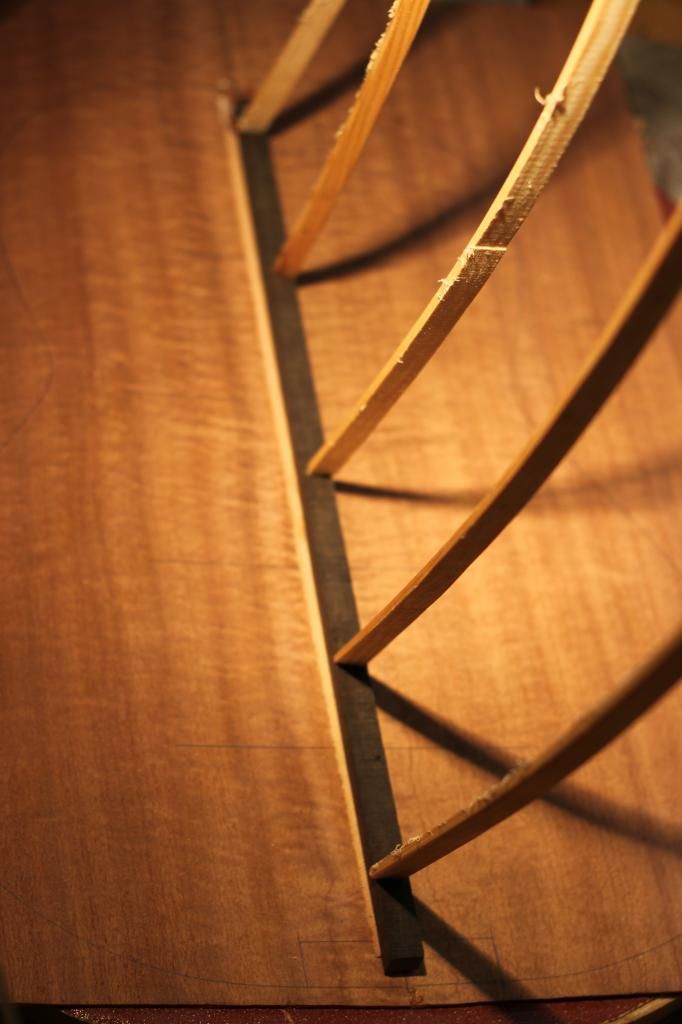
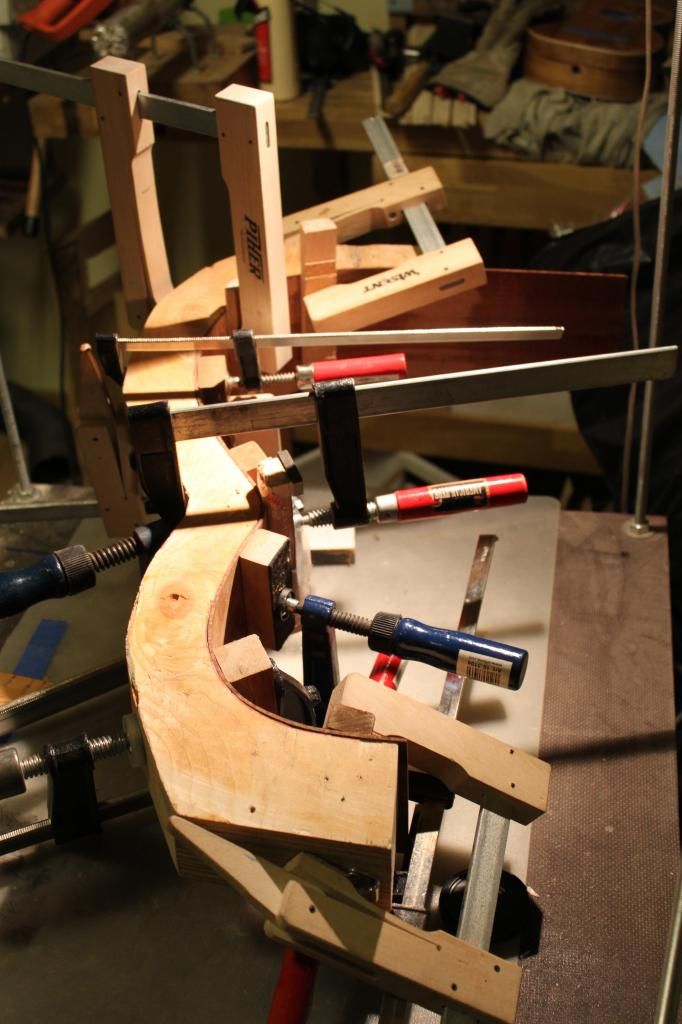
Coming together. Just add some glue here and there...
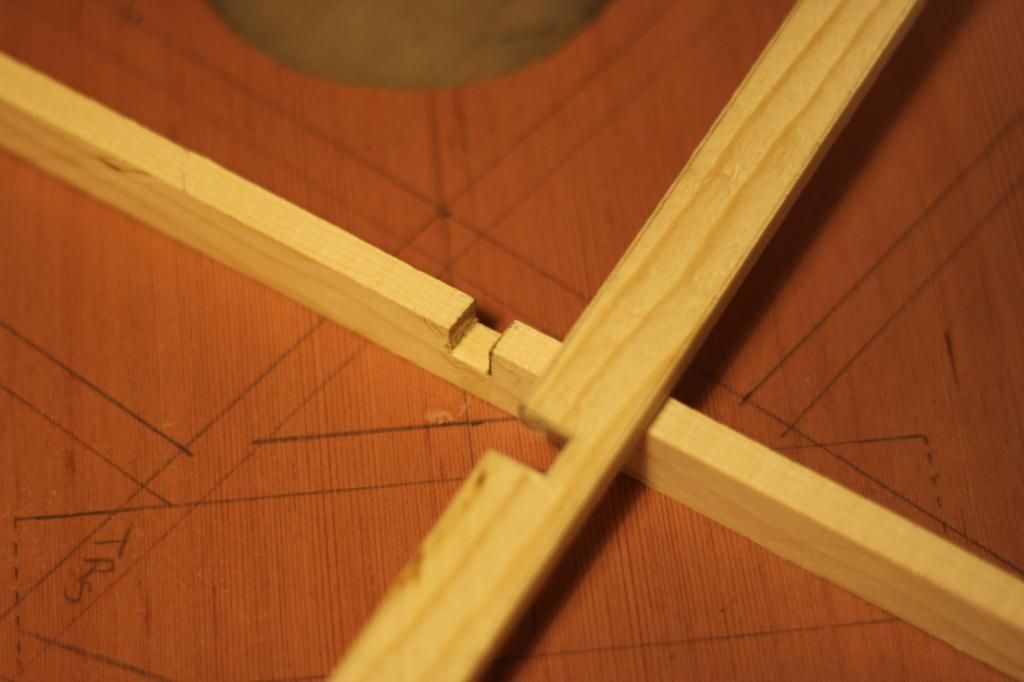
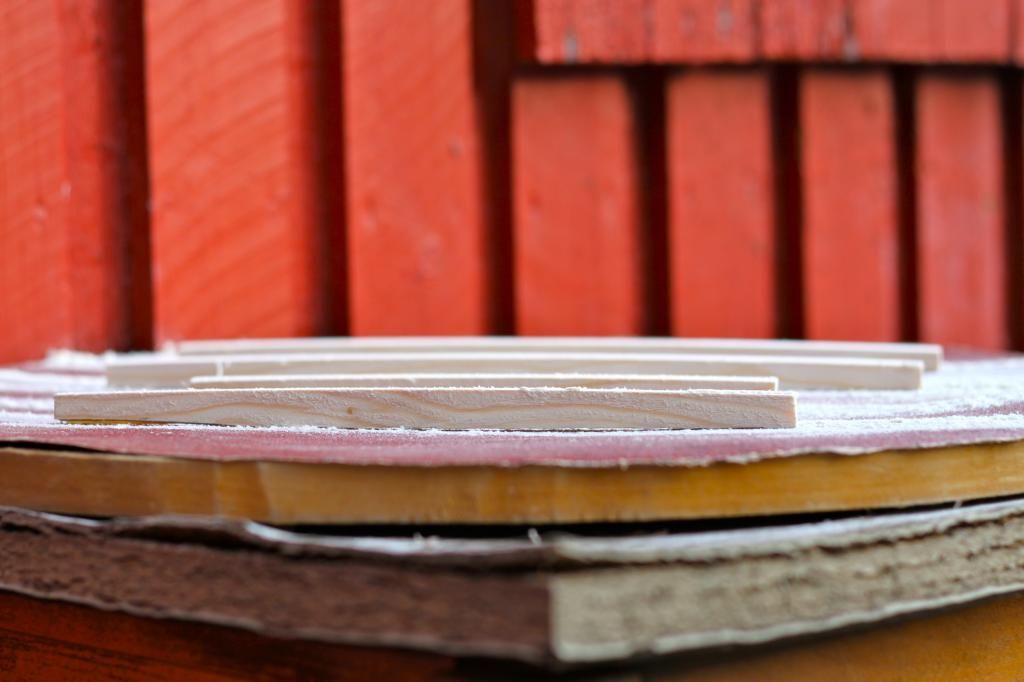
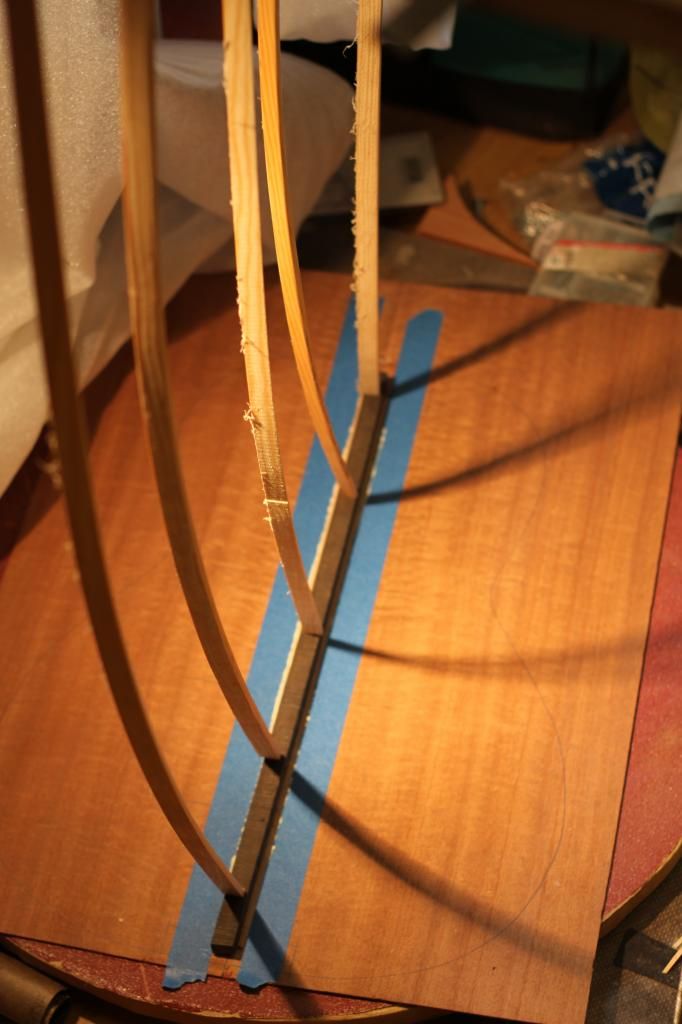
X-brace crossing notched...
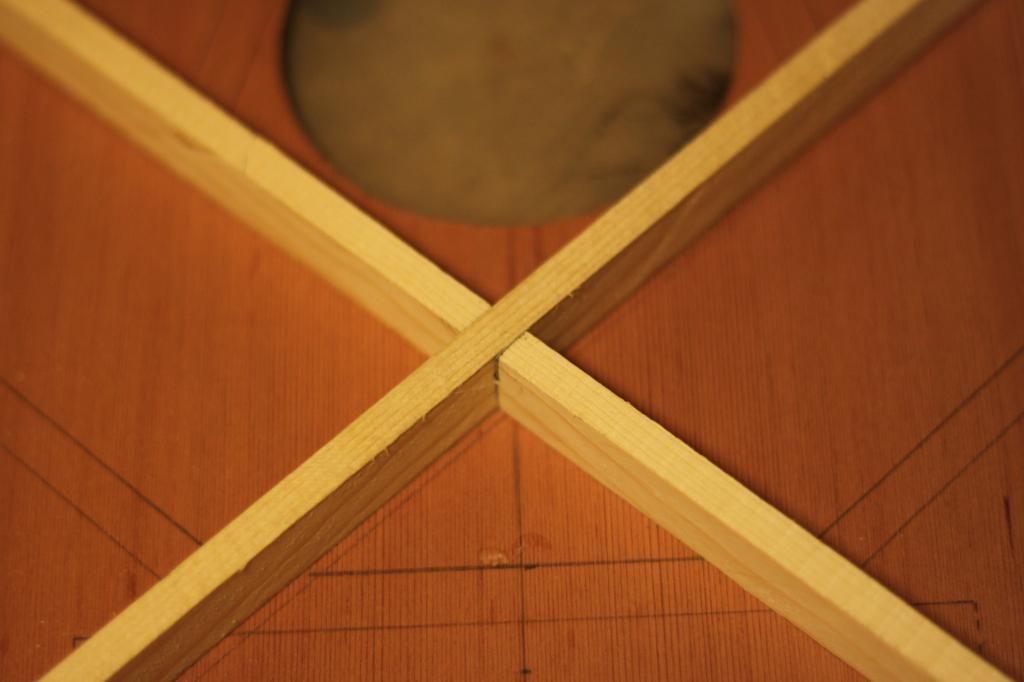
…for a perfect, snug fit.
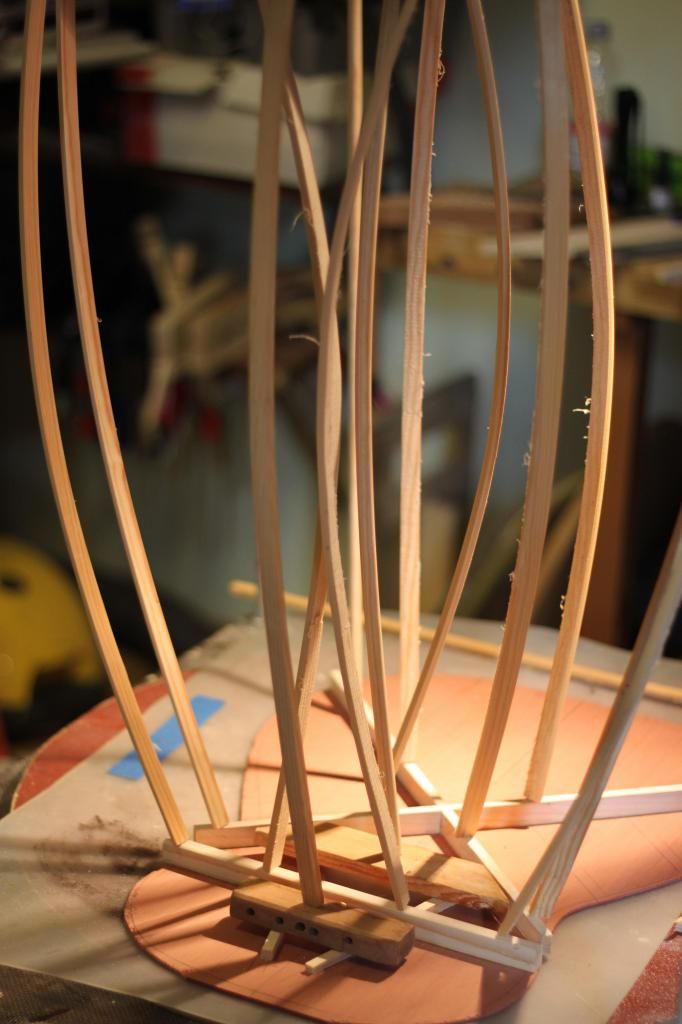
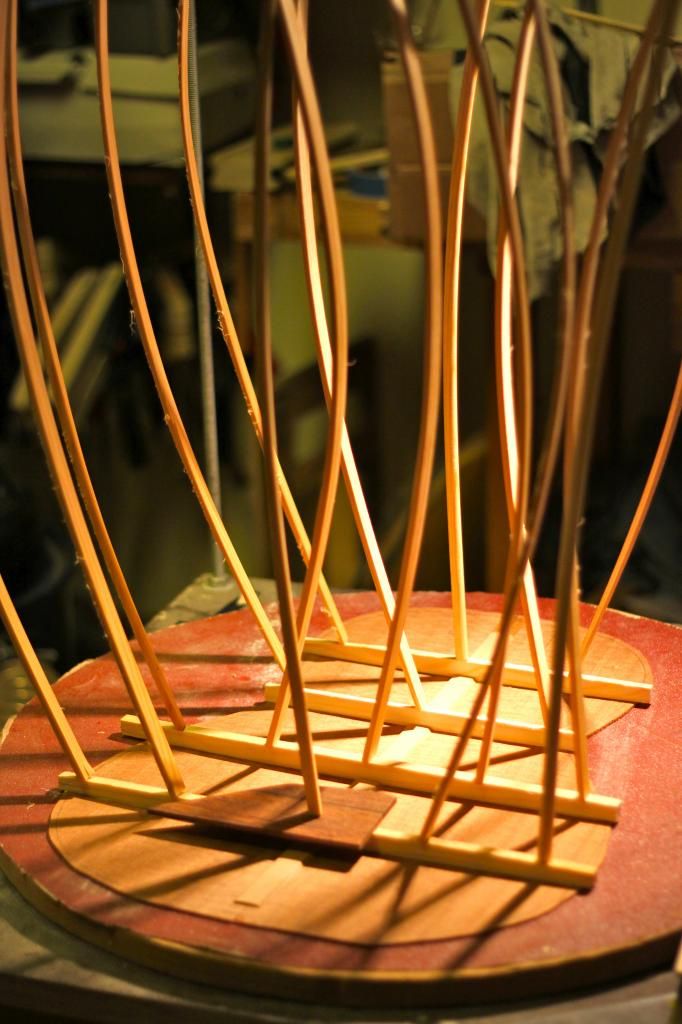
Gluing the major braces in go-bar
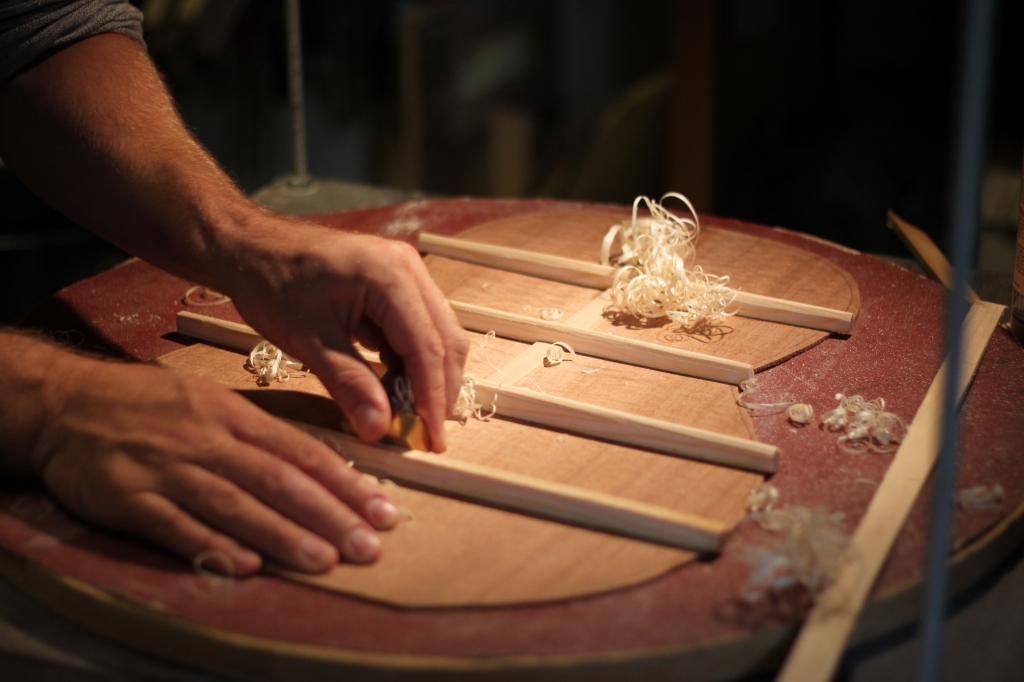
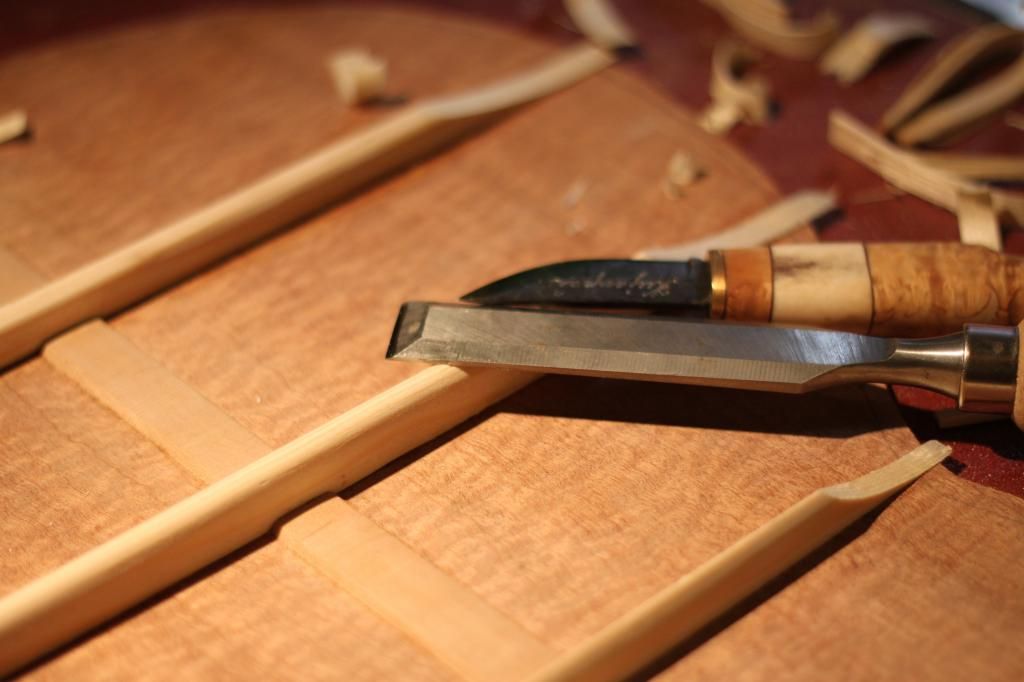
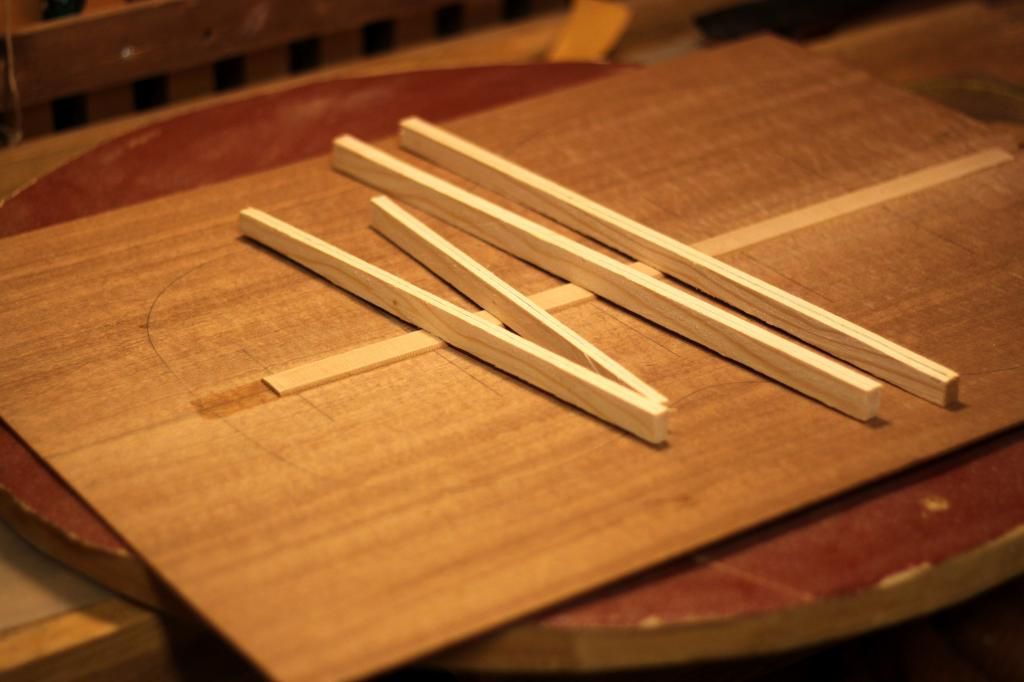
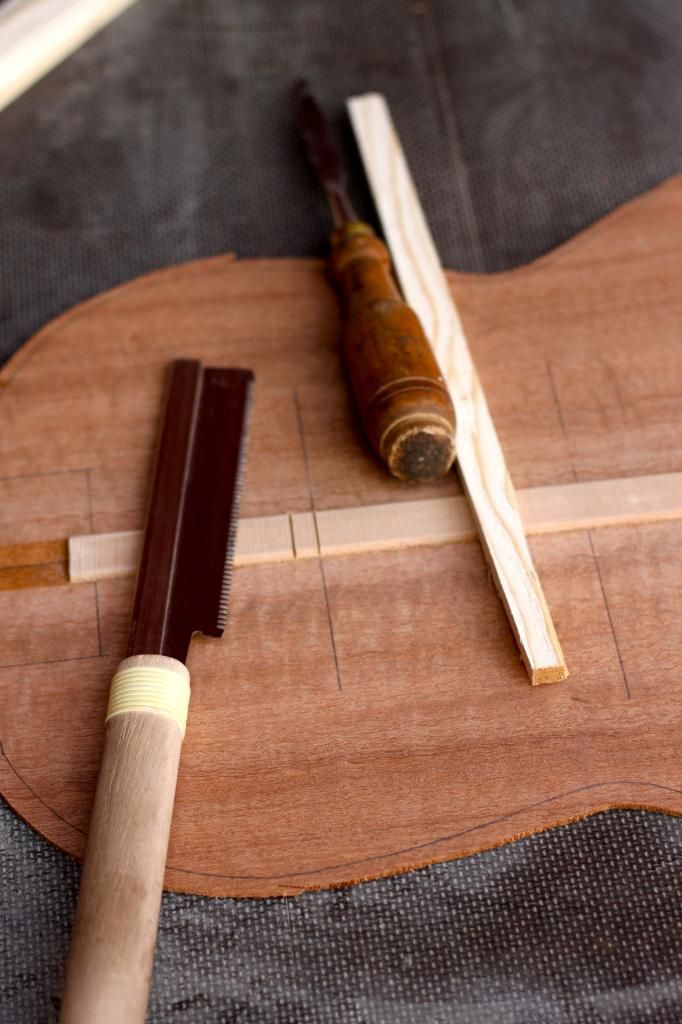
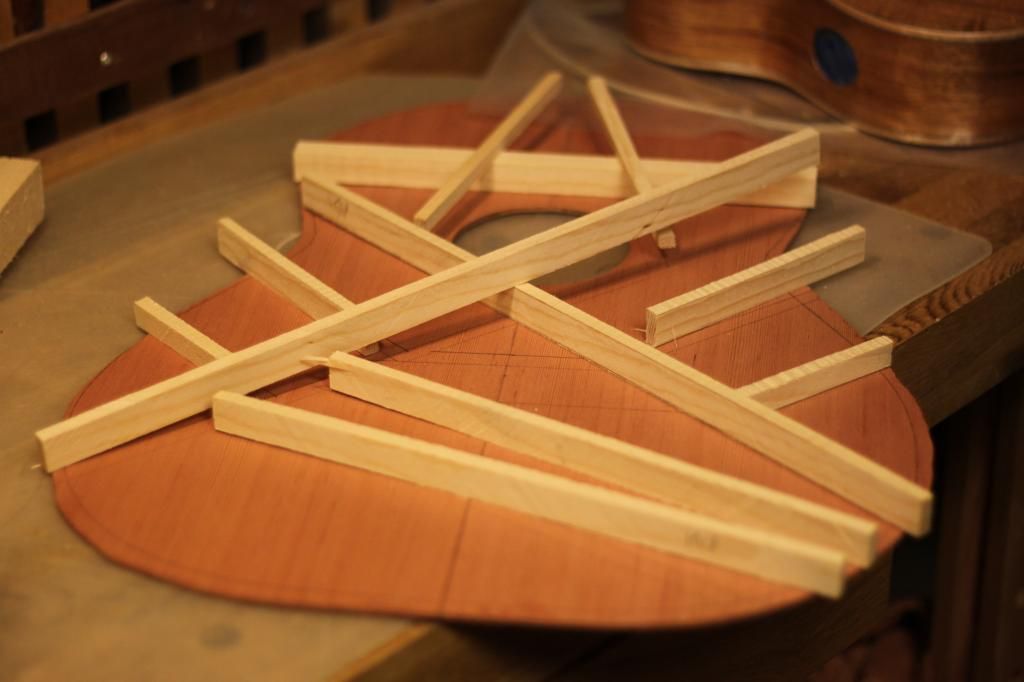
Shaping the first set of braces before gluing down the rest
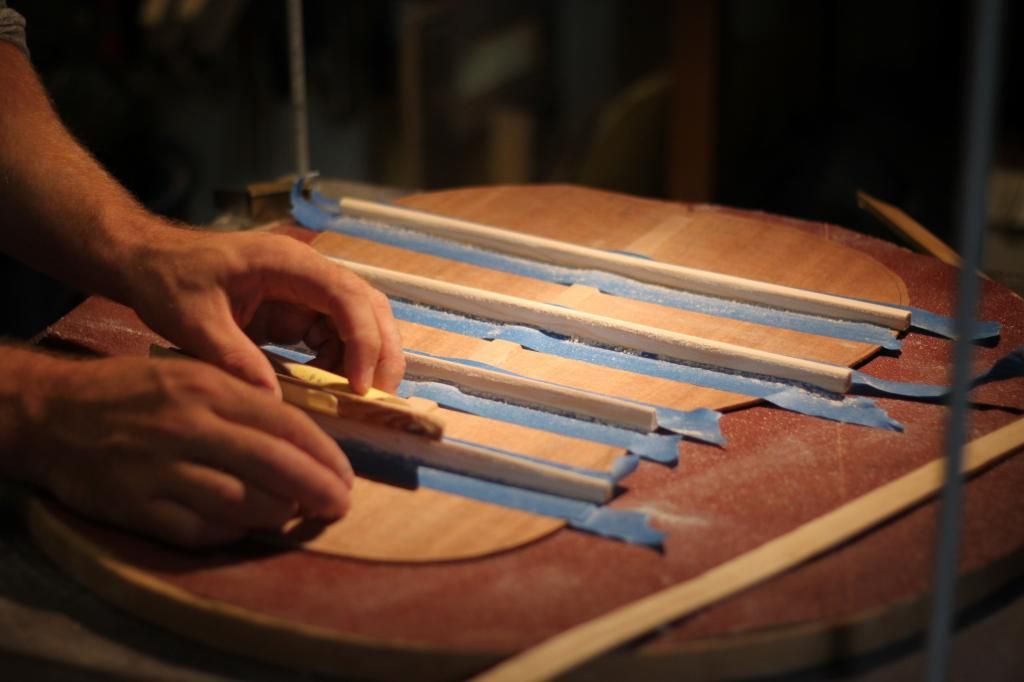
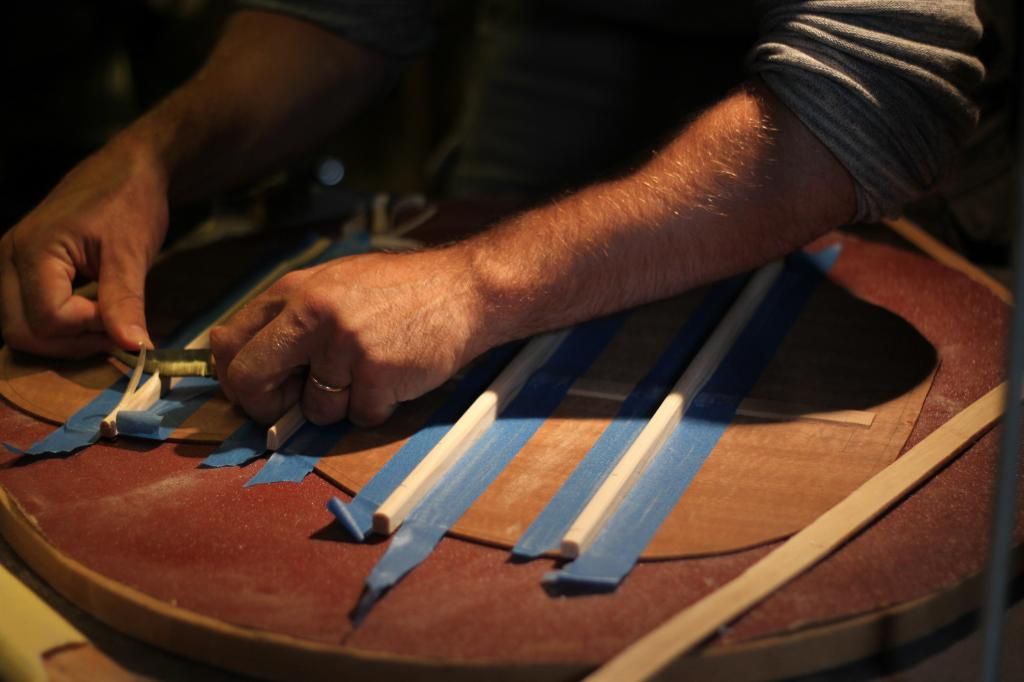
More bracing!
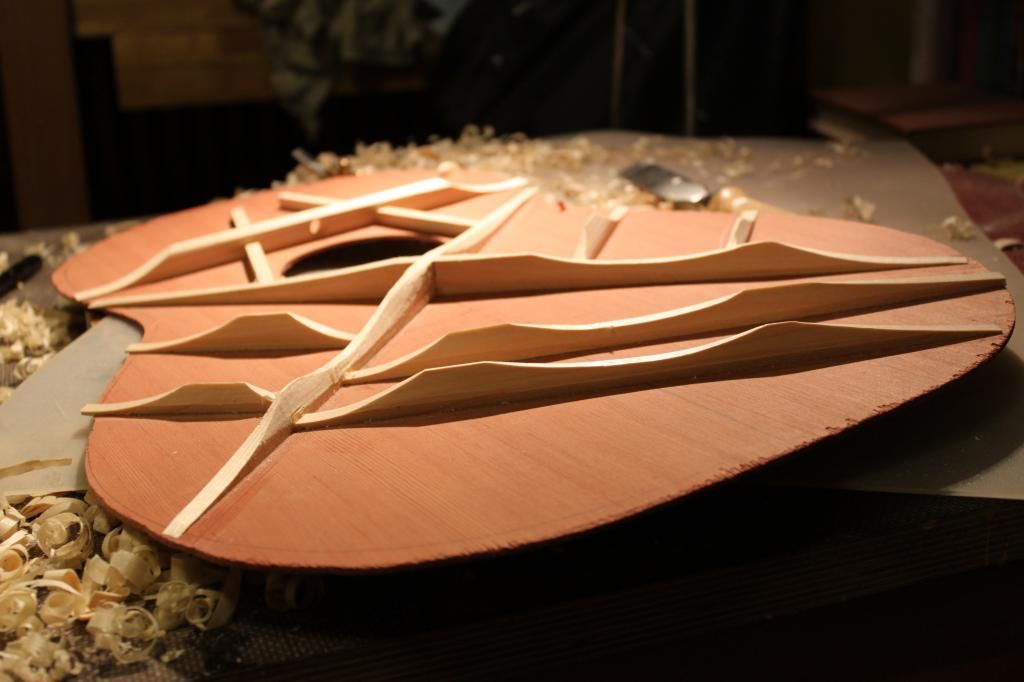
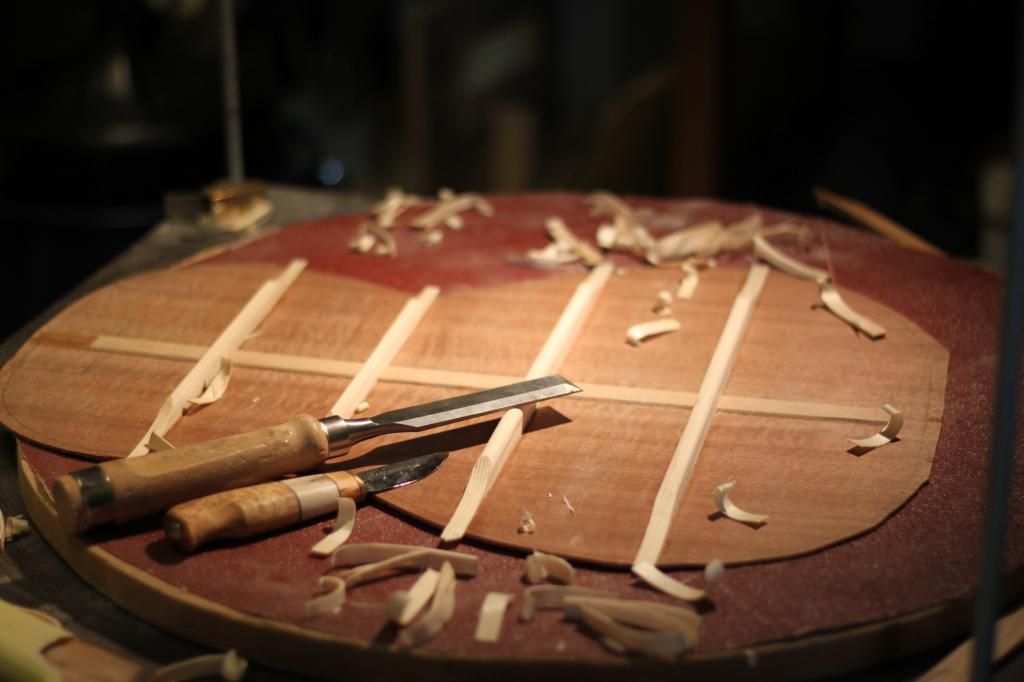
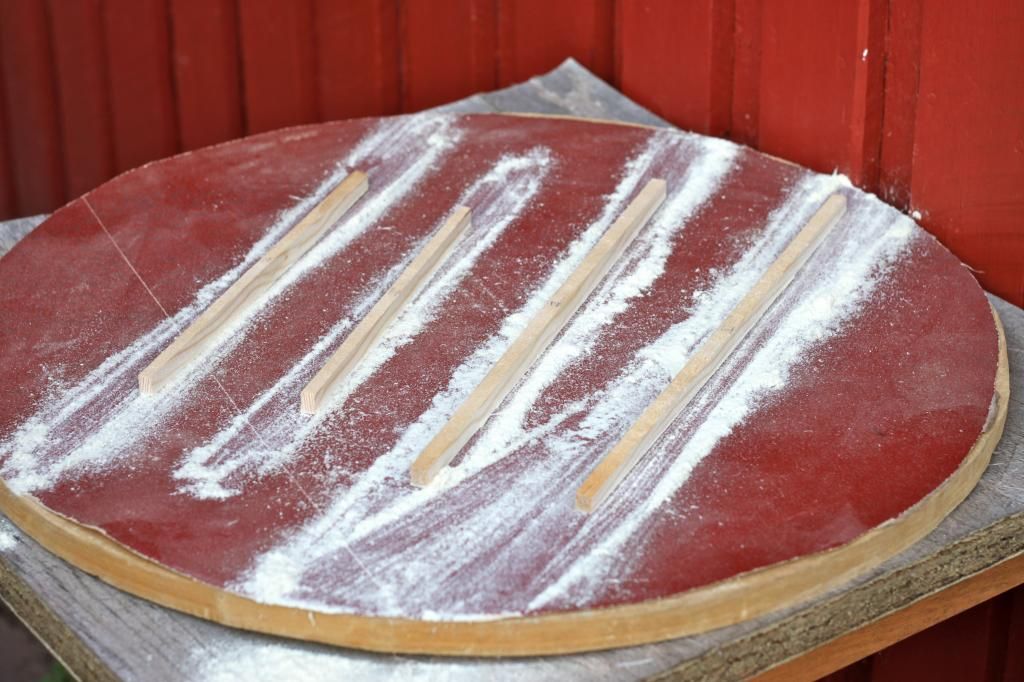
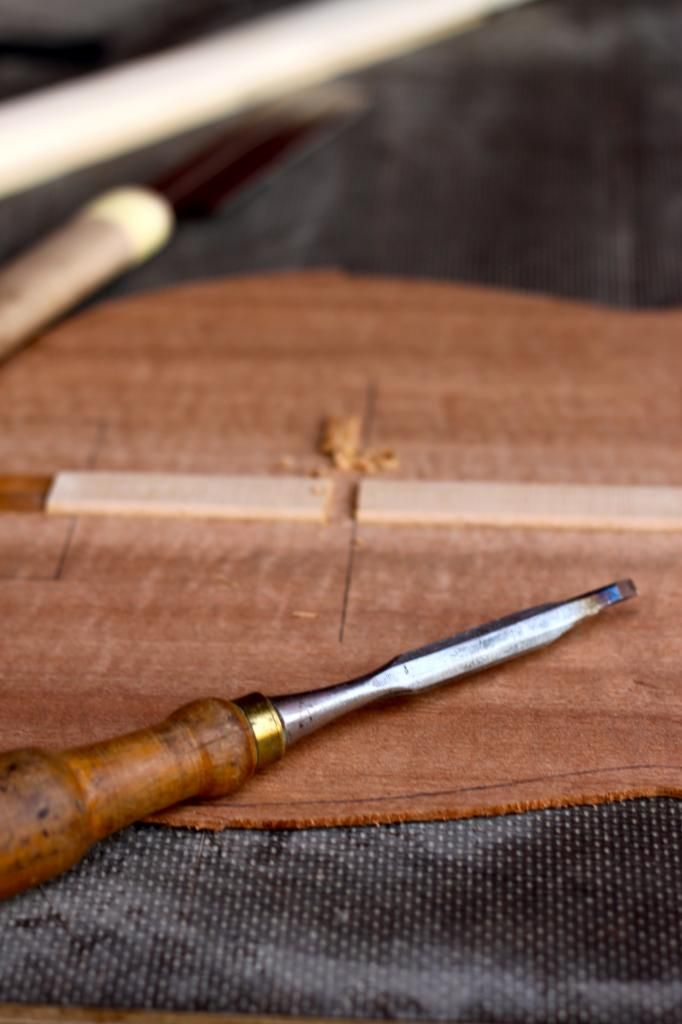
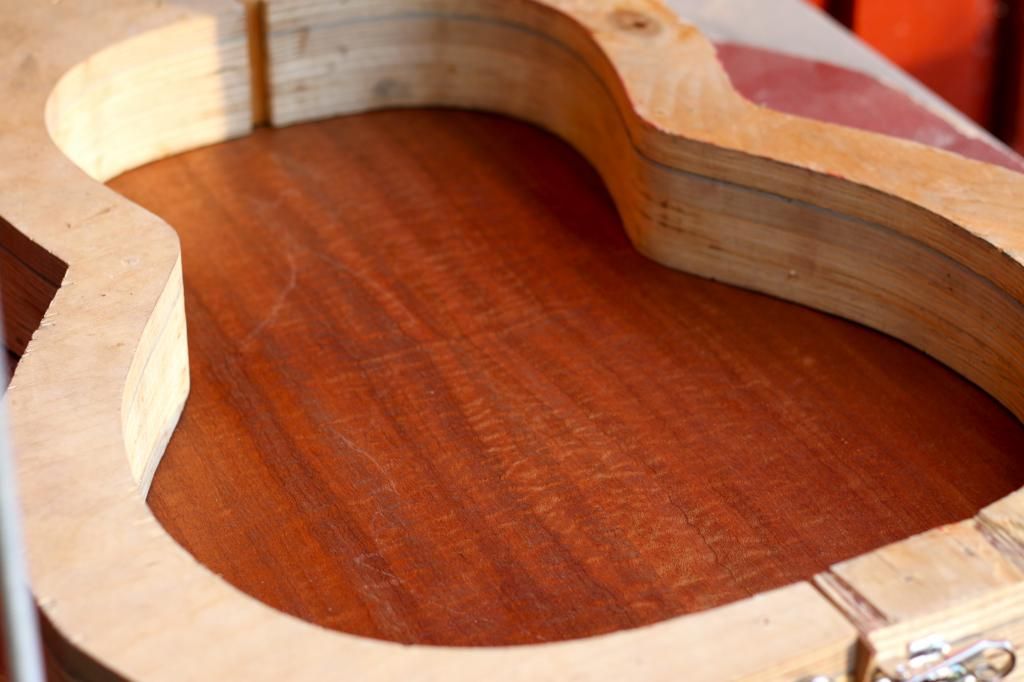
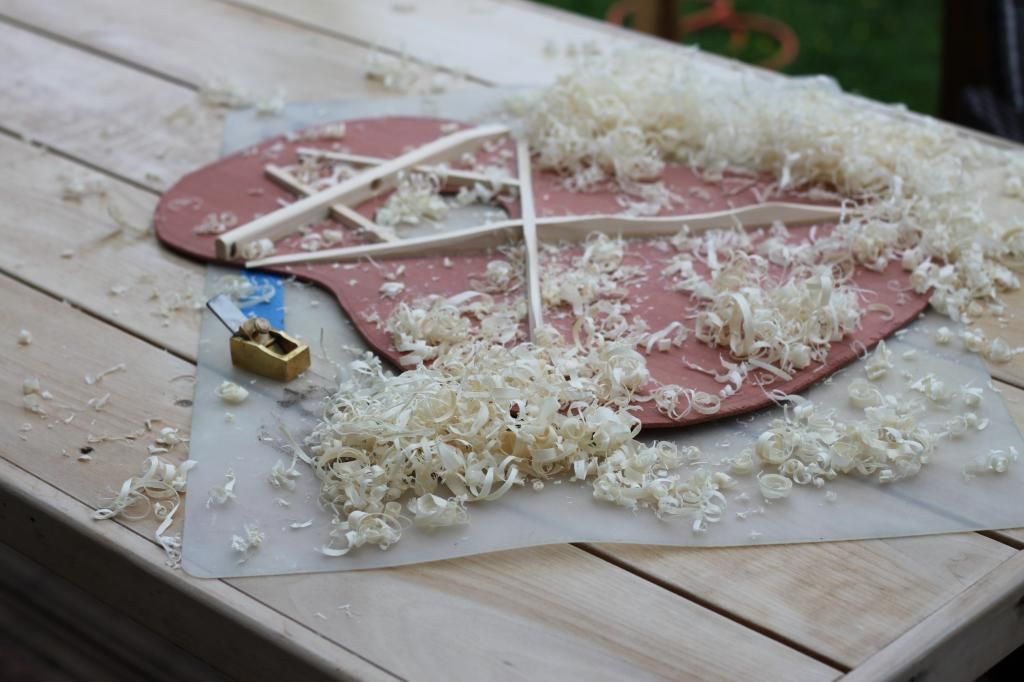
Shaped and scalloped, only short of bridge plate
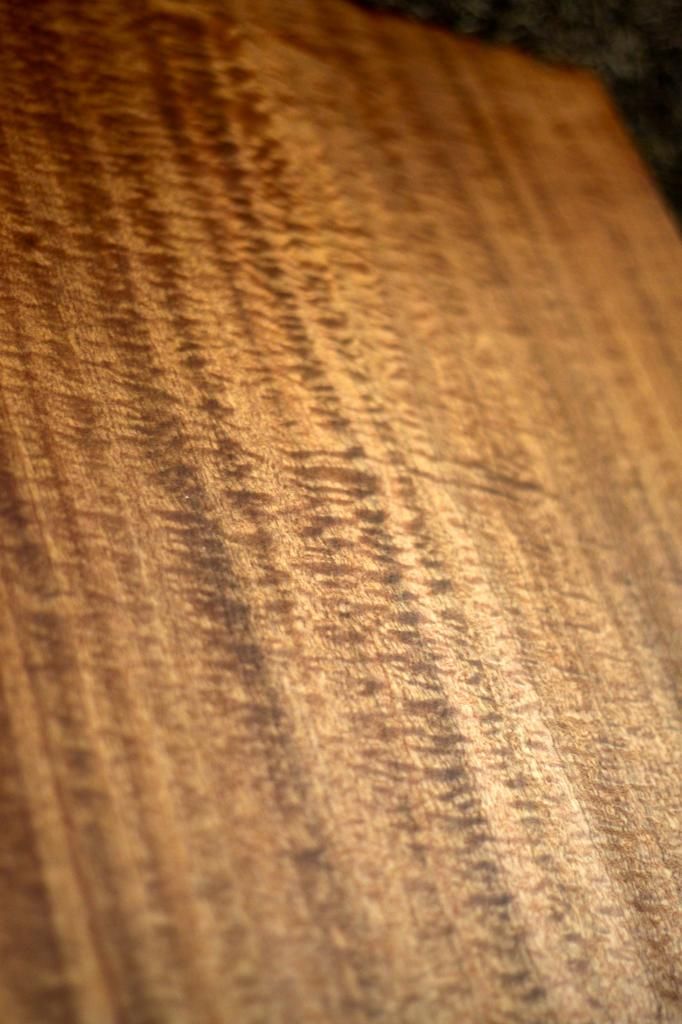
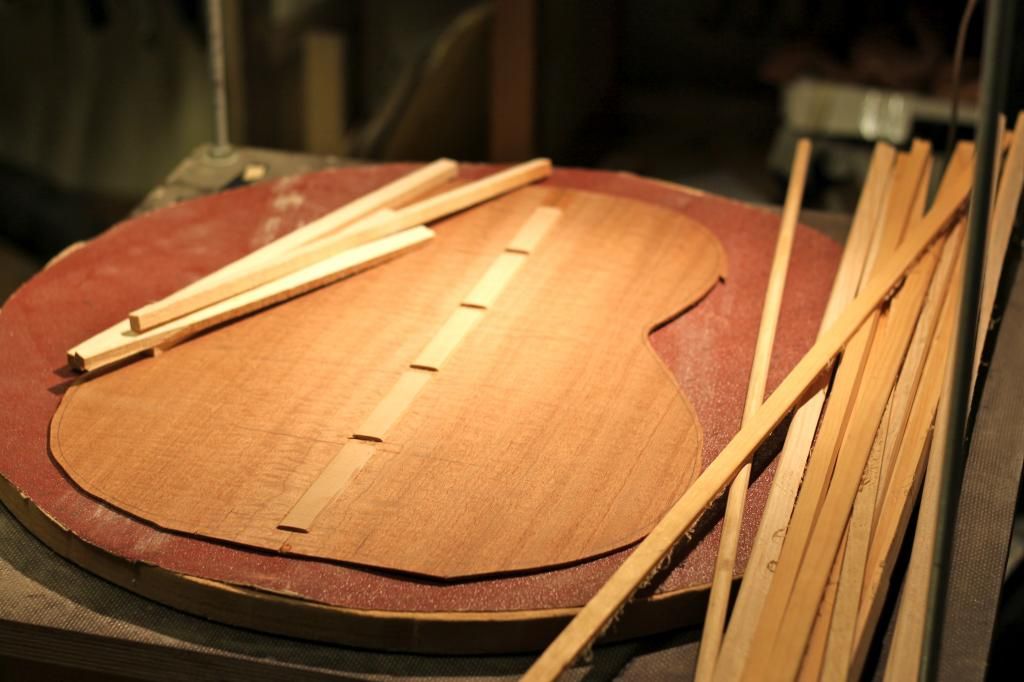
Adirondack spruce was a delight to carve!
Side before bending in a boiling water
my hi-tech side bending rig
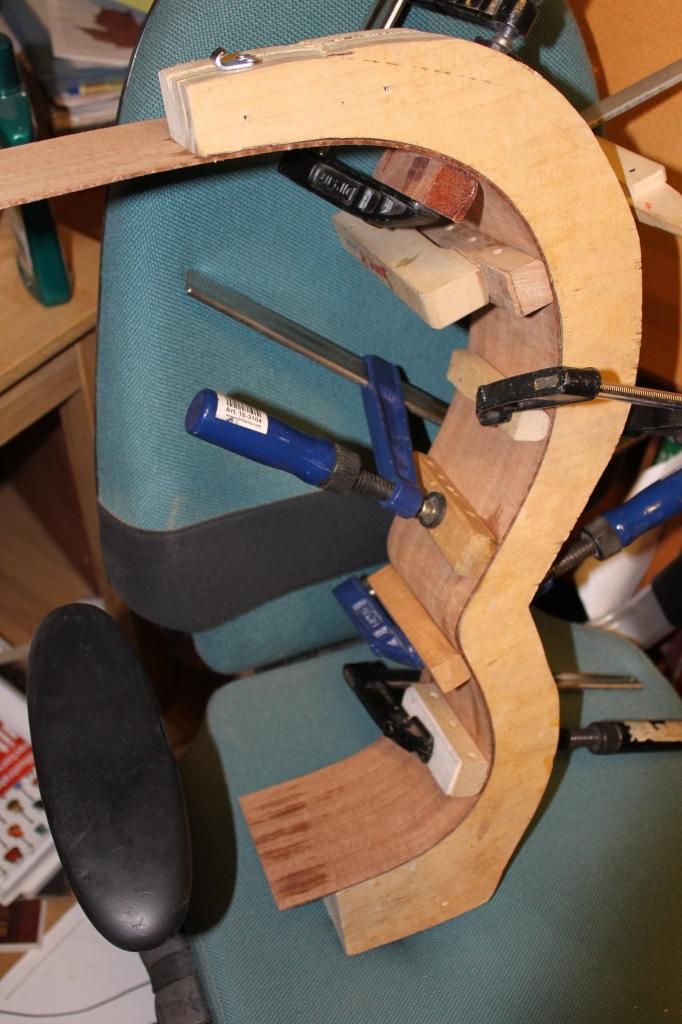
the ready bent side.
 This set of Sapele was very easy to bend. 

The other side.
Enough leftover for a future head plate veneer!

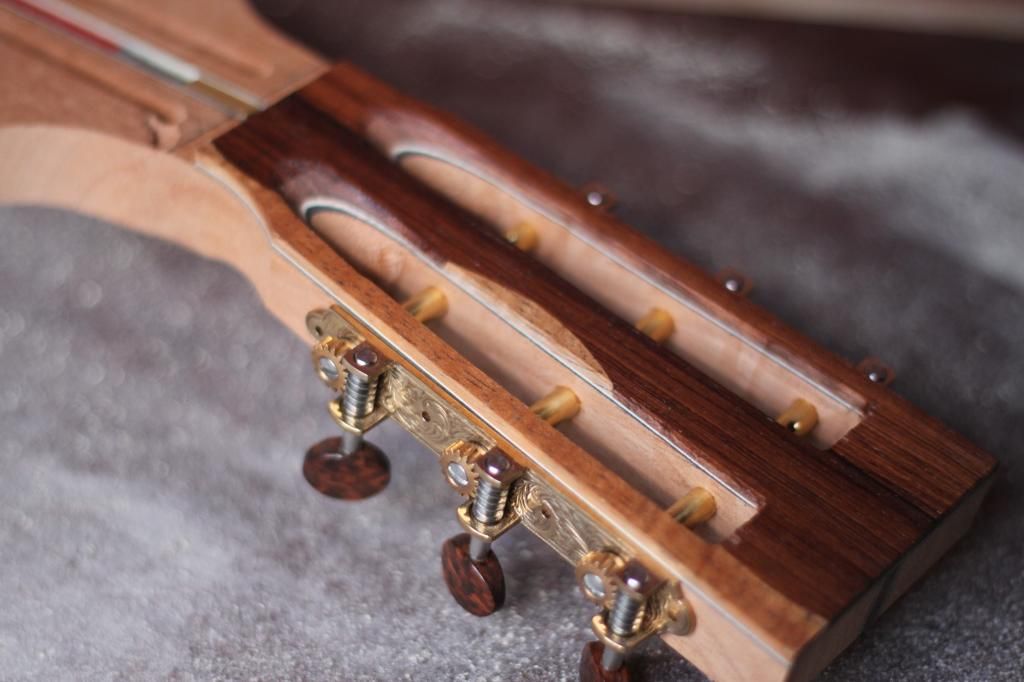
Here is the headstock of a 13-fretter I've been making
 for myself for quite some time.
Waverly 3-on a plate tuning machines
with snakewood knobs look very nice! 
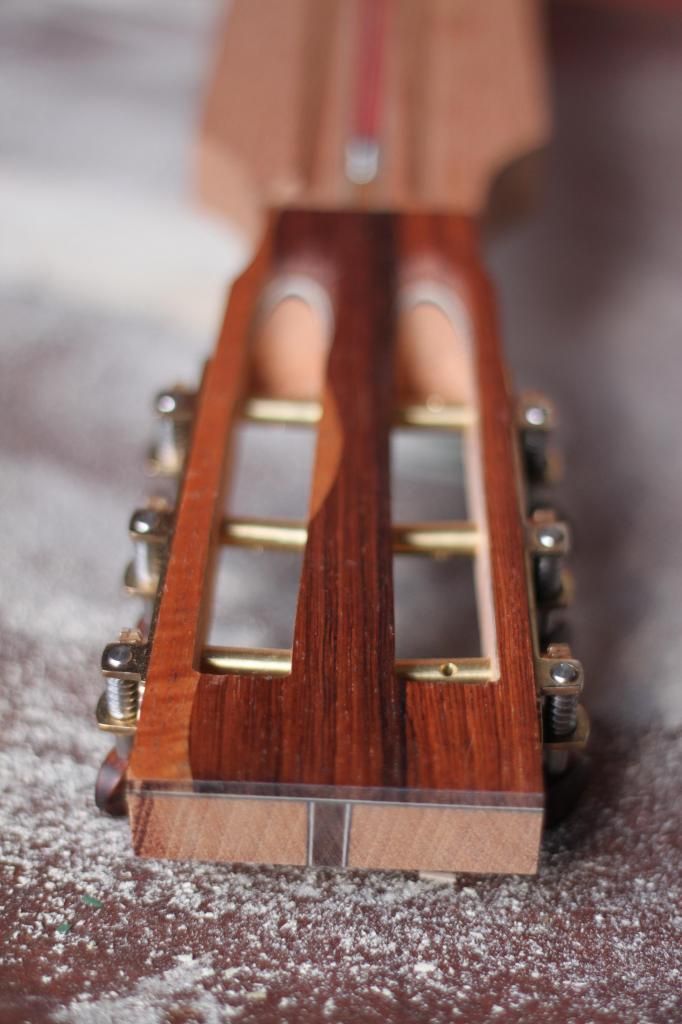
Headplate veneer is a merge of Madagascar
rosewood and koa, with black and white
 maple sandwiched under.
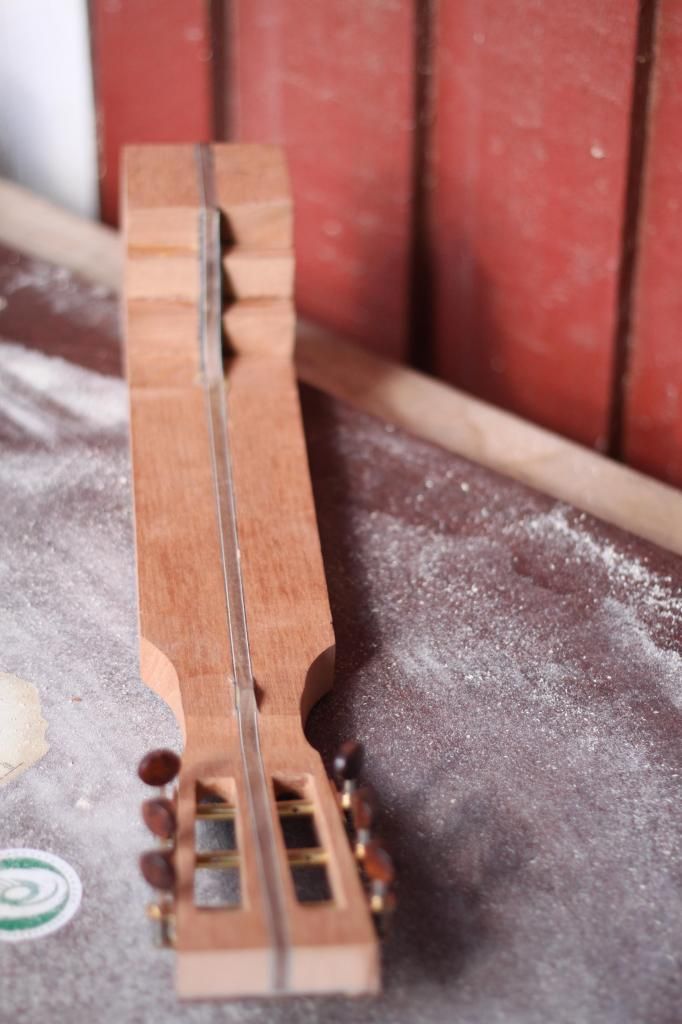
The spanish cedar neck center strip
is walnut with b/w stripes.
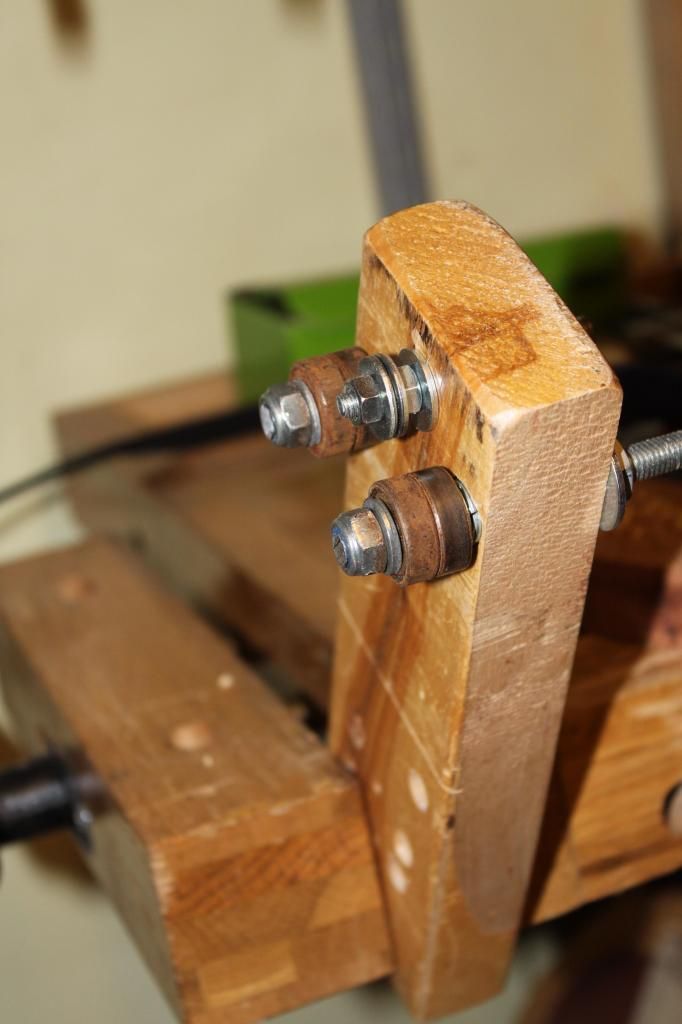
Here is the fret wire bender.
Looking bad, working like a charm!
If you want to learn to build it
(the pic itself is quite self-explanatory),
 contact me or just google fret wire bender.

perjantai 8. elokuuta 2014

Brace shaping and herringbone rosette

The back braces settled over night, and I got to shape them today. Rough shape with a mini plane, fine tuning with sanding paper, feathering of the brace ends with knife and chisel.

As both back and top came ready thicknessed and joined, I was able to work the rosette today as well. Some pictures of that process here as well.


torstai 7. elokuuta 2014

Bracing the back

Here's a few photos showing my back bracing procedure.

The figured sapele back and sides look very very nice with a spit coat of shellac on.

With a little shellac, Sapele came to life!
Back braces squared out (with a pen marking in the bottom for the sanding phase), center seam reinforcement strip in place
Shaping the braces to the back radius on concave disc. I keep sanding until all of the pen marking is gone.
nice radius!
Time to notch the center seam strip for the braces
Popping out the piece-to-be-popped-out with a chisel
All ready for gluing down the bracing on the go-bar deck. Under the back is the same concave disc on which the braces were shape-sanded. 
Braces glued, glue spill out cleaned

It doesn't look bad at all, thinks I

New project starting

It's been a while…

I just got an exciting box delivered today. Sami is going to get a new guitar, a 12 fret, short scale 000. Top is redwood with adirondack bracing, and back and sides figured sapele. It was the first time I used LMII's Kit Wizard. The materials are of high quality, the plates are thicknessed and even joined and the ebony fingerboard already slotted, so it's going to be a pretty fast build, I hope. The first glue seam is already laid down, as I glued the back center seam reinforcement in place. Here we GO!!

This kit's got it all. Just add tuners and strings. And a bit of glue here and there...
A neat trick to seat the center seam properly: masking tape borders.
When the masking tape is removed, so are the glue spills as well