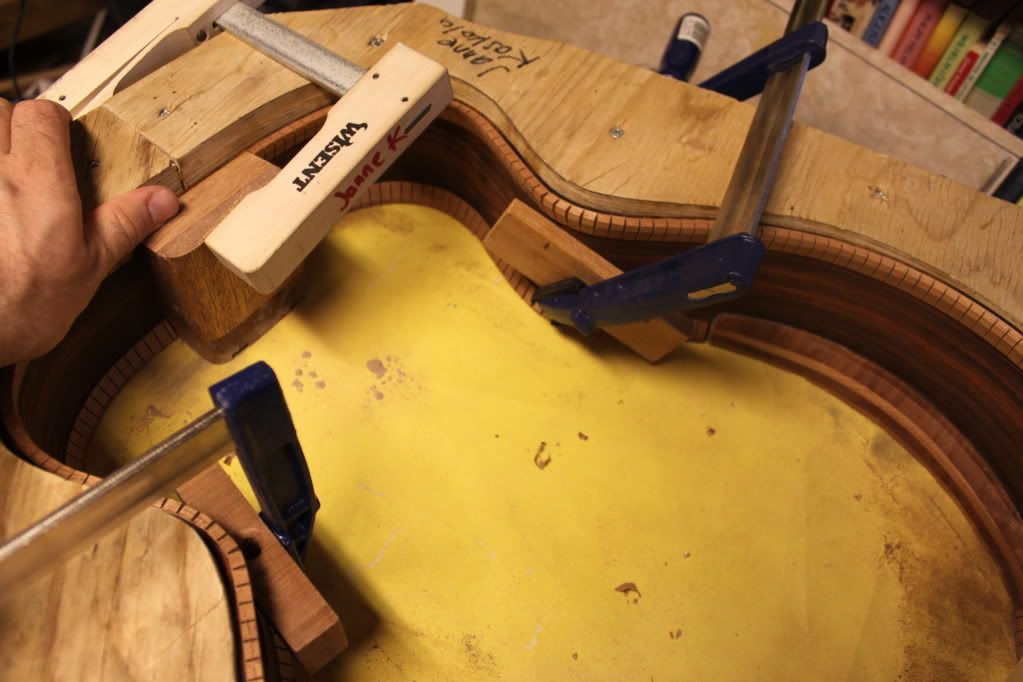
Gluing the top to the sides is a pretty straightforward business. The kerfing and the sides are notched to accommodate the brace ends. Then it must be ensured everything is lining up. Centerline of the top to the centerline of the heel and end blocks. If the centerline is missed, then the soundhole, for example, will be off. And believe me, human eye is pretty picky when it comes to symmetry... Asymmetry is OK if intended, but it's kind of difficult to explain to your customer (or yourself), why a soundhole of an acoustic should be 10 mm off to the bass side. Trust me. Been there...
Depending on the radius of the top, the sides and blocks must be shaped a bit to make a perfect fit. I do this using my top radius board and a BIG sheet of sand paper. With the rim in the mold, I sand the sides until they fit. Then it takes just some Titebond & gentle clamping power to finish the job.
 |
The whole area is penciled to see when it's completely sanded
Here you see the end block is slanted - the gluing surface is the same in width as that of the kerfing's. |
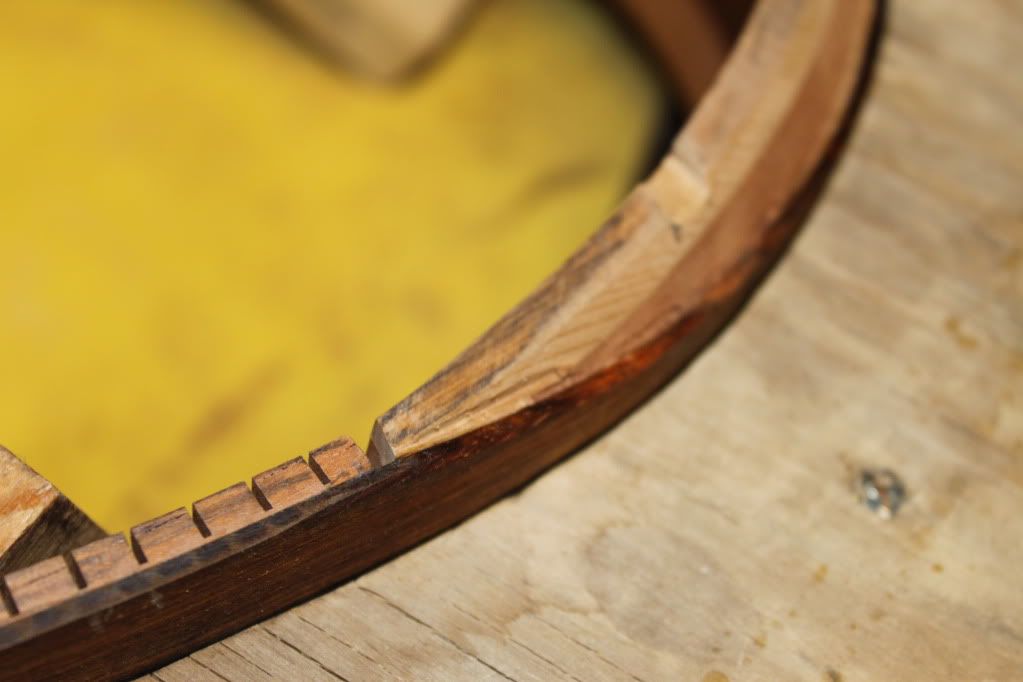 |
| Here you can see one of the notches that take the top braces |
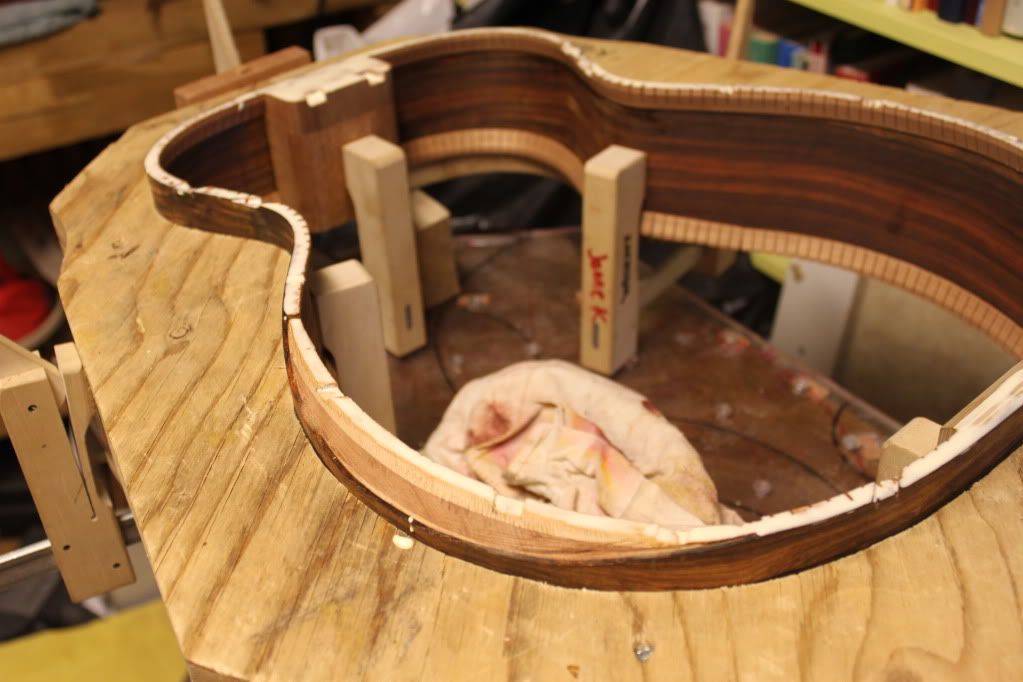 |
| The A-frame upper bout bracing fits in to the heel block |
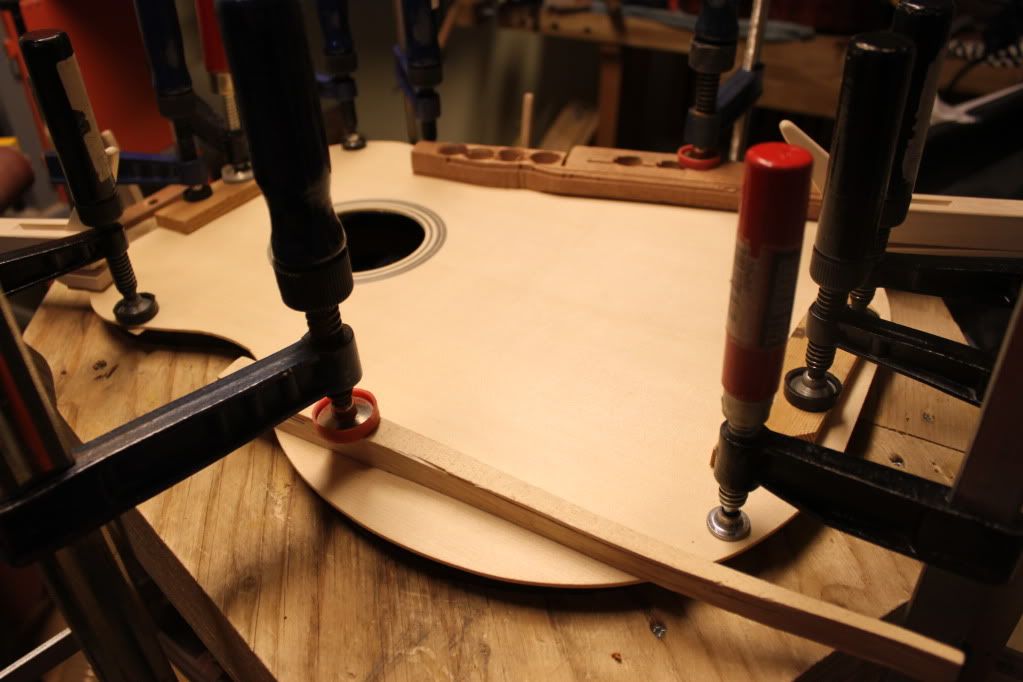 |
| This turned out to be not so good method this time. Even thou clamped in the mold, the rim gave in to the clamping pressure and left some parts loose. So some sanding in between and re-gluing took place later. |