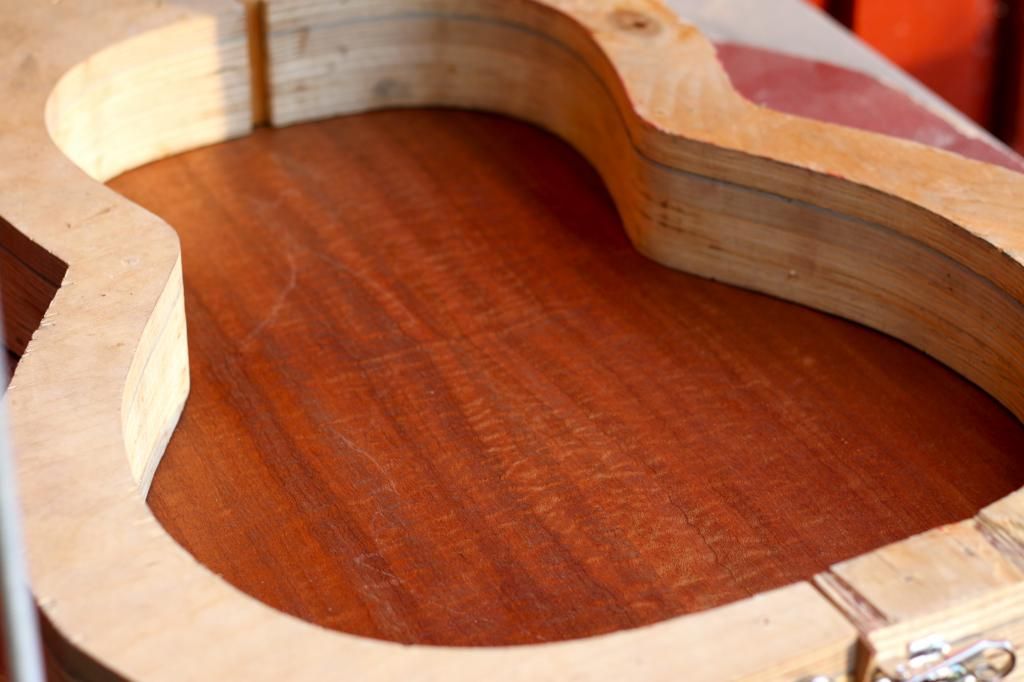
It's been a while…
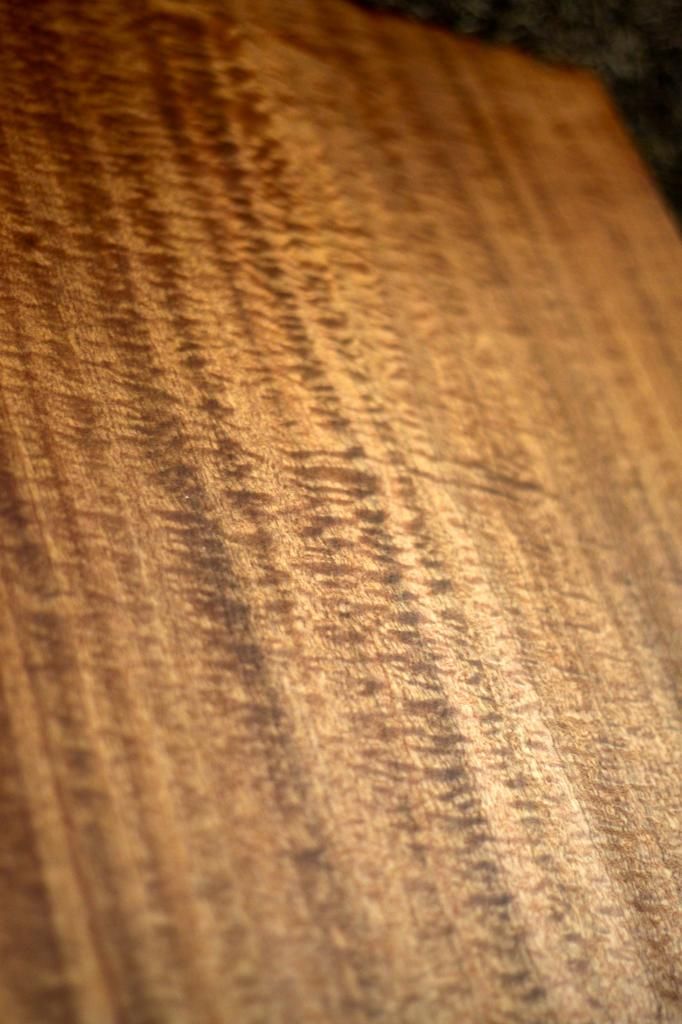
I just got an exciting box delivered today. Sami is going to get a new guitar, a 12 fret, short scale 000. Top is redwood with adirondack bracing, and back and sides figured sapele. It was the first time I used
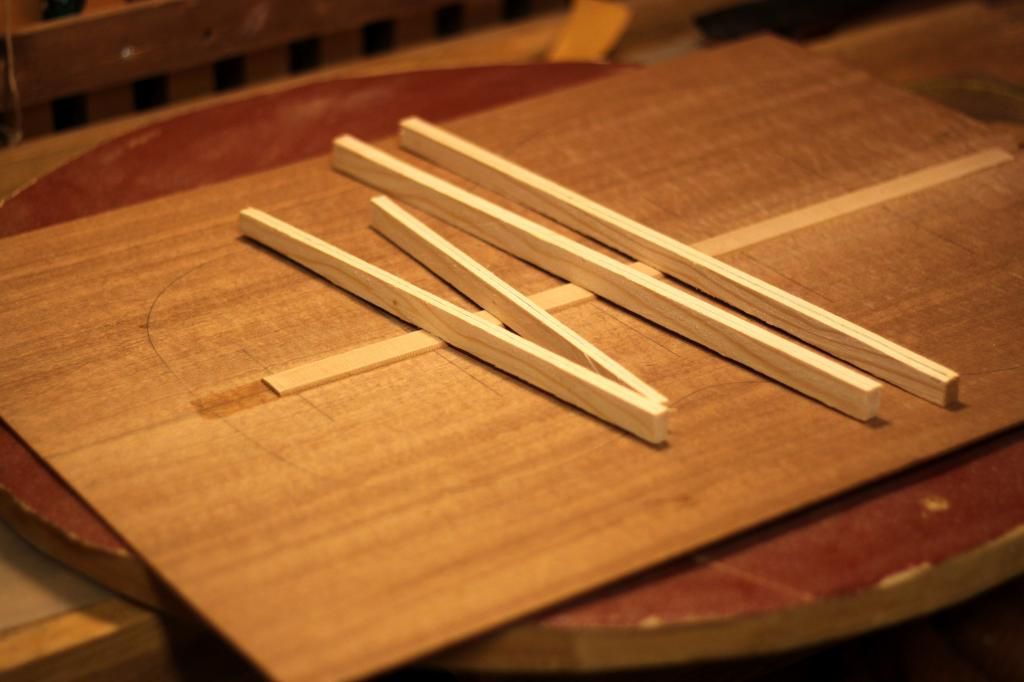
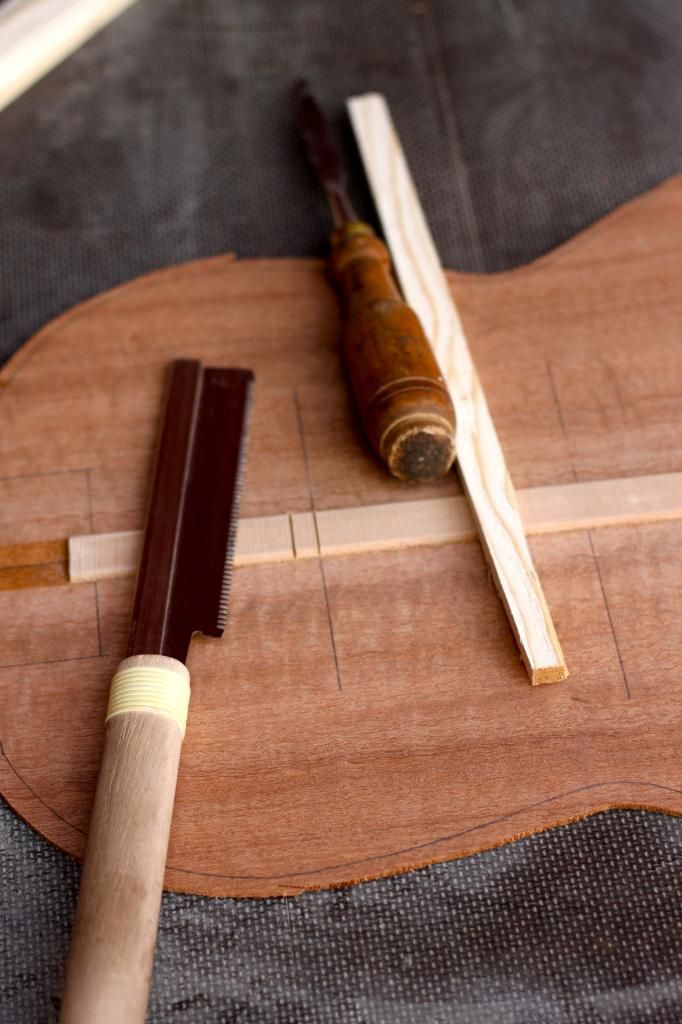
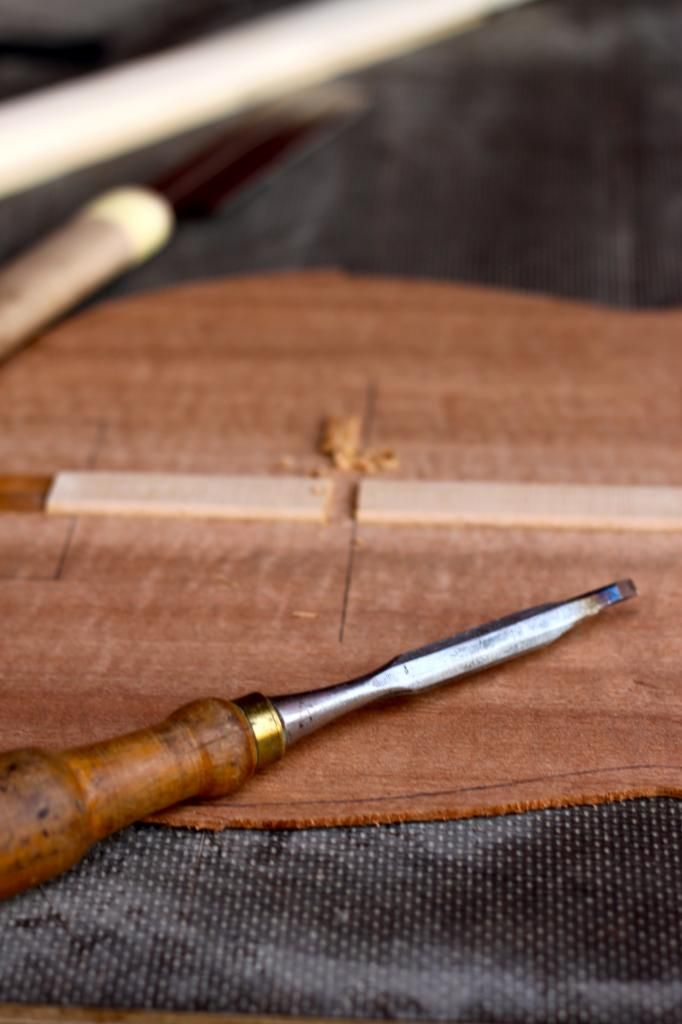
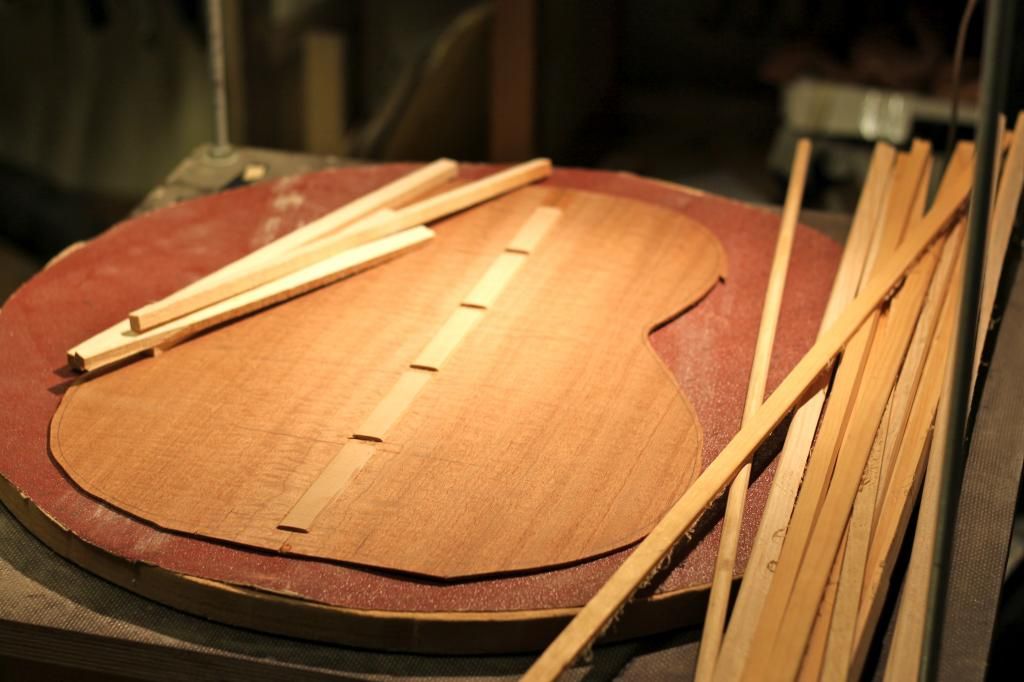
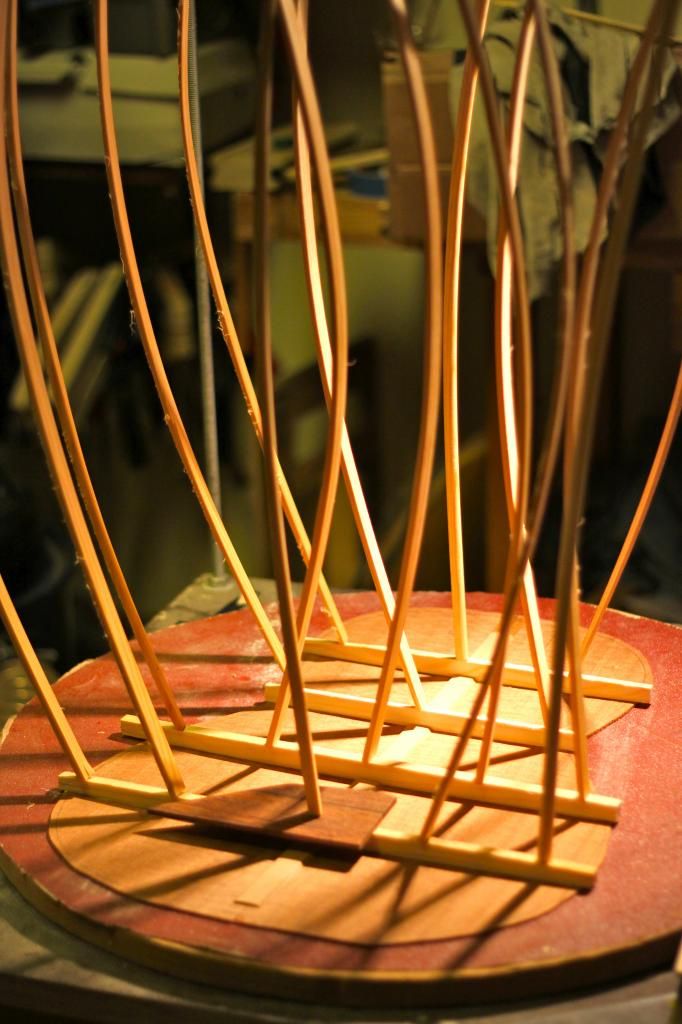
LMII's Kit Wizard. The materials are of high quality, the plates are thicknessed and even joined and the ebony fingerboard already slotted, so it's going to be a pretty fast build, I hope. The first glue seam is already laid down, as I glued the back center seam reinforcement in place. Here we GO!!
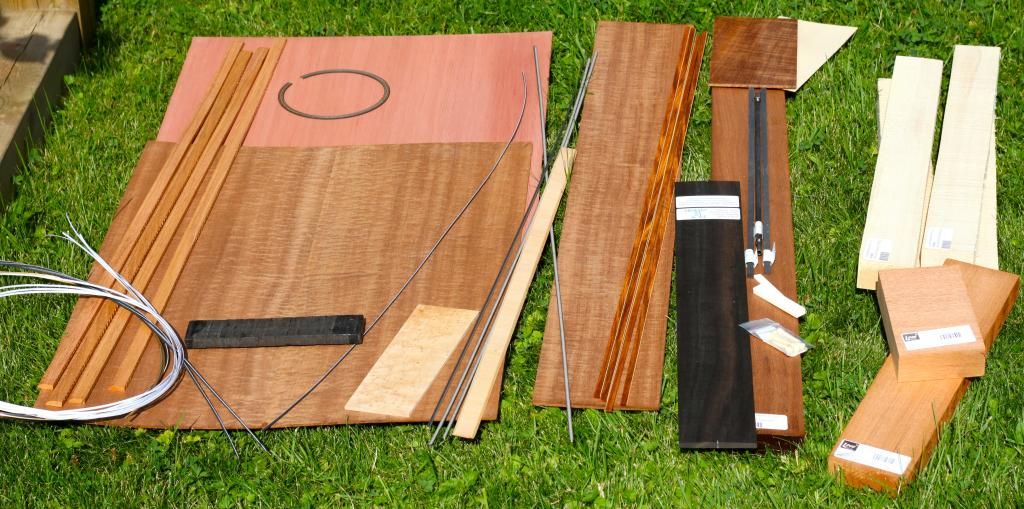 |
| This kit's got it all. Just add tuners and strings. And a bit of glue here and there... |
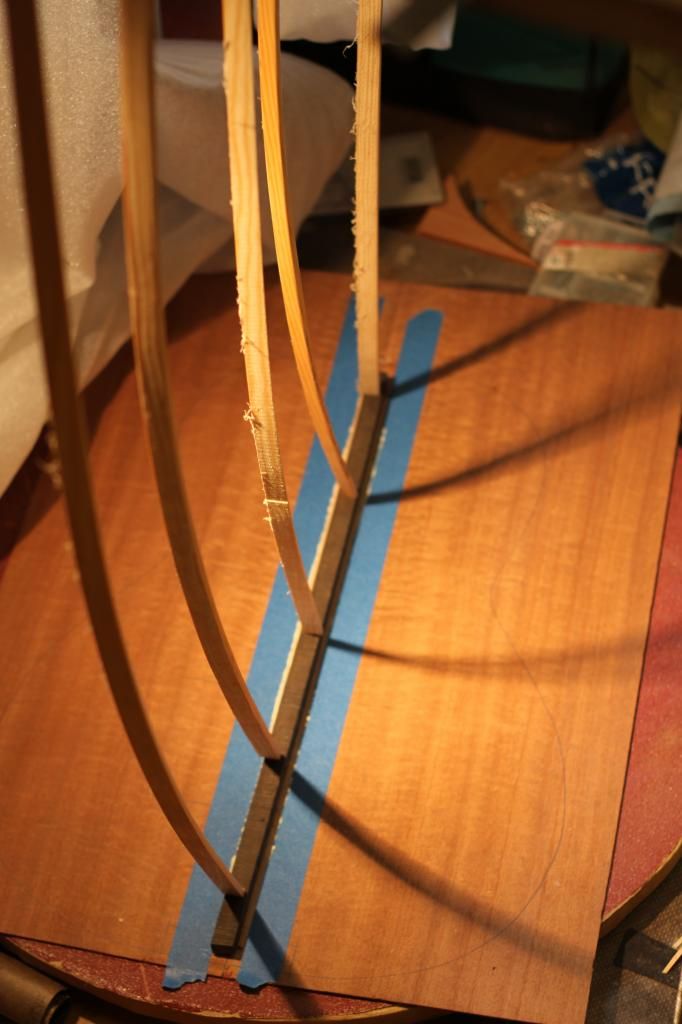 |
| A neat trick to seat the center seam properly: masking tape borders. |
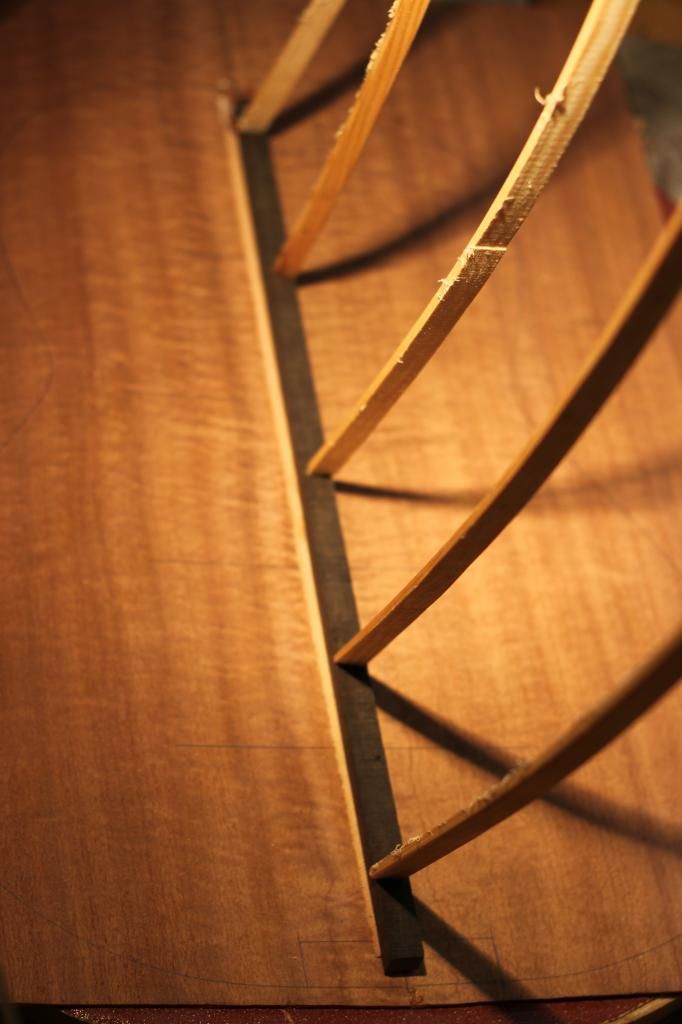 |
| When the masking tape is removed, so are the glue spills as well |