I've had some intensive nights, installing the purfling, binding and most of all, the Ryan style bevel topping.
 |
| Here the end wedge is being glued down |
 |
| This ought to be covered... |
 |
| ...with this |
 |
| Some moisture and heat applied |
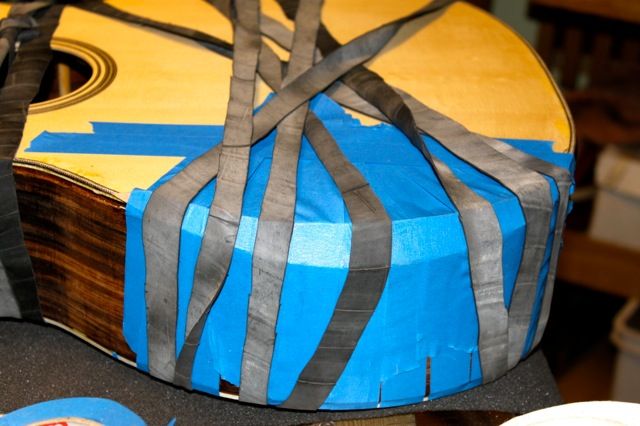 |
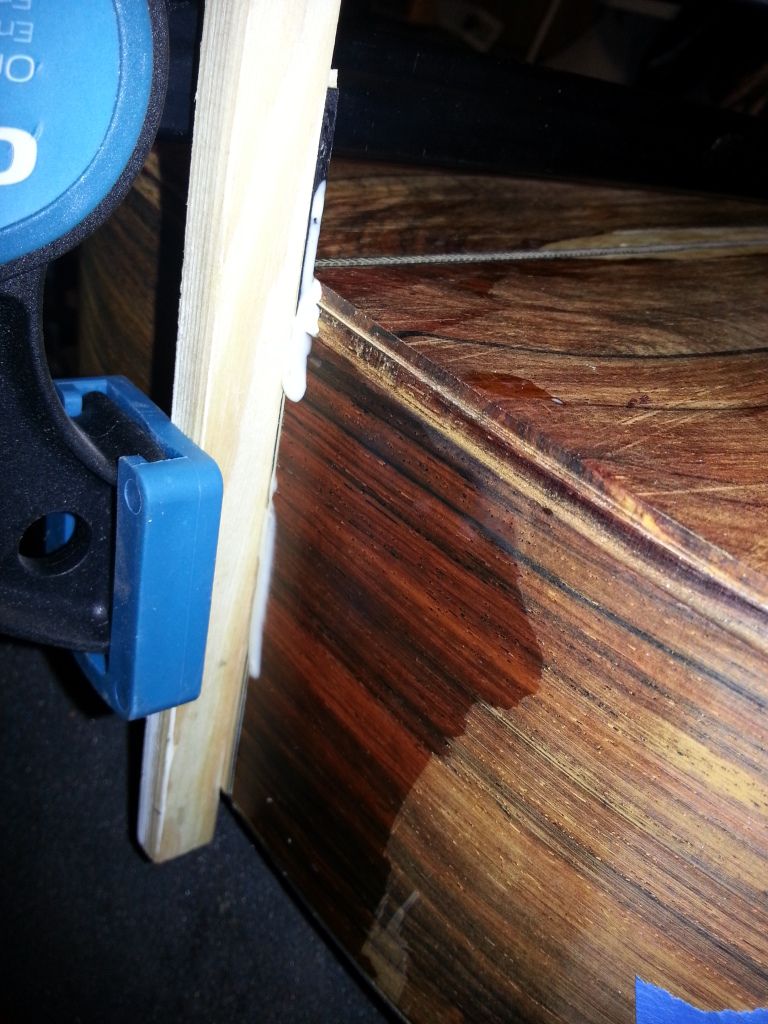
A serious amount of epoxy "under the hood", held together
with masking tape and bicycle tire rubber band |
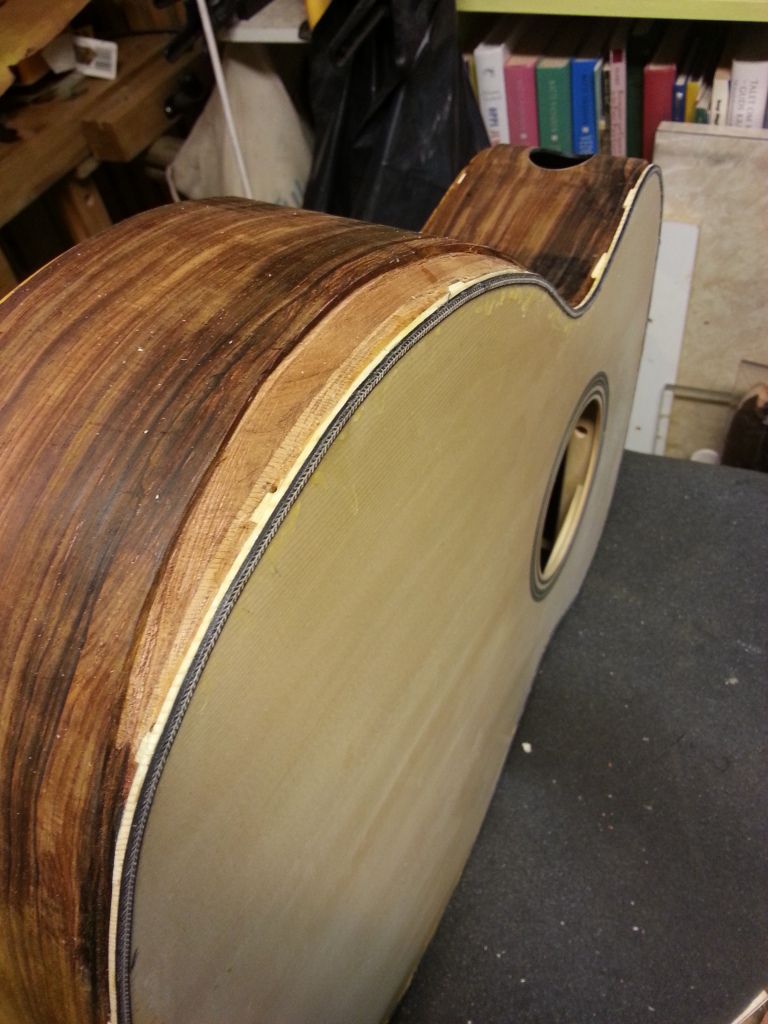
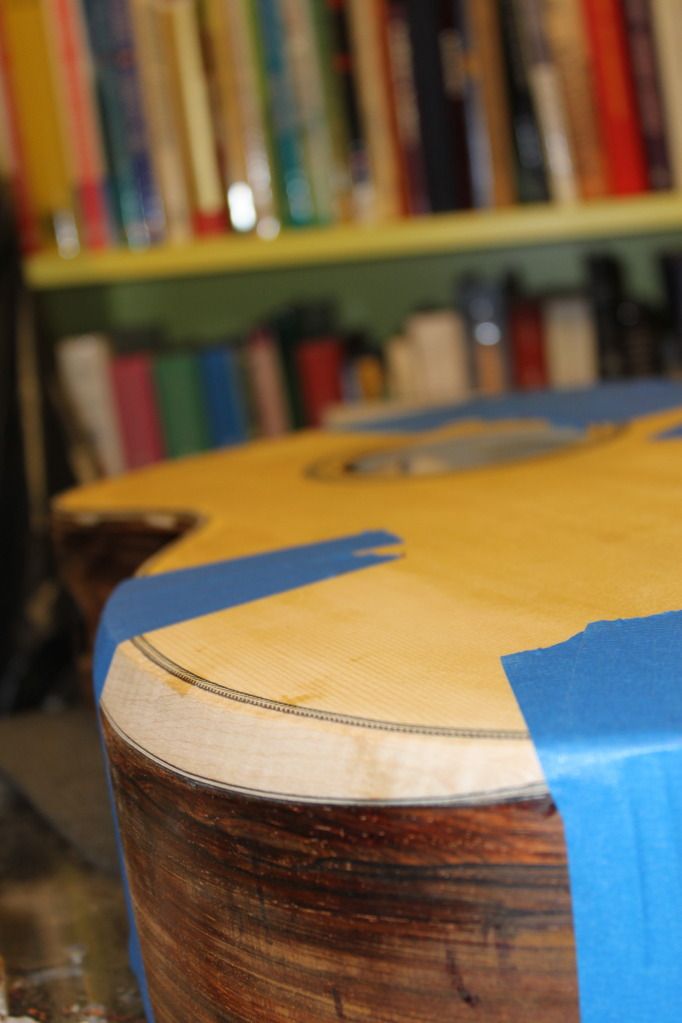
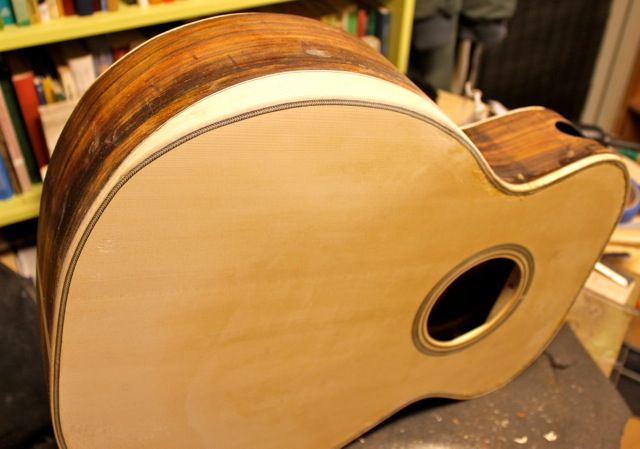
What you can't see here is all the work it took to shape the bevel topping to exactly match the shape of the radiused and odd-shaped bevel area. I bent the topping with the soldering iron rig, put it in place, traced the edges to the underside of the topping and then carved and sanded it to perfectly fit the cocobolo side. The top edge I butt airtightly against the herringbone trim, and when the glue had settled, planed and sanded down the excess. For my first bevel, I'd say it's a good match. But it surely takes quite some extra time and effort to get accomplished!
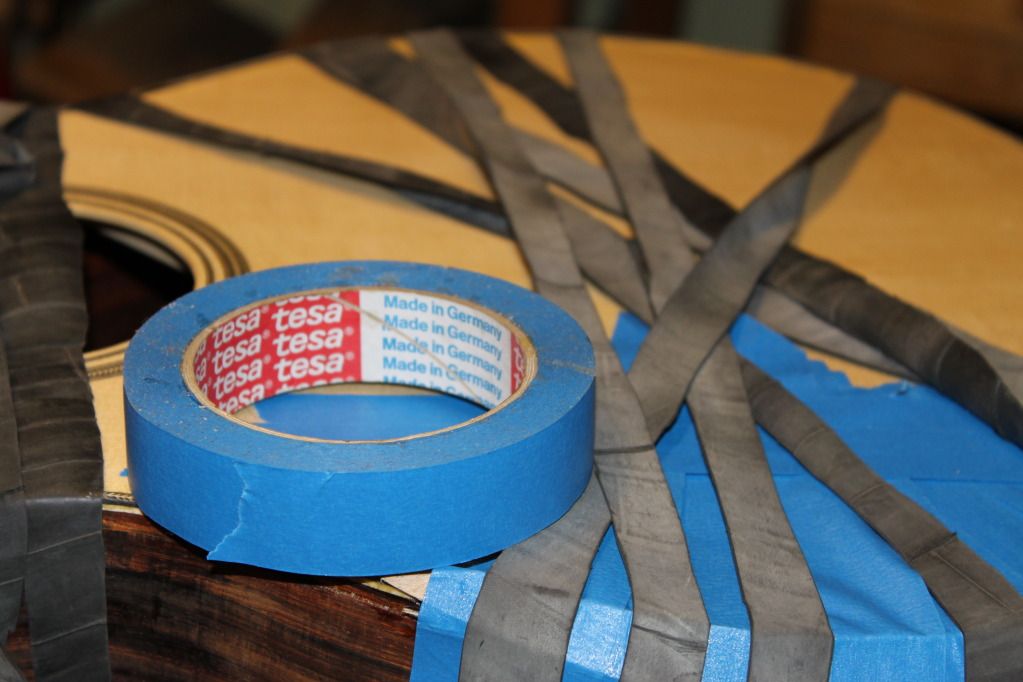 |
| Close picture of THE masking tape |
 |
| Some more gluing with the ends |
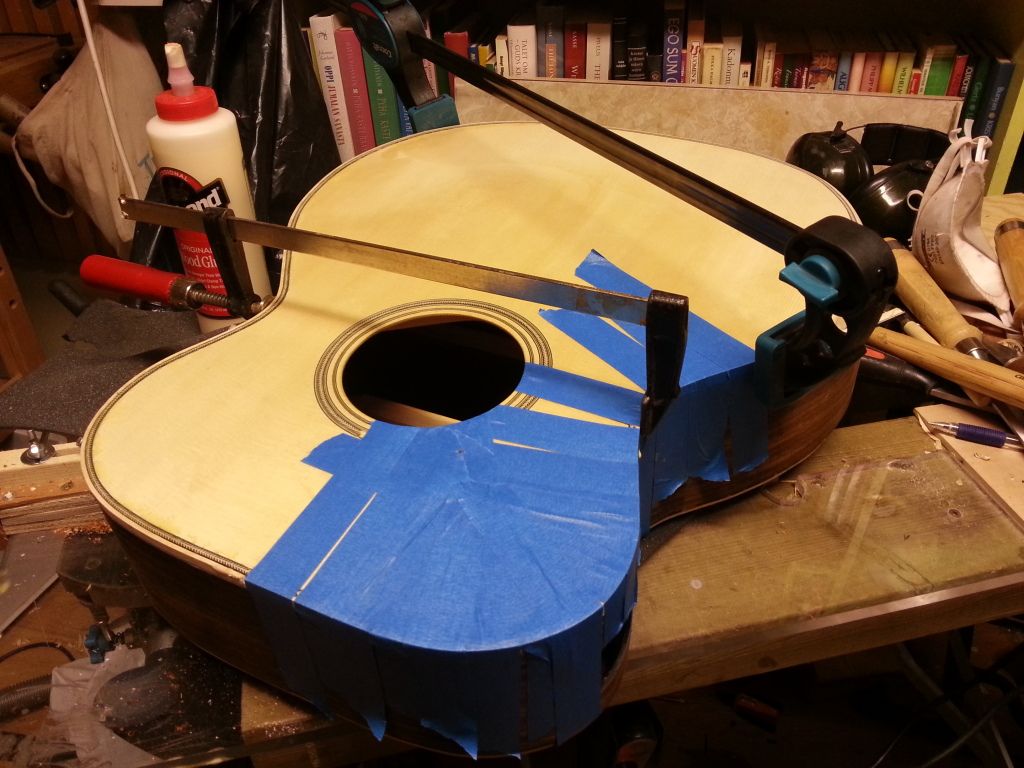 |
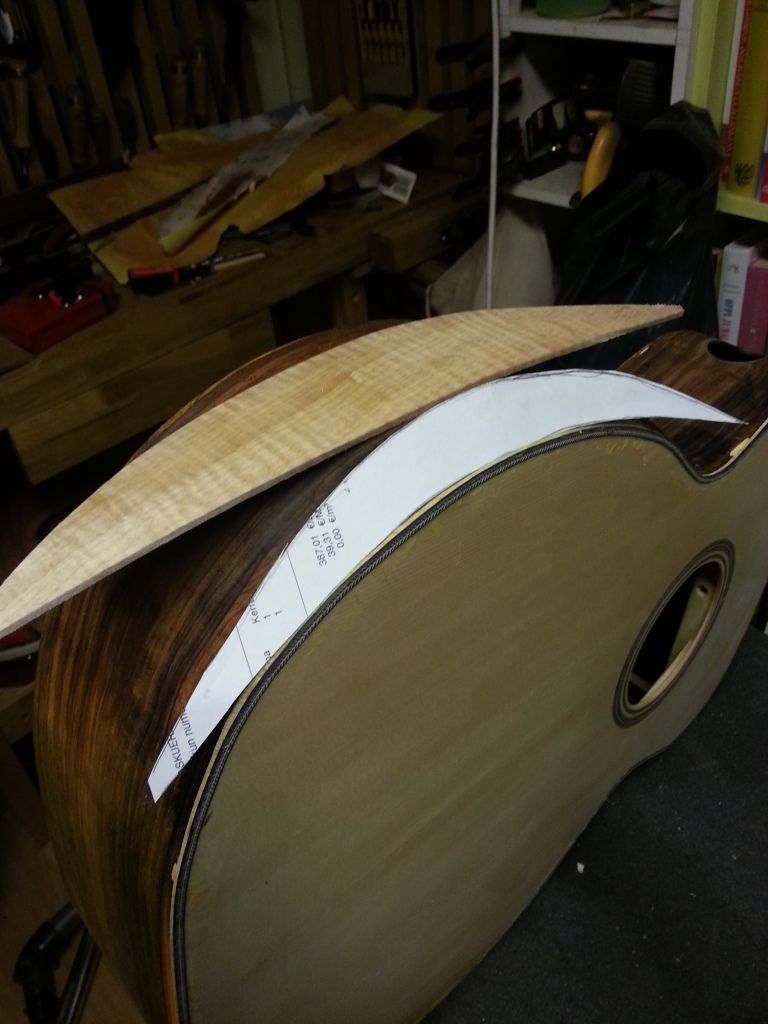
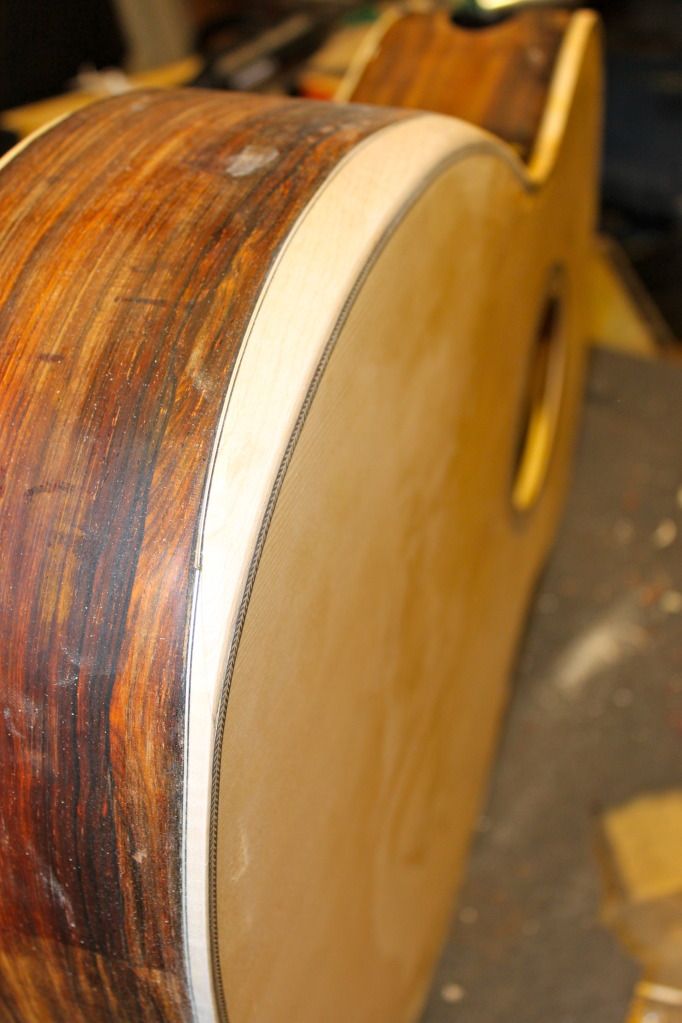
I glued in the bevel side binding in two pieces. The clamps are used to
hold the binding down in the most critical places.
The ends were joined with a scarf joint. |
 |
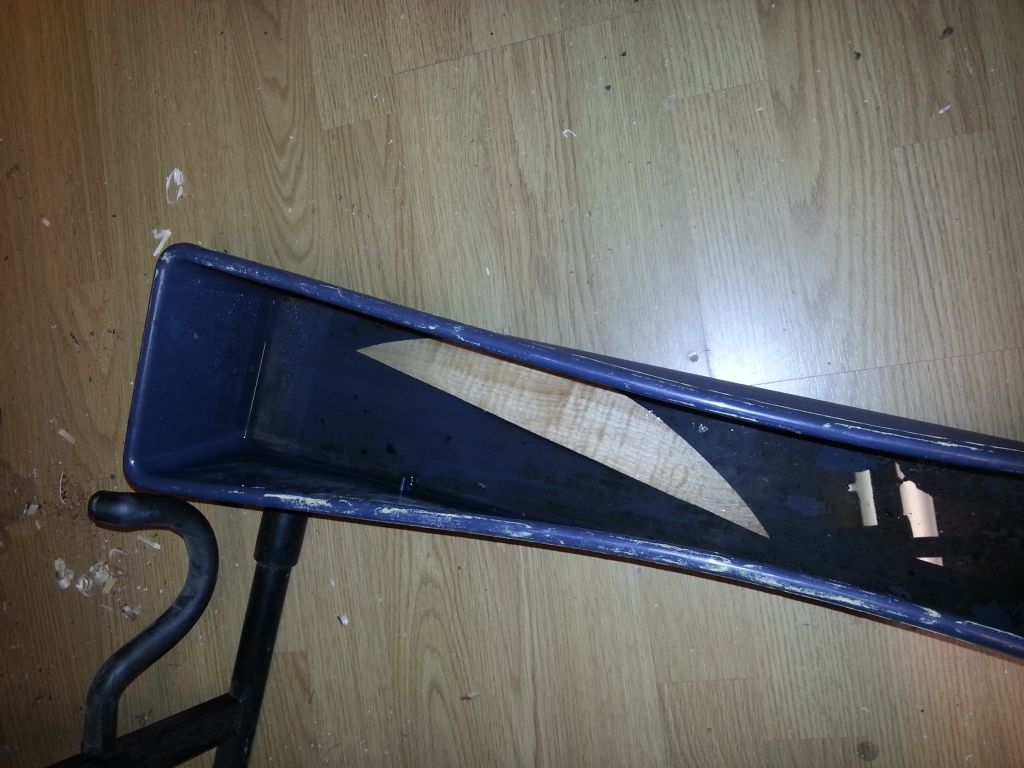
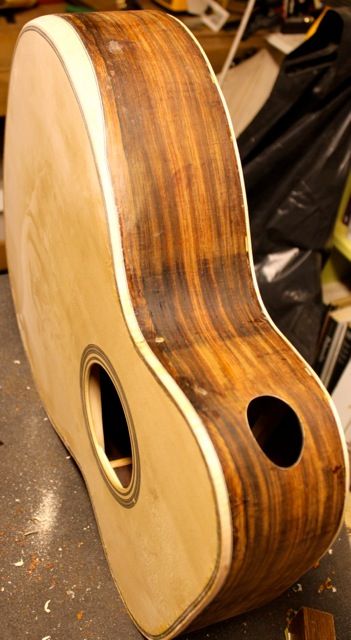
The bevel could be a bit closer to the end, but still
does it's job, with my arm at least |
Ei kommentteja:
Lähetä kommentti