The last glue seam has been done for Jyrki's guitar. Here's a few pictures and some explanations to show how I did it this time.
My big weakness in luthiery has been the bridge. Every bridge I've glued has had to be re-glued at some point after the first assembly. Now I believe I got it right from the start. Time will show.
I've used bolt on attachment of the neck in every guitar. Two threaded inserts are inserted in to to heel of the neck, and the neck is bolted on to the body (the heel block) with 6mm furniture brass bolts. This time I decided to use tiny threaded inserts and 3mm bolts to attach the fingerboard extension as well. This way the neck will be fully removable, should there ever be a need for that.
Here we go
 |
| The underside of the fingerboard received a pair of threaded inserts, with wood screw in the outside and 3mm thread in the inside. |
 |
| I reinforced the inside of the fingerboard attachment area with a 4mm birch plywood. The holes are not nearly perfectly alingned, but symmetry isn't crucial here. Everything will be hidden. |
 |
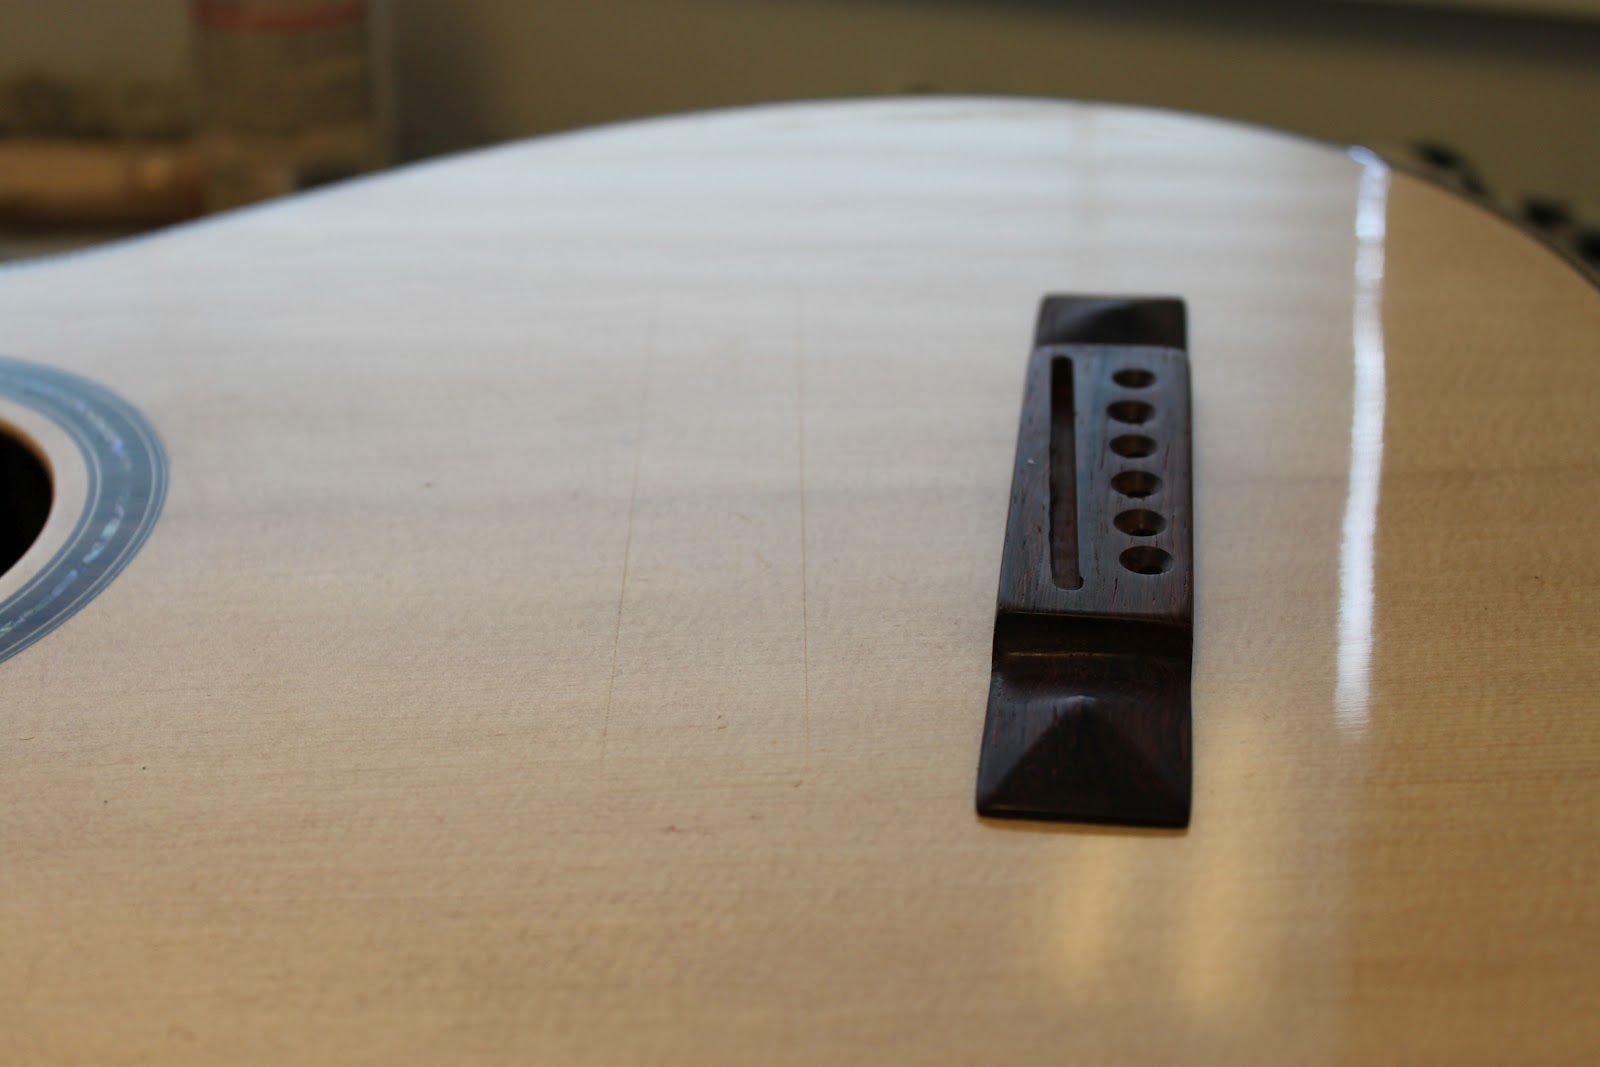
| The outline of the bridge scribed on the shellac at exactly the place. |
 |
| I used low-tac tape at the bottom (not to tear out splinters of top once the tape is removed), and on top of it double sided tape to attach the 100grit sandpaper to follow the profile of the top. The bottom of the bridge is marked with a crayon to show how fitting is advancing. |
 |
| Using very small movements, the bridge is sanded to fit the curvature of the top |
 |
| This little stick gives the bridge area just a little lift - just like the strings will. It also prevents the top from giving in under my sanding strokes. |
 |
| Getting there |
 |
| Now the whole bottom is covered with sanding scratches and the crayon is gone. Time to make a dry fir |
 |
| With the bridge clamped, I'm testing the fit with a 0,05mm feeler gauge. If the 1/20th of a millimeter won't fit in between anywhere, it's close enough for me. |
 |
| Time to cover up and scrape off the shellac. A razor blade will do the stripping, with the help of a small 220 grit sanding block. The bridge is always glued wood to wood. |
 |
| This is for real! The excess glue is coming out all over, with means a good fit. Here the glue is already wiped of with a damp rag. |
 |
| At least it seems to fit! |
 |
| Here's a photo of my improvised bridge slotting jig. Just a little pocket to keep the chunk of wood in place, and a steel ruler to steer the cut. |


2 kommenttia:
Se toimii!! Paljastan tyhmyyteni, mutta miksei tuollaisia jenkoja voisi käyttää vahvistuslisänä tallaa liimattaessa, ei tarviis pelätä ainakaan irtoamista koskaan.
Hi hii! Kommentti!
Tätä pitää kysyä viisaammilta, ja onhan sitä toki tehtykin - sekä kyselty että esim. Gibsonilla kai laitettu ruuveja tallaan. Mutta ei se ilmeisesti ole juuri tuonut lisävahvistusta kuitenkaan.
Lähetä kommentti