keskiviikko 16. toukokuuta 2012

Journey continues

A friend brought in an old finnish made guitar from somewhere of the beginning of the 1900s. The "check in condition" was pretty severe. Total of seven top cracks, two of them over the entire face of the top. All of the bracing loose (none lost, thou), the bridge popped out, neck angle lost, neck warped and one tuner knob missing.
On the other hand, it's a nice ladder braced all solid wood parlor guitar with 3-piece, beautifully aged spruce top, figured birch back and sides, birch neck, ebony bridge and rosewood (or stained mahogany) fretboard. Worth trying to save.


For the starters I carefully removed the already loose top. The back is still holding to the sides well.
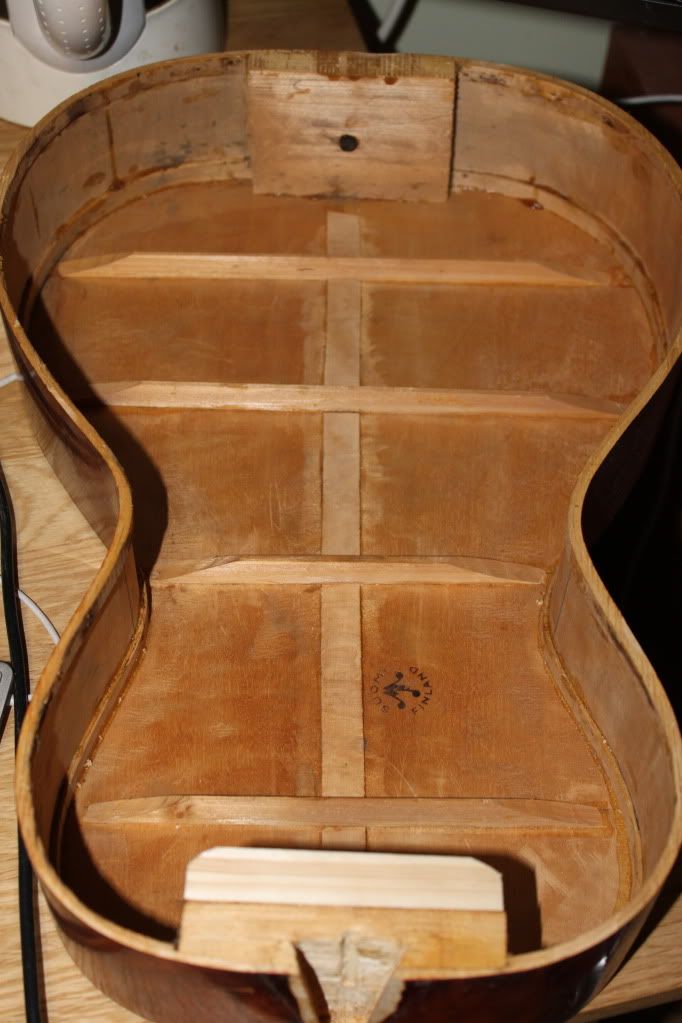
The neck block was giving in to the pull of the strings, so I glued some support there. Here all the braces have been re-glued.
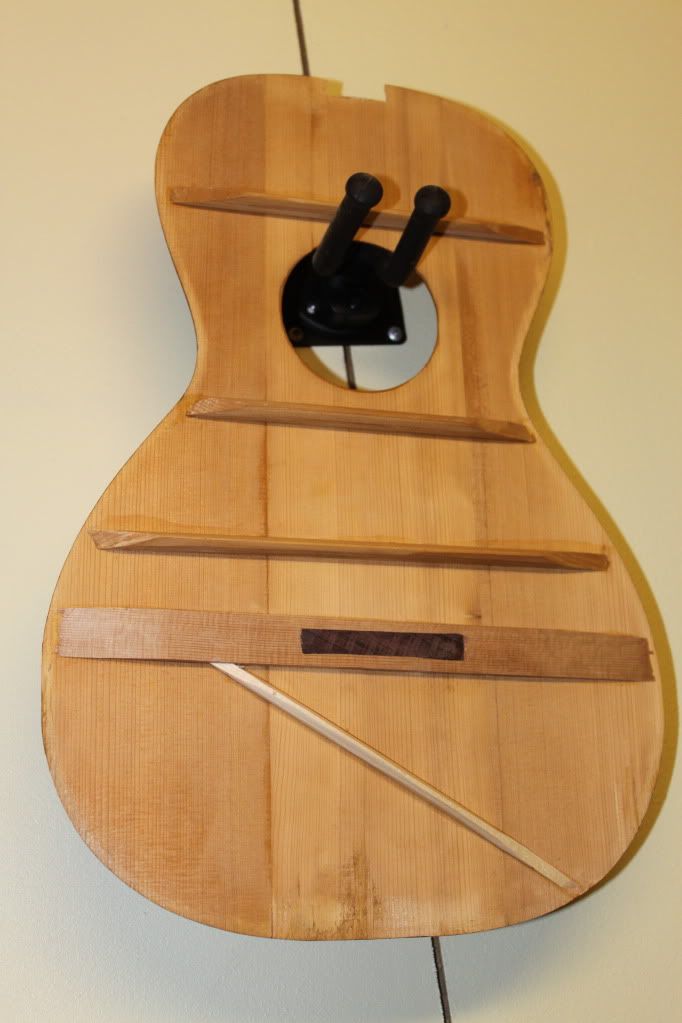
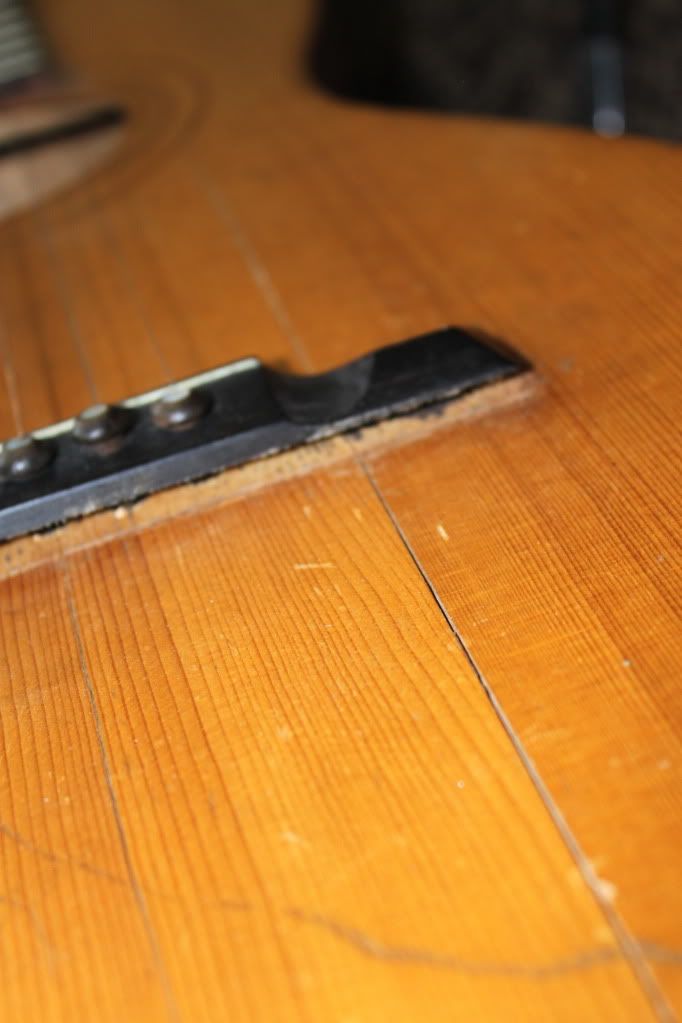
Three out of four top braces could be saved. The bridge brace had split and the string ball ends had dug themselves into the wood. So I took an equal thick cedar top off cut and inserted a piece of rosewood to the spot where the strings go through the top. Will take the next hundred years with no problem!
I added a very slim brace to support the lower bout area, where most of the glued cracks were.

torstai 3. toukokuuta 2012

I got this new device called TC Helicon Voicelive Play GTX (Such a hefty name they gave to it). Anyway, it has an option for a footswitch. Helicon themselves are selling one for 40-50€. After some research I decided it was too much for a box of metal, eight wires, one stereo jack, two diodes and three momentary switches. So I decided to make one on my own. Out of scrap wood, of course.

The components for the thing cost 2,40€ at SP-Elektroniikka. Unfortunately, they only had plastic push button switches. Might have to ebay something sturdier some day.

The schematics is easy enough for anybody with a soldering iron. Here is more information of making the thing.

I made the "pedal" by gluing three 10mm pieces of redwood together, then routing a cavity in the middle, slanting the box with belt sander and gluing on the cocobolo "top". After the electronics were soldered in place, I sealed everything with a cedrela odorata baseplate.

And here is how it looks like.
Hi-tech and lo-tech side by side. The top is cocobolo, body is figured redwood and baseplate is cedar. 

Sorry about the plastic knobs. They hurt my eyes, but do the job exceptionally

Recessed jack and an oops-hole.