Näytetään tekstit, joissa on tunniste gluing the back. Näytä kaikki tekstit

keskiviikko 15. elokuuta 2012

Gluing the back

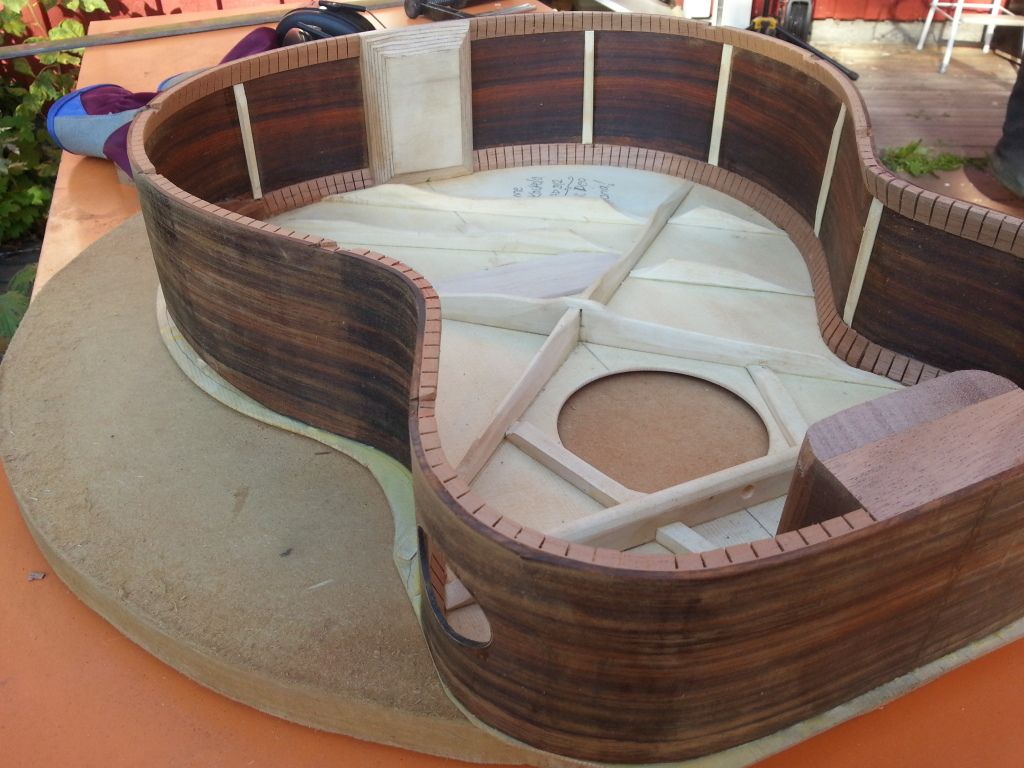
The back is now attached to the sides and the box closed

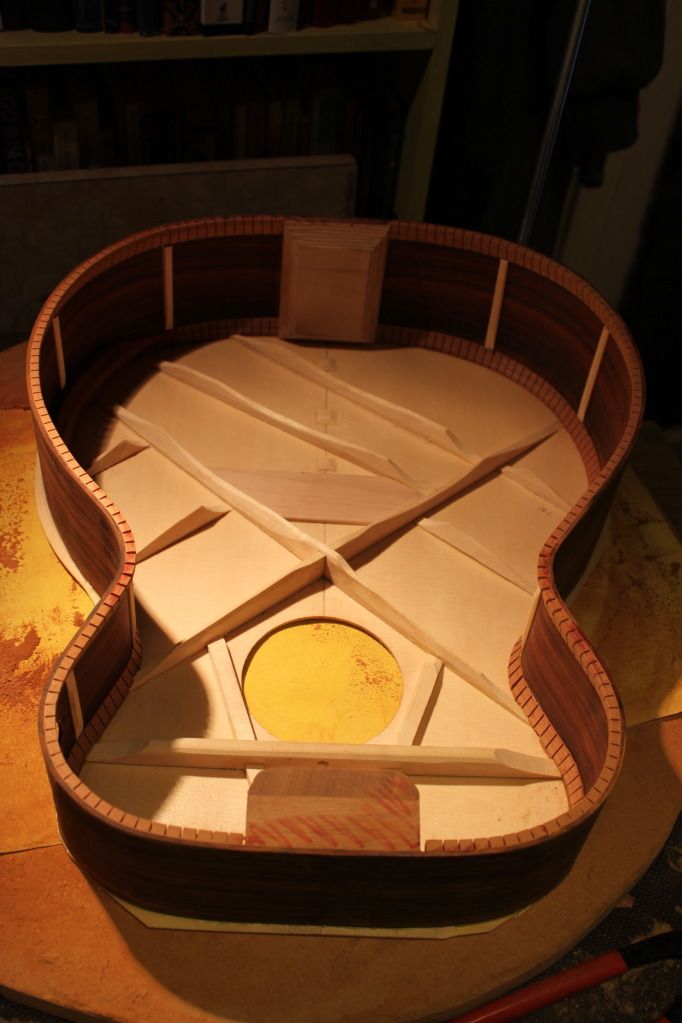
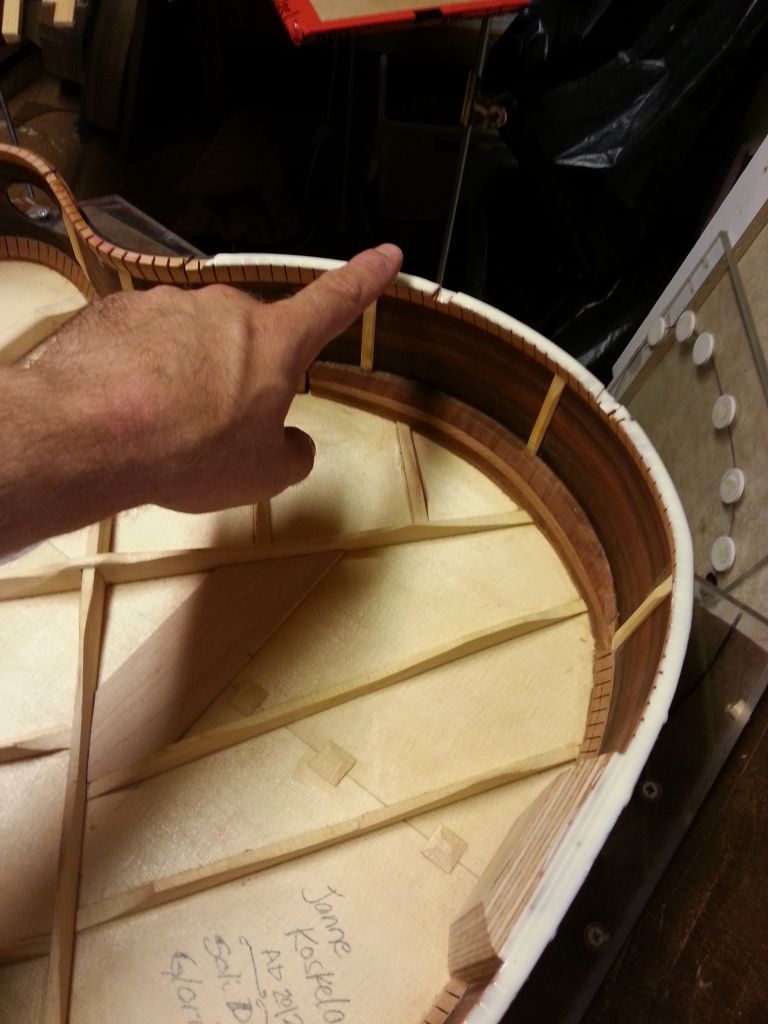
The pencil markings are gone and fit should be perfect! I notch the sides
 to accommodate the back braces. This way, the bracing never comes loose.
On the other hand, If id does come loose, it's a bit trickier to re-glue.
But there are tools for that too, so not to worry...
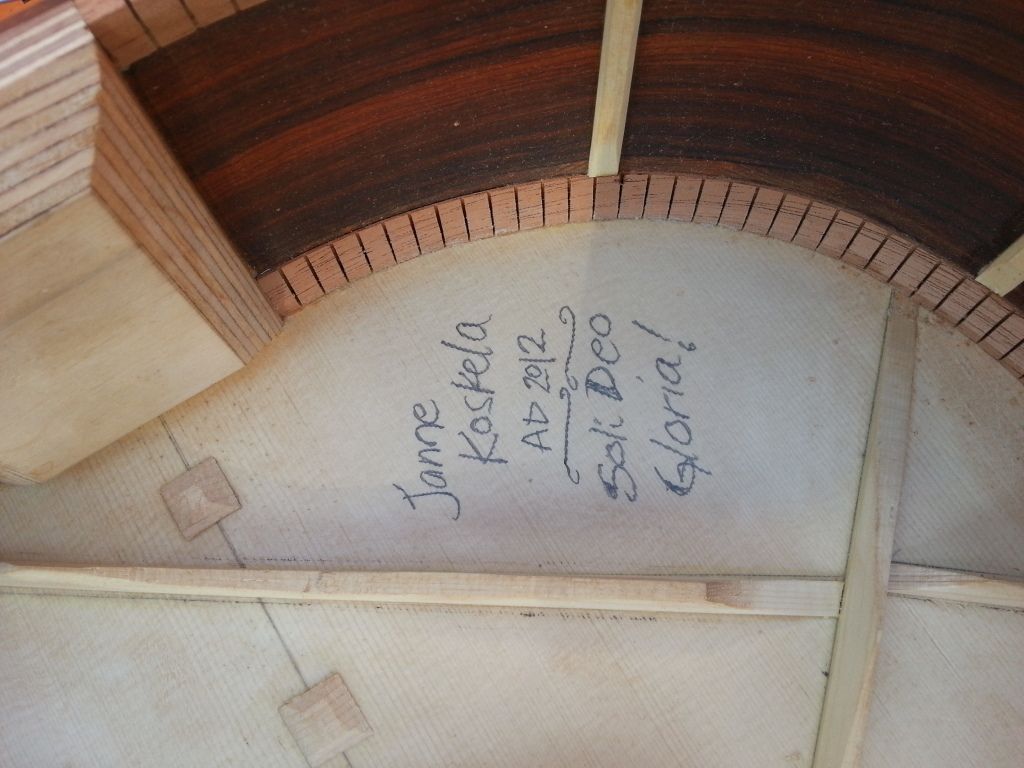
A little message, should somebody ever open the box again.
The little squares are there to reinforce the center seam
agains any splitting.
Applying the glue with a very sophisticated high tech
tool I got from my parents some 35 years ago.
The end block is angled so that the gluing surface is approximately
 the same as that of the kerfing's
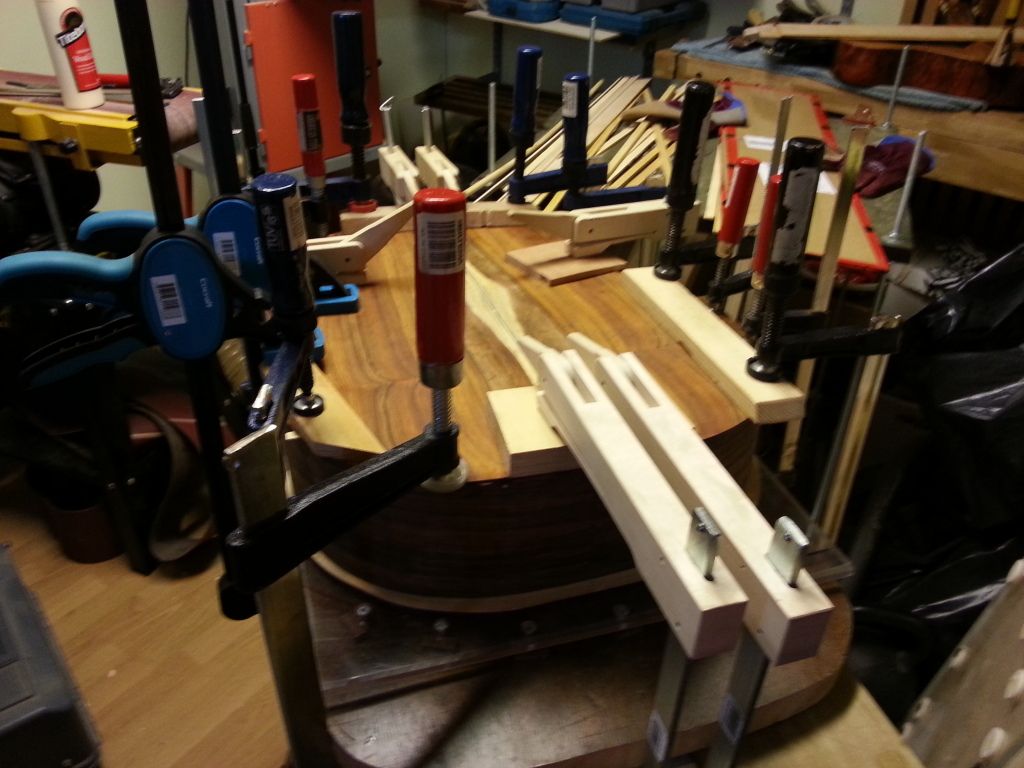
Lots of clamps, but only gentle force, since everything fits
together like a fist in the eye (like we say in Finnish)
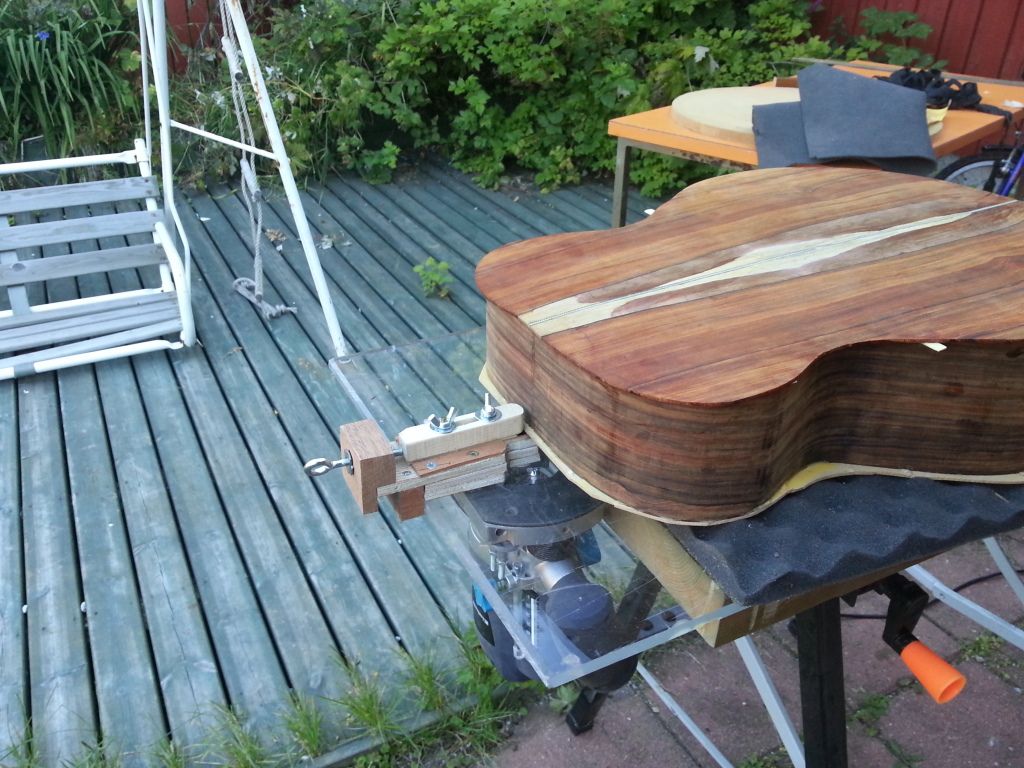
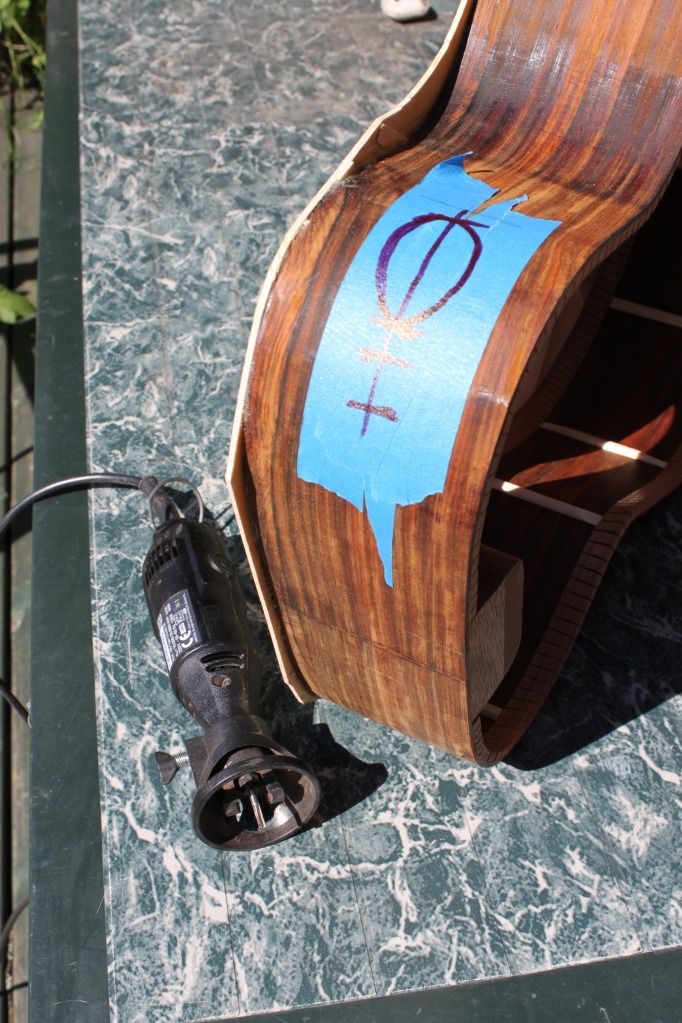
I cut the overhang of the top and back using my handy
 router setup. It's easy, fast and foolproof.
Below is a little video of the setup in practice.
The sound of the router is one of the nastiest in the industry...
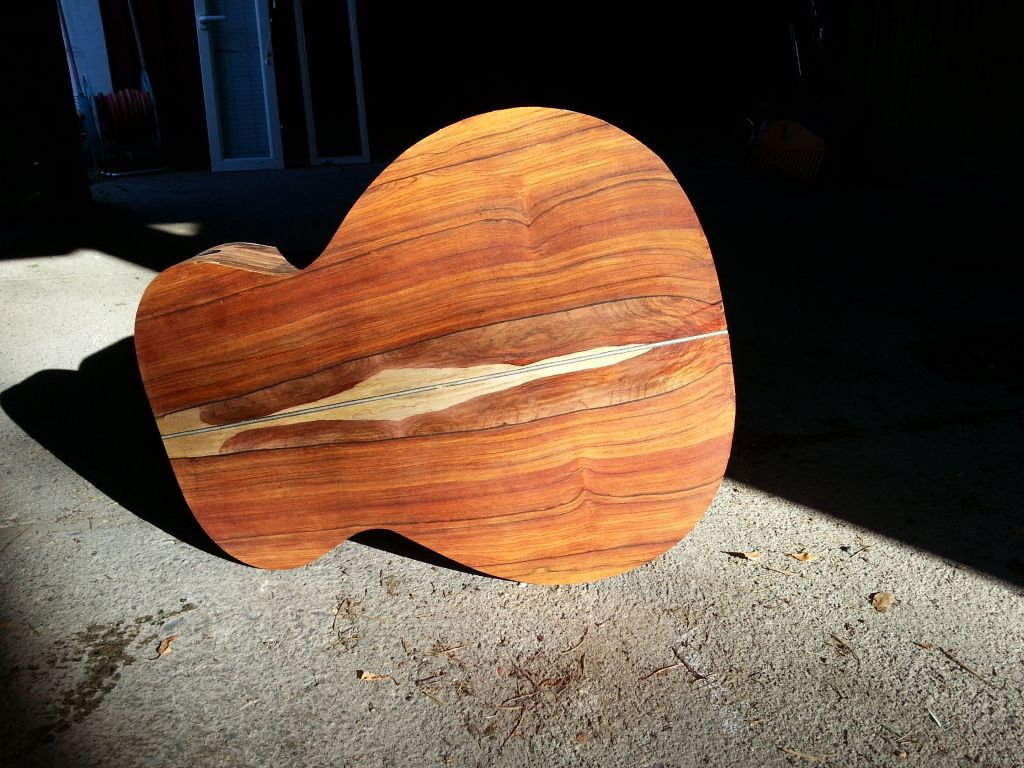
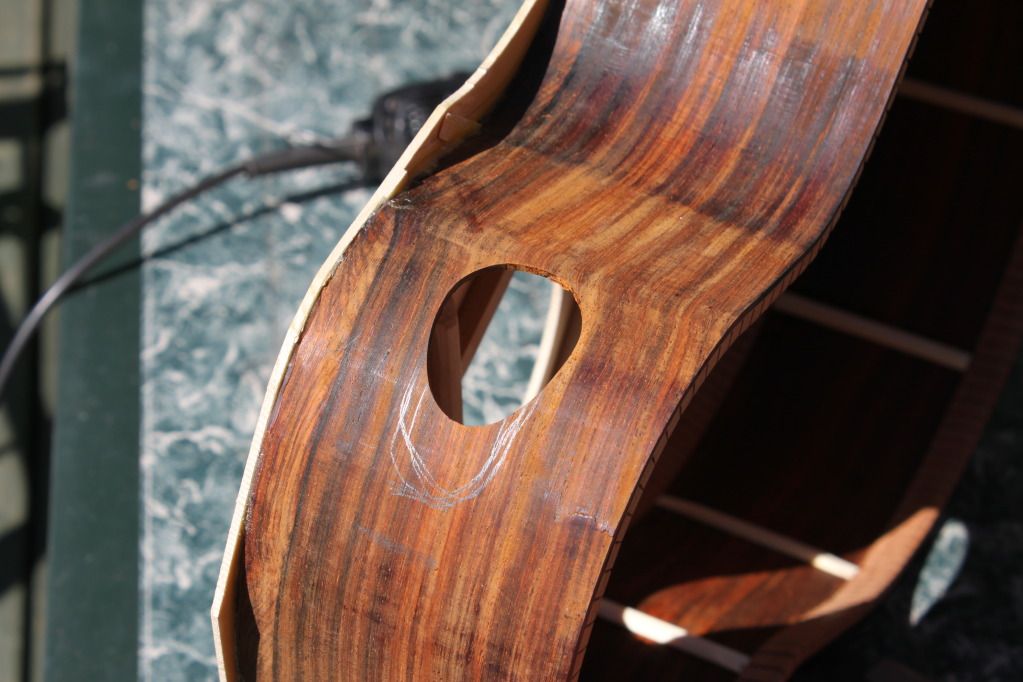
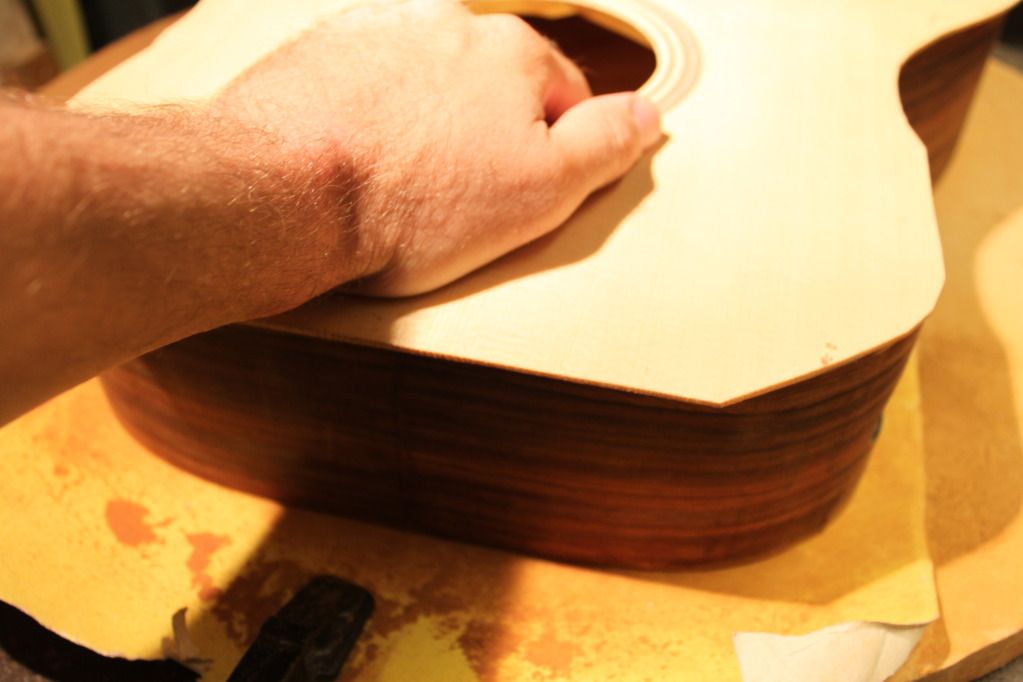
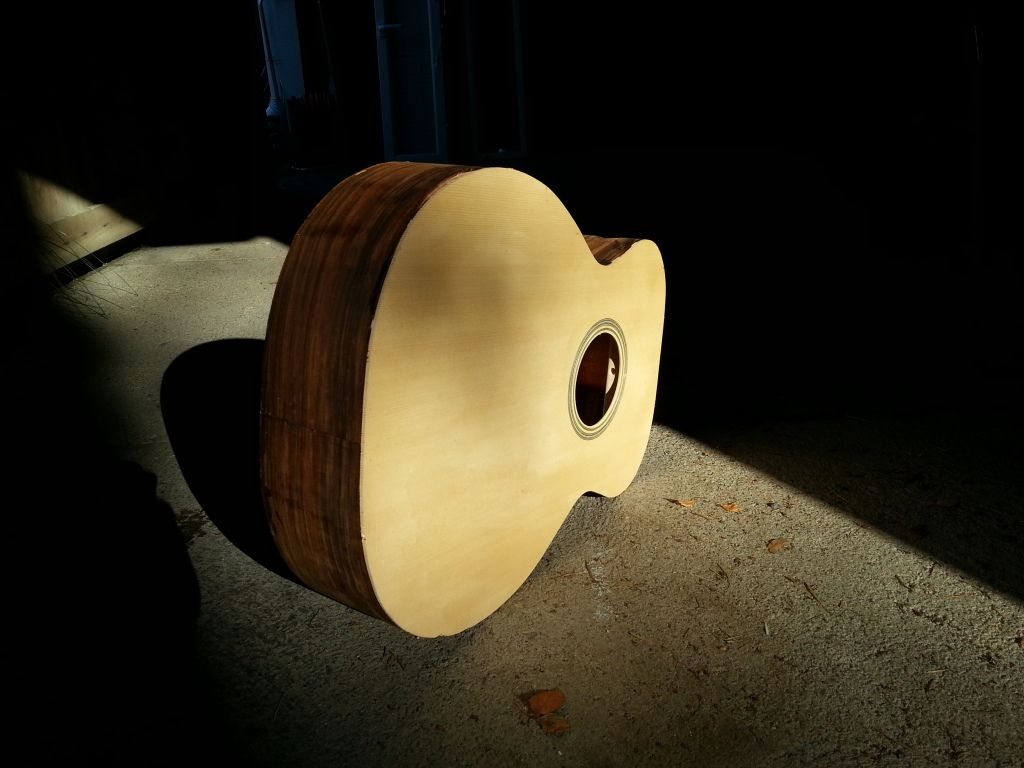
Freshly trimmed back in the morning sun.
I wouldn't mind looking at it every day.
The top before the bevel is trimmed
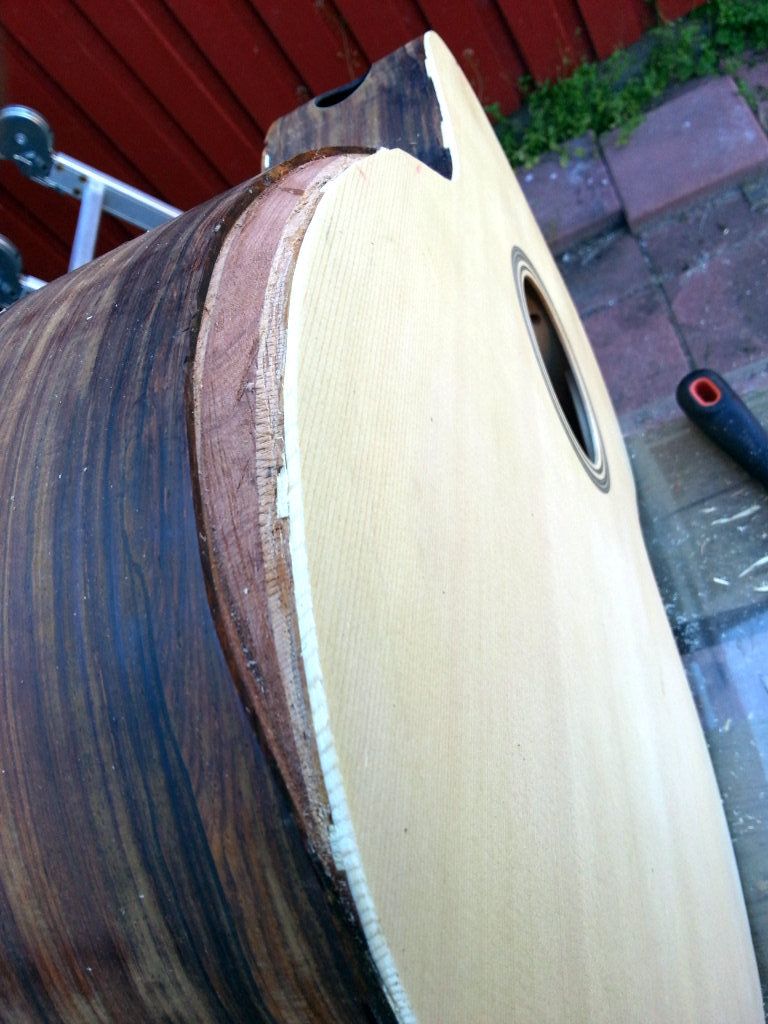
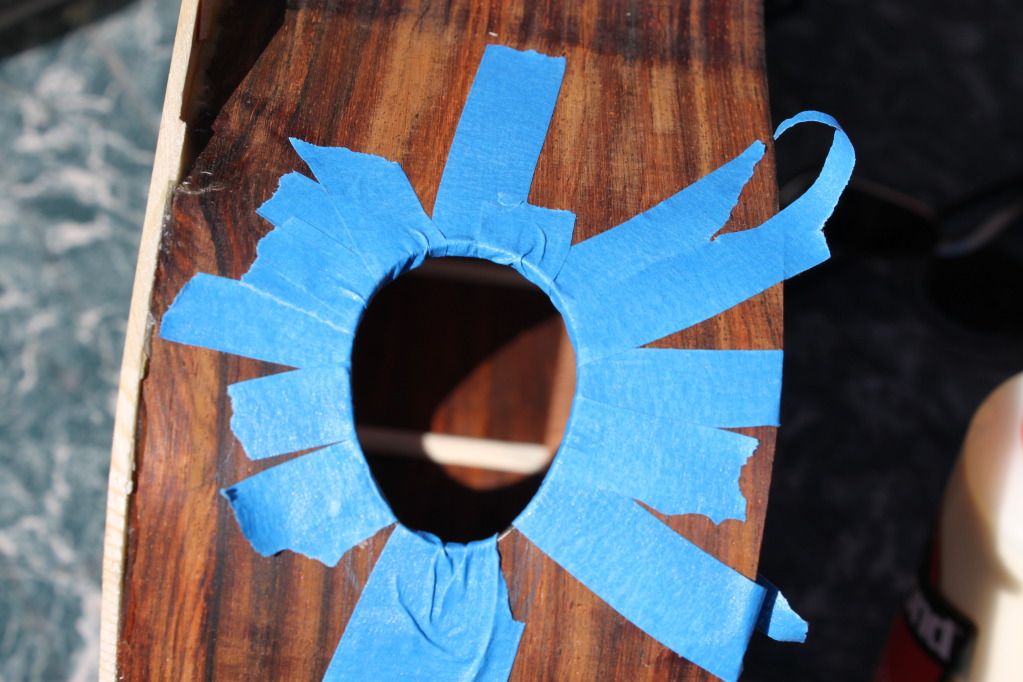
...and the still fuzzy bevel area in detail. There will be flamed maple
binding extension to cover the insides here. The top was trimmed
using traditional and oh, so sharp knife.
By the way, working with cocobolo you may get hurt. Cocobolo sawdust in my eye is the only explanation I could come up with, as I woke up with black and swollen eye. Shouldn't have spoken about the fist in the eye in the first place. This punch got in!


tiistai 7. elokuuta 2012

Soundport and preparations

During the summer I've been busy with mostly other things than luthiery. But a little has been done in that realm too. In June, I cut the soundport and in August started the preparations for attaching the back to the guitar. Guess that's something at least.

I start by taping the side and eyeballing the size,
shape and placement of the port.
Some measuring was involved as well, if I recall it right.
 Remember not to cut where you glued the side reinforcement braces!
The hole roughed out with a dremel tool.
...and further refined with a file and round sanding stick
I trimmed the port with a black-white wooden purfling,
that had to be jointed in two places to fit the curve of the side
Done! Hope Jouni likes eggs...
The sides are matched to the curvature of the back
by sanding on the same concave disc that the back bracing was glued on.
First, I mark the whole contact surface of the sides and blocks with a pen...
...then I sand until all the markings are gone