Amplifying an acoustic instrument is not an easy task. Picking just the strings isn't enough, because the body resonances are the ones that make the sound "acoustic". My take on the subject is going dual source. The guitars are equipped with a triple soundboard transducer (K&K Pure and
JJB Electronics Elite). I like them, because they are pretty inexpensive and offer quite natural response through the frequency range. The dreaded "piezo quack", unnatural high frequency, usual in under saddle piezo transducers, is not so dominant in these soundboard/contact transducers.
Anyway, to add some "air", "naturalness" "whateveryouwannacallitthatsoundsbetter", I use an internal miniature electret condenser microphone. The two passive signals are routed out with a stereo 1/4" cable and into a Presonus Acousti-Q preamp/blender. It's got volume controls for both signals and very nice eq.
I thought I'd report an easy way to make a "gooseneck" condenser mic. This model works only with a preamp feeding 2-12V phantom power to the mic, thou. For a standalone version you'd need a condenser, a resistor, a 9 volt battery and few inches more wire in addition.
A little sound clip: Dual Source -> Acousti-Q -> Firebox -> Garageband with a hint of EQ and reverb. The delay effect comes from Zoom A2 hooked in the Acousti-Q's efx loop
 |
| Gooseneck peeking through the soundhole |
 |
| Here's the stuff needed to make a mic |
 |
| Panasonic capsule and shielded cable... |
 |
| ...soldered together |
 |
| The capsule's got two terminals, one for hot, one for ground. |
 |
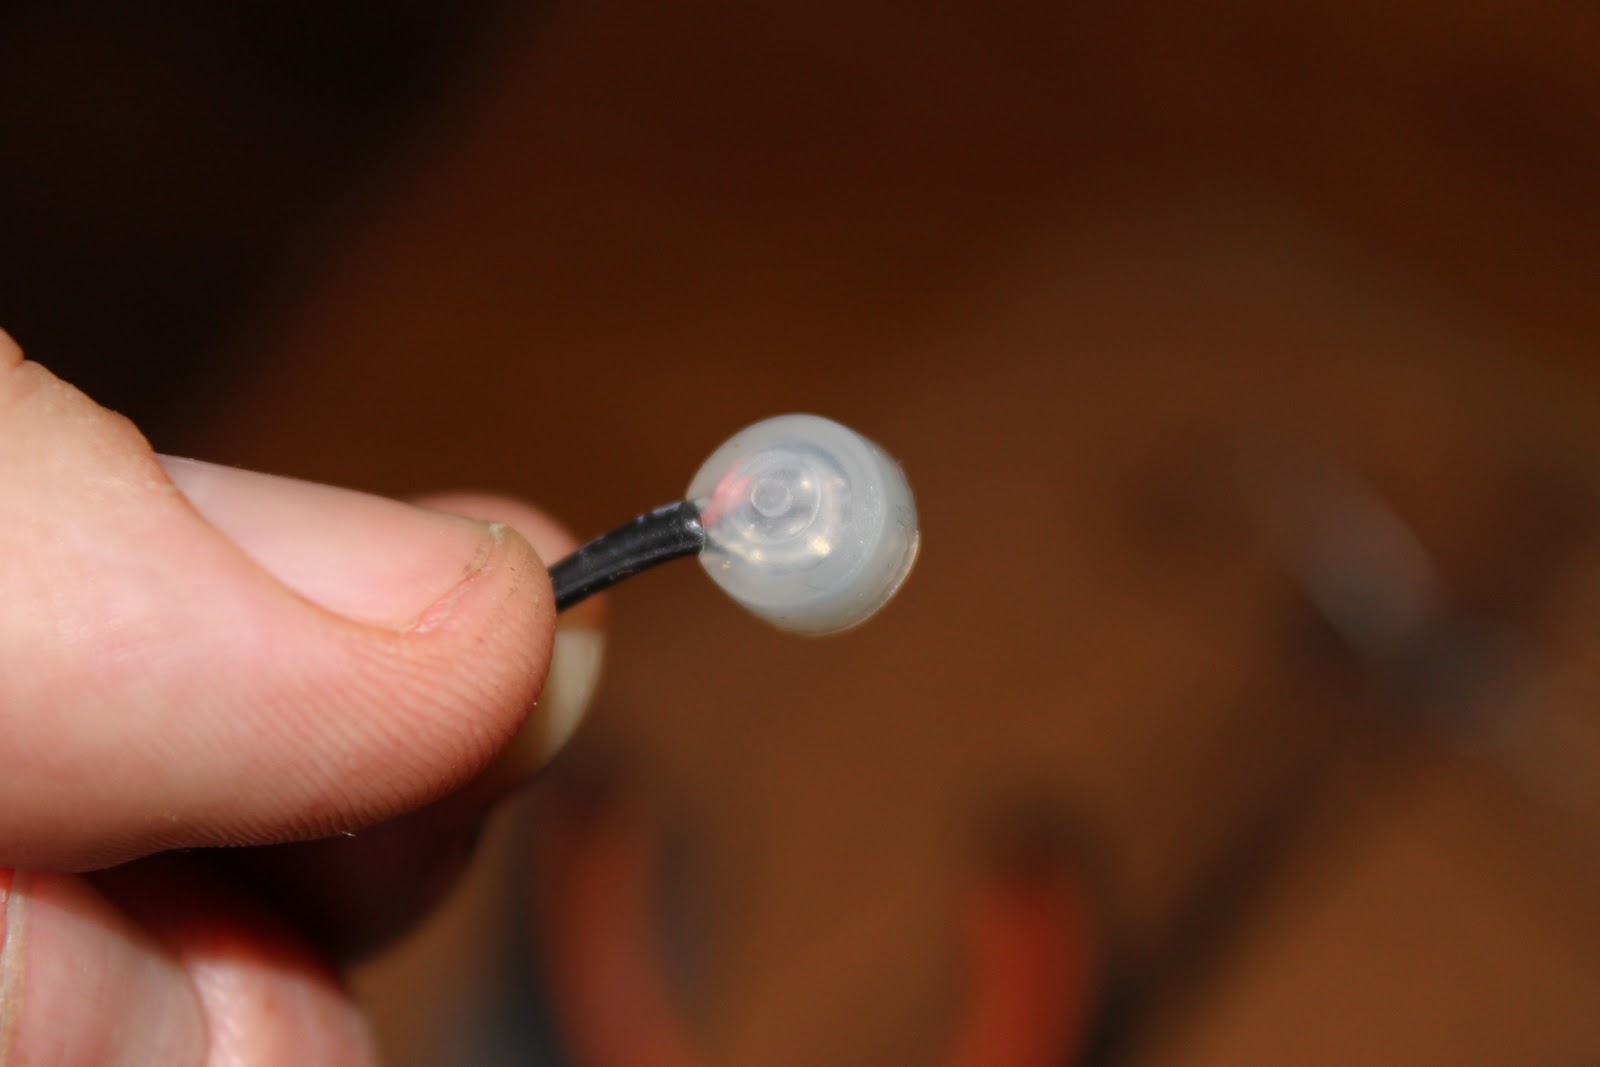
| They provide a handy silicon sleeve for the capsule. |
 |
| Heat shrinking tube... |
 |
| ...and some wire... |
 |
| ...shrunk together... |
 |
| And attached to a metal paper clip... |
 |
| ...and we're ready! The clip attaches to a back brace nicely and is easy to place to an optimal spot because of the bendable shaft. |
 |
| This unit provides the phantom power the capsule needs, mixes the two signals and more. It's got a vacuum tube too! |


Ei kommentteja:
Lähetä kommentti